
In this post, we’ll show you how to easily change the WooCommerce checkout page template. Plus, we’ll do it with the help of the WooCommerce plugin Flux Checkout for WooCommerce.

But first, let’s see why you might want to change the default WooCommerce checkout page template and upgrade it to a better one.
Flux Checkout for WooCommerce
Flux Checkout transforms the default WooCommerce checkout into one that’s lightning-fast, distraction-free, and reduces checkout abandonment.
Why change the default WooCommerce checkout page template
The default WooCommerce checkout and the template it uses is fine for beginner stores – but if you’re looking to decrease checkout abandonment and increase sales – upgrading it is a must.
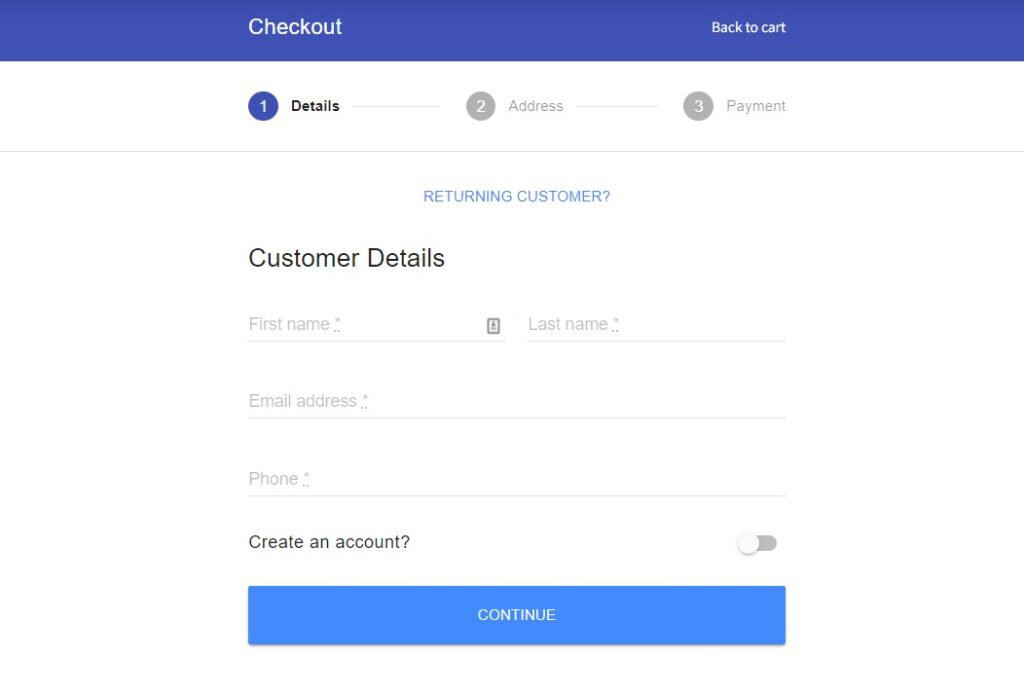
The default checkout is a WooCommerce one-page checkout and looks a little something like this.
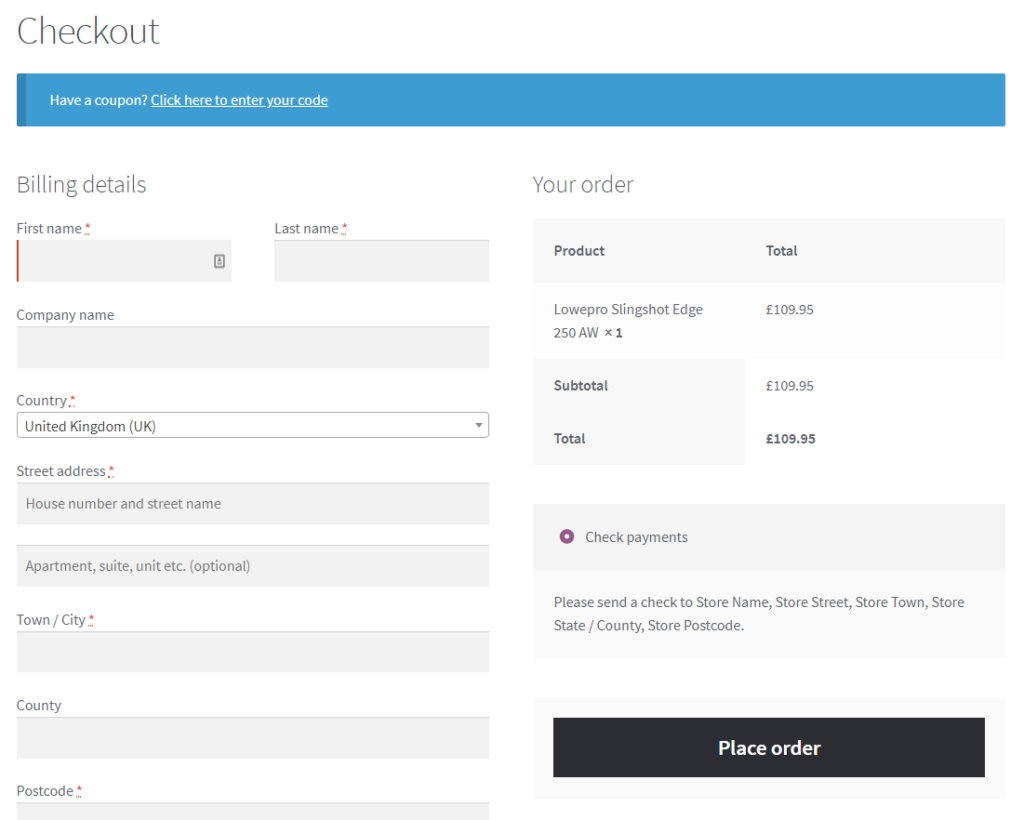
Because all of the checkout fields are on one page, it can be pretty overwhelming for the customer. For this reason, it might not be the best choice for WooCommerce stores that want to see a significant increase in revenue.
Let’s explore this a little further. If you were to upgrade your checkout and use a different checkout page template, you’d:
Introduce a better checkout process
The default WooCommerce checkout is a one-page design. This means customers can feel overwhelmed with everything they need to fill out.
If they’re short on time or simply don’t like the idea of giving over that much information, they may abandon their cart completely.
A multi-step checkout process will counteract this feeling. By breaking the checkout flow into short steps, you’ll make the process seem a lot less overwhelming and manageable for customers. Improving your conversion rate significantly.
Improve the checkout experience
The default WooCommerce checkout page template is fine if you’re just starting out. But upgrading to a checkout template designed to save customers time will improve the experience and result in less cart abandonment.
Want to see what other important metrics you should be tracking in your ecommerce store? Read our ecommerce metrics guide.
The default WooCommerce checkout form has many additional fields you might not need. By removing and reducing these, you’ll keep things simple and clean.
A streamlined checkout means more options
As we mentioned, the default WooCommerce checkout page template has a lot of unnecessary fields. Because of this, it makes adding extra elements like more input fields/form fields, upsells, widgets, and more virtually impossible because it would overwhelm customers.
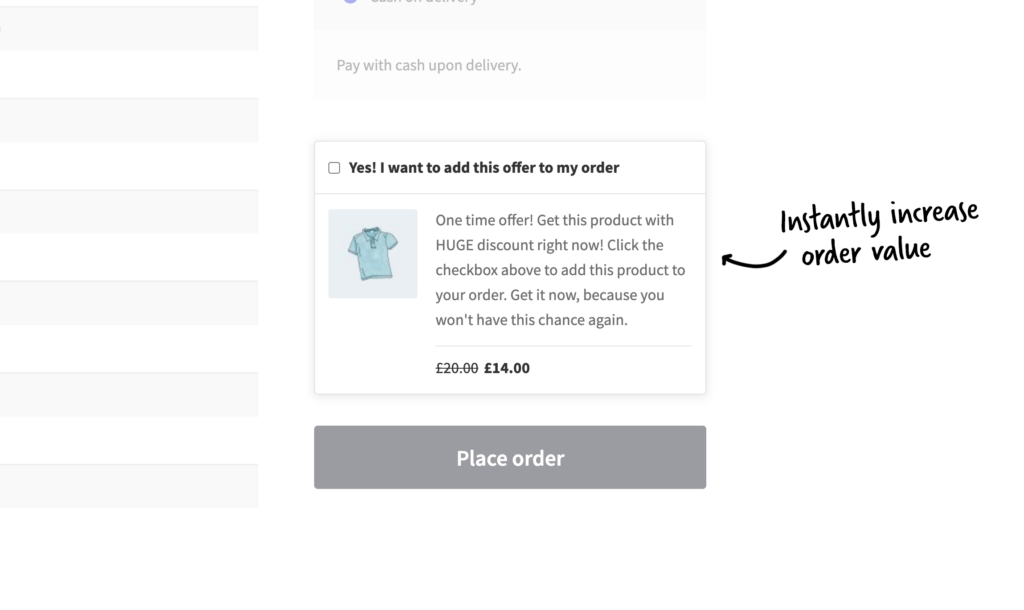
By upgrading your checkout to one you can edit, customize, and optimize, you’ll make room for things like:
- Additional payment methods and payment gateways that won’t clutter up the page.
- A way for order notes to look more streamlined and easy to see/use.
- More visible coupon fields, additional drop-downs, shortcodes, and more if you’re using additional checkout add-on plugins.
We now know why upgrading to a new checkout template is beneficial. But to change the WooCommerce checkout page template and customize the WooCommerce checkout page in general. You’ll need the help of a plugin.
How to change the WooCommerce checkout page template
If you want to improve your WooCommerce checkout, reduce abandonment rates, and increase revenue for your WordPress site, you’ll need the help of a plugin. In this case, the WooCommerce plugin Flux Checkout for WooCommerce.
Introducing the plugin Flux Checkout for WooCommerce
Flux Checkout for WooCommerce is a plugin that will transform the default WooCommerce checkout into a streamlined multi-step checkout.
Flux works with any WooCommerce store, template, and page builder (like Elementor), so you can upgrade your checkout no matter what.
Plus, Flux Checkout comes with two checkout themes or templates for you to choose from.
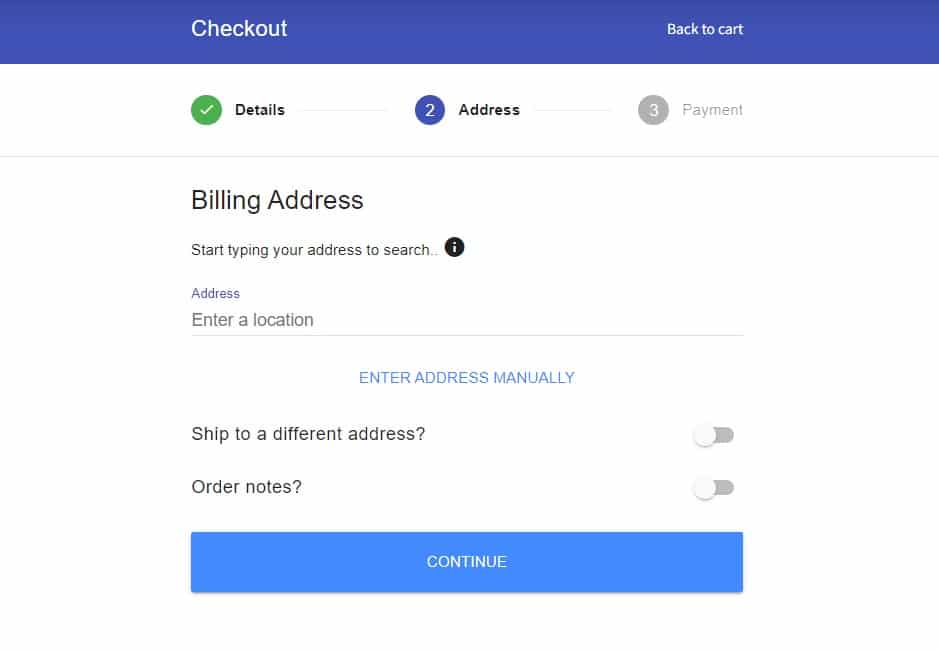
- Classic, which transforms the default WooCommerce checkout page template into an app-like multi-step design. Classic is a bold and speedy checkout for your ecommerce store.
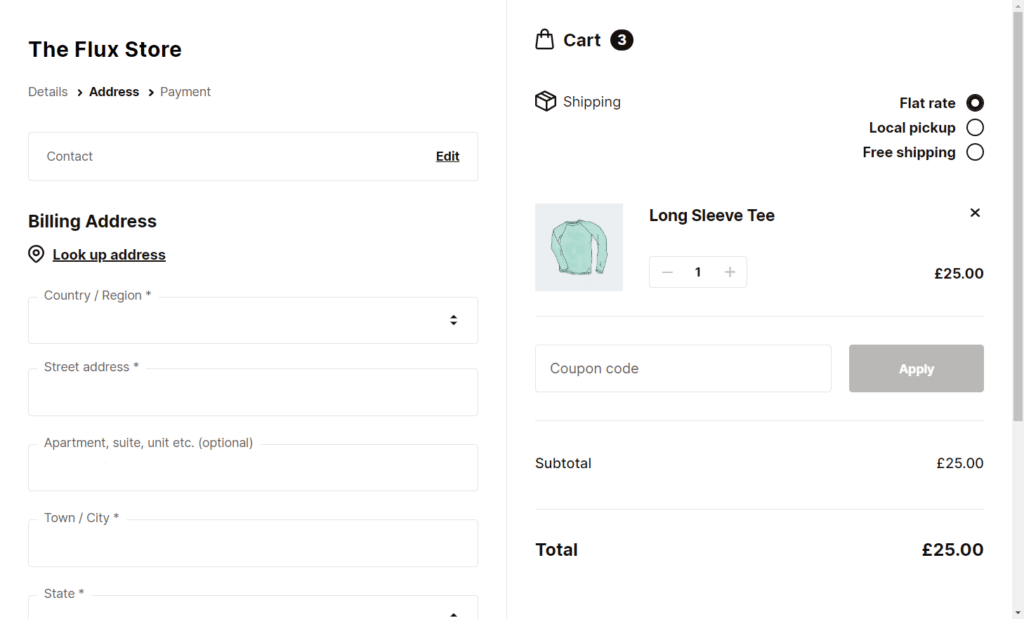
- Flux’s Modern theme replicates the checkout design of some of the biggest online stores. It’s slick, fresh, and optimized to keep your customers on track to complete their order.
So now we know the benefits of Flux Checkout. Let’s get it added to your store with the following step-by-step tutorial.
Step 1: Install Flux Checkout for WooCommerce
To get Flux Checkout for WooCommerce, purchase and download it from the Iconic Store: iconicwp.com/flux-checkout-for-woocommerce
Flux Checkout for WooCommerce
Flux Checkout transforms the default WooCommerce checkout into one that’s lightning-fast, distraction-free, and reduces checkout abandonment.
Once you have the file on your device, you can proceed to the next step.
To install the plugin, follow these steps:
- Go to Plugins > Add New > Upload Plugin on your WordPress Dashboard.
- Then browse from your device and select the zip file you previously downloaded.
- After the file is uploaded, click Activate.
- After activating Flux, you’ll need to enter the license key.
So now we’ve got Flux installed on our WordPress website. Next, we’ll switch your WooCommerce checkout page template.
Step 2: Pick your checkout page template
As we mentioned earlier, Flux Checkout comes with two themes you can pick from.
- Classic – our app-like theme makes online ordering smooth, especially on mobile.
- Modern – slick, easy to use, and matches any modern checkout design style.

To select which of these themes you’d like to use, take the following steps:
- From your WordPress dashboard, go to WooCommerce > Flux Checkout.
- Then click the Styles tab at the top of the page.
- Here you’ll see Flux’s theme options. Click the radio button next to the theme name to select the theme you want.
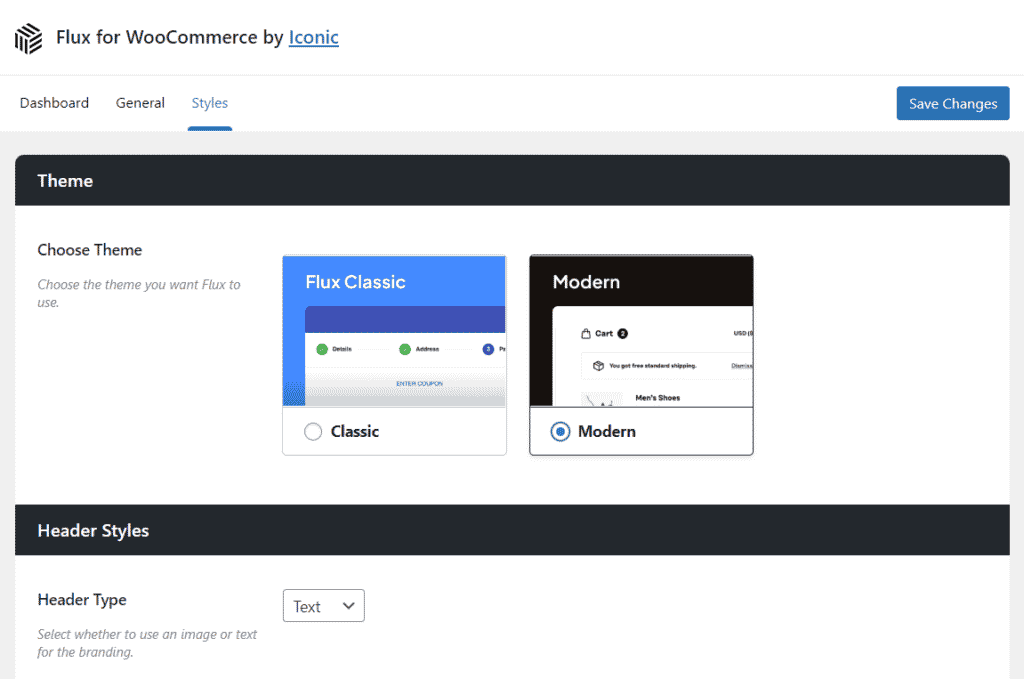
- Depending on which theme you select, the settings below will change.
Step 3: Customize WooCommerce checkout page
Customizing your checkout page will vary depending on which checkout page template or theme you pick.
How to customize the header styles
The header of your Flux Checkout will look different depending on your theme. Regardless, you’ll be able to customize it to suit you.
To customize the header styles of your checkout, take the following steps:
- Go to WooCommerce > Flux Checkout from your WordPress dashboard and click the Styles tab at the top of the page.
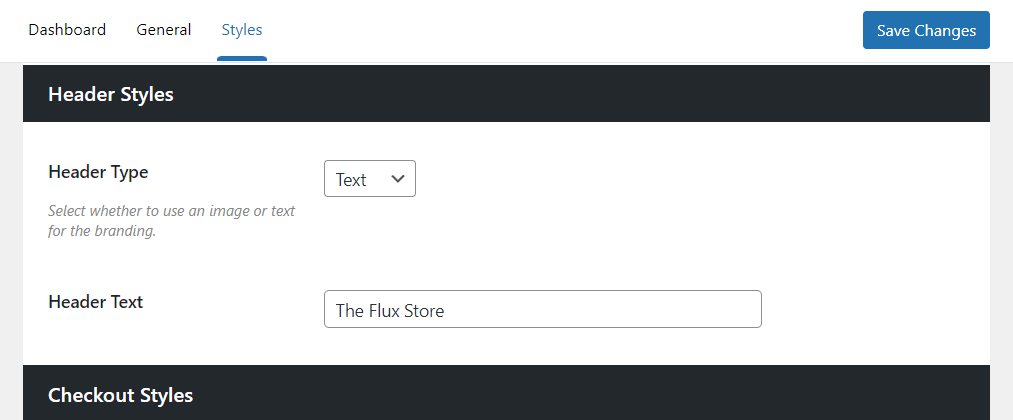
- Scroll down the page until you get to the Header Styles section.
Customize the Modern theme header styles
Flux’s Modern checkout theme has a very simple and clean header that draws focus to the checkout fields.
The two options you have here are:
- Header Type – This dropdown allows you to select from Text or Image.
- If you select Text – The field below will allow you to input the text you want to see – usually your store’s name.
- If you select Image – Two fields will appear, allowing you to upload a header image (usually a logo) and set a width for that image if you need to.
Customize the Classic theme header styles
Flux’s Classic checkout theme has a bolder header design which allows for a bright pop, should you want it.
The options you have here are:
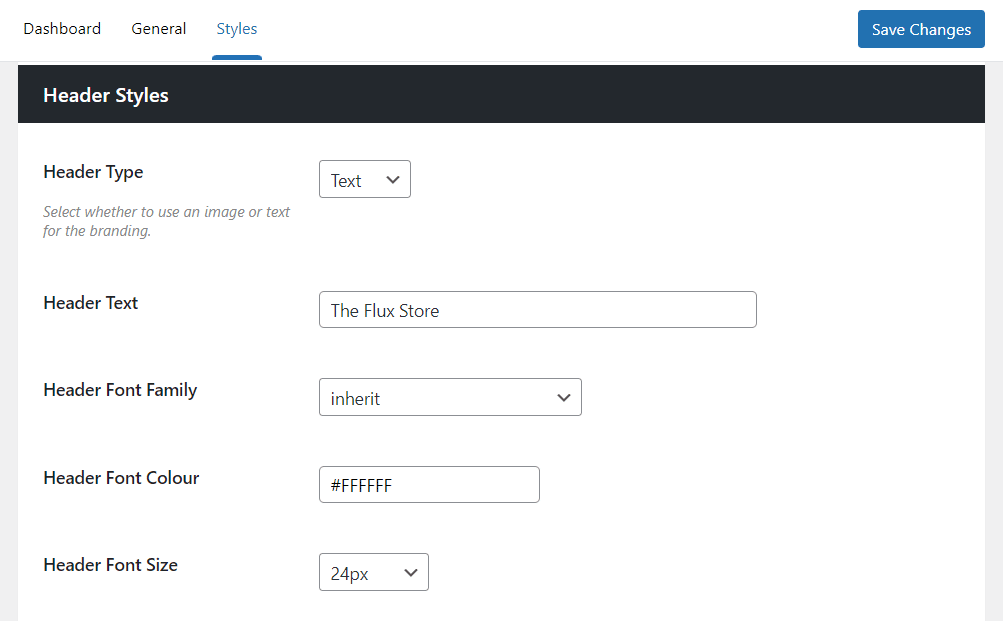
- Header Type – This dropdown allows you to select from Text or Image.
- If you select Text – A few fields will appear below. You’ll be able to input the text you want to see – usually your store’s name. You’ll also be able to customize the font family, color, and size.
- If you select Image – Two fields will appear, allowing you to upload a header image (usually a logo) and set a width for that image if you need to.
- Header Background – With this setting, you’ll be able to set the style for your header:
- Use Primary Color – This allows you to use the primary color from the Checkout Styles section further down the page.
- Use Custom Color – This allows you to select a custom color from the field that appears below. You can either add a hex code or use the color picker to select.
- Use Gradient – Select from a vast list of pre-made gradient styles in the Gradient Background dropdown.
- “Back to Cart” Link Color – Next, you’ll be able to change the link color of the ‘Back to Cart’ text within the header. This is particularly useful if you’ve changed your header color and can no longer see the link.
How to customize the checkout styles
The checkout style settings allow you to set colors for specific links, buttons, and placeholders – depending on which theme you use.
Customize the Modern theme checkout styles
Flux’s Modern checkout theme allows you to get a little more specific with the colors in your checkout’s design.
The options you have here are:
- Placeholders – This is the placeholder text color within your form fields and labels.
- Link color – This is the color of any additional links that appear in your checkout. For example, the link to your privacy policy.
- Primary button color – The color of your primary buttons.
- Secondary button color – The color of your secondary buttons.
- Custom CSS – An additional section where you can add some custom CSS to override our theme’s styles should you want to.
Customize the Classic theme checkout styles
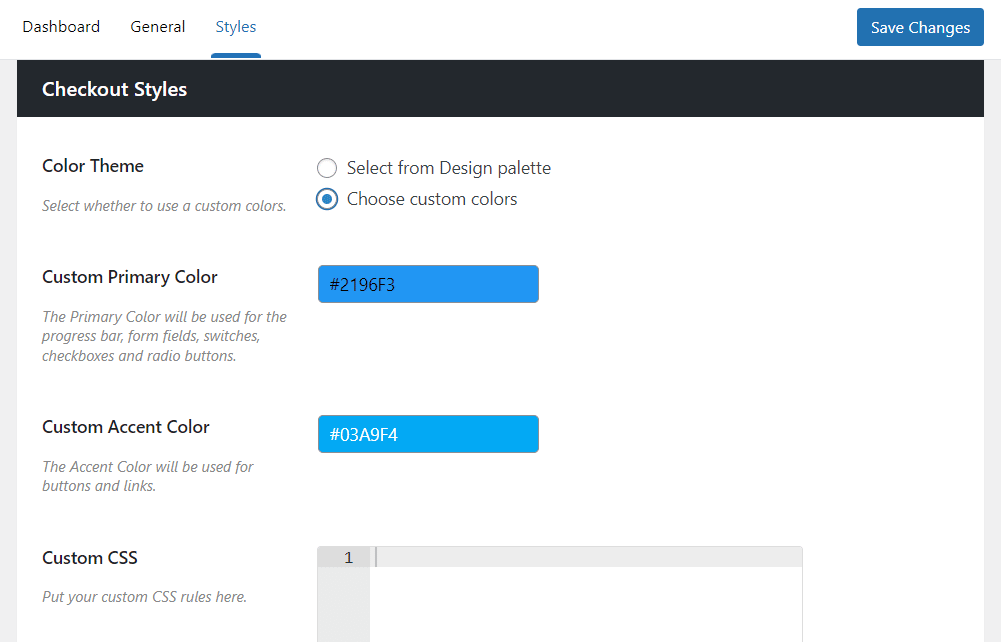
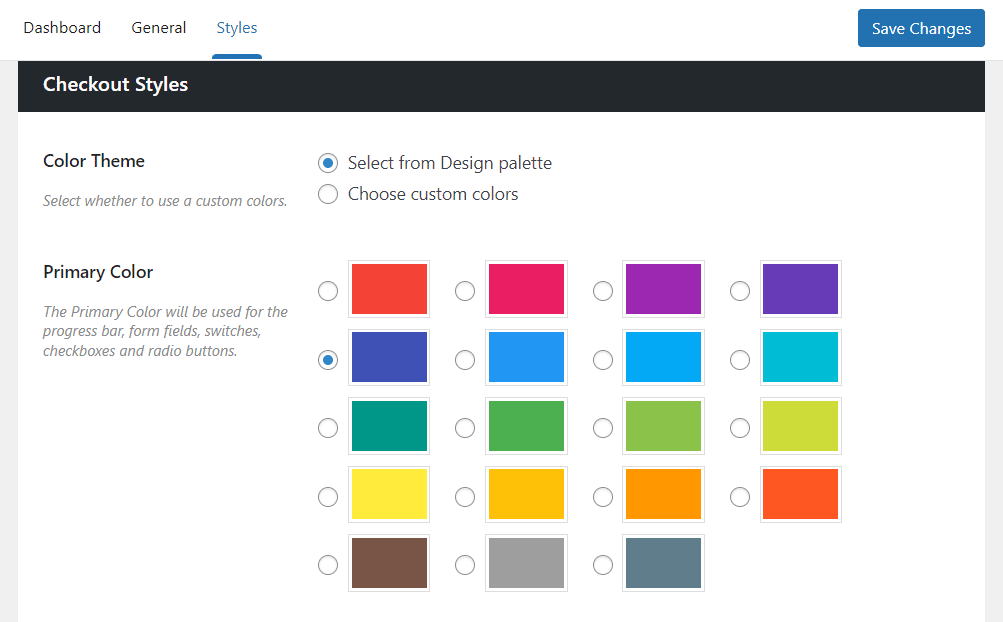
Flux’s Classic checkout theme keeps things simple and takes care of the hard work for you with primary and accent colors.
The options you have here are:
- Color Theme – Pick from either Select from Design palette, or Choose custom colors.
- If you select the design palette – You’ll see a set of pre-made Primary and Accent colors to pick from.
- If you select custom colors – You’ll be able to add your primary and accent colors as hex codes or from color wheels. Then Flux Checkout will take care of the rest.
- Once you’re happy with all your design changes, scroll up or down the page and click the blue Save Changes button to make them live.
Change the default checkout page template today
That’s it. You’ve now upgraded the WooCommerce checkout page template. With this change, you’ll have an improved checkout experience and reduced checkout abandonment in just a few clicks.
Take your customer from their WooCommerce cart, to checkout, to complete/place order, with ease.
Flux Checkout for WooCommerce
Flux Checkout transforms the default WooCommerce checkout into one that’s lightning-fast, distraction-free, and reduces checkout abandonment.

Gina Lucia is our in-house Content Manager at Orderable. She writes articles, user guides, technical documentation, and creates videos on everything WooCommerce and Orderable.
Gina has been working in the WordPress/WooCommerce space since 2012 when she developed WordPress websites for clients large and small.
For the past 8 years, she’s been writing about everything WordPress and WooCommerce, becoming an expert in what makes a WooCommerce store succeed.
When not writing, Gina loves to tend to her vegetable garden, read, or travel to mainland Europe.