Looking for an ecommerce strategy to help you build your online store in just 30 days? This guide walks you through each essential step, from research and planning to marketing and launch.
At first, launching an ecommerce store in 30 days might seem ambitious. There are a lot of decisions to make and moving parts to manage before you ever sell your first product. With countless tools, platforms, and tactics out there, it’s easy to feel overwhelmed or unsure where to begin.
That’s where a structured ecommerce strategy comes in. In this guide, you’ll get a complete day-by-day roadmap designed to simplify the process and help you stay on track. From pre-launch research to optimizing your site after launch, every phase is covered.
Here’s what we’ll go over:
- How to prepare before your 30-day build starts.
- A phased, 4-week ecommerce strategy.
- Daily breakdowns with practical tasks and time estimates.
- Optimization and monitoring tips for after you go live.
Let’s start with the foundational work that needs to happen before the 30-day build begins.
How to build your online store in 30 days – the ultimate strategy
Before our 30-day period begins, you need to conduct market research and planning for the first few weeks. The goal during this time is to find out if your ecommerce business idea is feasible in the first place.
Struggling to find profitable business ideas to start this year? Check out our ecommerce business ideas guide.
That aside, here are three things to do in the pre-launch preparation phase to set a good foundation.
Phase 1: Pre-Launch Preparation (Before the 30 Days)
Your ecommerce strategy starts with research. Before investing in products or platforms, validate your business idea. The goal at this stage is to confirm that your ecommerce business has real demand and room for growth.
1. Research and select products (1-2 weeks)
The goal of conducting market research is to understand typical customer behavior, pain points, and relevant market trends in your chosen niche. This is a sure way to determine if your ecommerce business or startup might fit into the market and have actual demand.
For the first couple of weeks, you’ll want to find answers to the following questions instead of guessing what might sell:
- What products or services are in demand in your given target market?
- How big is your target audience? How old are they, where do they live, and other demographics?
- How many competitors offer similar products or share a similar concept?
- What price are customers willing to pay for products or services, and much more?
One of the best ways to gain genuine insights is to speak with customers directly. Take surveys, make questionnaires, run social media polls, and do one-on-one interviews.
Need help turning those early insights into a real marketing plan? Take a look at our guide on how to put together an ecommerce marketing strategy.
Use data to validate demand
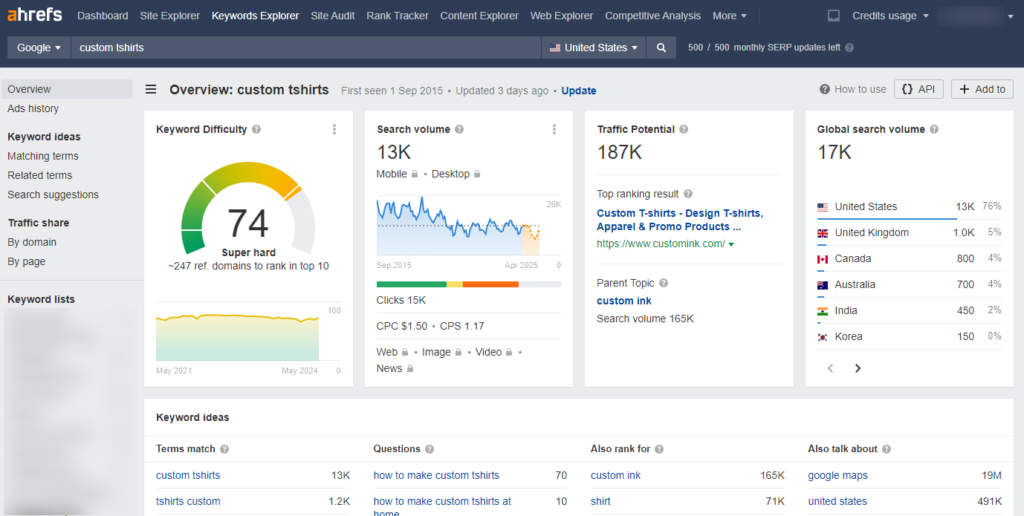
Google also provides free resources you can use to validate product demand. Let’s say you’re starting a business that sells shampoo to men. You can search for “Shampoo for men”, “men’s hair care”, and other terms and phrases in Google Trends to see which term has more search interest over time.
These tools can also help:
- Amazon Best Sellers & eBay Trending highlight products that are selling well.
- Keyword research tools like Ahrefs or Ubersuggest reveal monthly search volumes and competition levels.
Conduct a competitive analysis too
You should also research who your competitors are. What differentiates your store, product, or service from the rest? Are competitors selling similar items you’ve selected? Where are they doing well, and what gaps can you fill?
Try to identify emerging product trends you can jump into on social media or industry reports like Statista.
Otherwise, researching your market is an ongoing process. What you find out today may change tomorrow.

2. Source or create your own products (1-4 weeks)
Once you’ve confirmed the demand for your products, the next task is to focus on sourcing or creating them over the next one to four weeks.
You’ll have two main options as a retailer: choosing a sourcing method or finding reliable suppliers.
- Choose a sourcing method. You can create new products, work with a manufacturer, or use dropshipping, print-on-demand, or wholesale.
- Finding reliable suppliers. Search for suppliers who offer quality products, fair pricing, and good reviews. Be sure to order samples to verify quality before committing.
If you offer services (rather than physical products), you can define your service packages and build partnerships if needed. Then, set up efficient processes, workflows, or systems to ensure smooth delivery.

3. Inventory and logistics planning (1 week)
It should take you about a week to fill your inventory and plan logistics. When stocking up your inventory, ensure there is enough to meet potential customer demand.
Stockouts can cause you to lose 30% of customers when you open your business. The same study also reports that managing inventory effectively can increase your profitability by 20-50%.
You’ll want to consider the following logistics, too:

Shipping methods and packaging
The choice of packaging will depend on the products you sell. It should be a professional package that includes your branding elements (if possible).
However, we want to draw your attention to this trend: 72% of customers globally are actively purchasing more eco-friendly products. This is a growing trend you should add to your product packages and in various stages of a customer’s journey.
Calculate shipping costs as well at this stage. The shipping fees will vary based on the shipping method and services you want to offer. They should be accurate as we’ll add them to your product pages, checkout pages, or FAQ sections so it’s clear to customers.
Once your products are ready, you’re now set to start building your ecommerce store and launch it in 30 days.

30-Day store setup plan (once products are ready)
We’ll break down this section into four weeks of manageable tasks and steps to set up your online store from the ground up.
We recommend focusing on the foundation of your store and branding in the first week.

Week 1: Foundation and Branding
This week is all about setting up the core structure of your store.
Day 1: Define your brand identity and choose a catchy, memorable name (2-4 hours)
You can define your brand identity by articulating key elements that drive your business. These include:
- Brand name. This is the first thing people remember about you. It should be clear, relevant, and easy to recall.
- Purpose. Give the reason your business exists beyond just making sales.
- Brand voice and messaging. This is the way you communicate to your audience. Will it be formal, casual, friendly, or professional?
- Mission. What do you aim to achieve, and how do you plan to serve your customers?
- Values. What are the principles guiding your business decisions and customer interactions?
Having answers to the “what” and “why” will help you define your brand personality to your target audience. The information you learn from your competitor analysis can also help develop a strong brand strategy.
Overall, each of these elements works together to shape trust, recognition, and customer loyalty.
Day 2-3: Create a logo and design branding elements (4-6 hours)
Here’s what studies say:
- 81% of people are more likely to remember a brand’s color than a brand’s name.
- 75% of shoppers remember brands by their logo.
So, once you’ve got the brand identity and messaging established, it’s time to think of how your brand looks.
You can use tools like Canva or Adobe Spark to create visual brand elements like logos, color schemes, and typography.
The centerpiece is, of course, the logo. A good graphic designer can also help you craft something recognizable, professional, and versatile enough to be used on all your brand awareness and marketing materials.
- Choose colors that mirror your brand personality.
- In addition, visual assets such as illustrations, icons, and images should reinforce your brand.
Day 4: Buy your domain and set up hosting (1-2 hours)
The first component of building a website is getting a domain name and a web host.
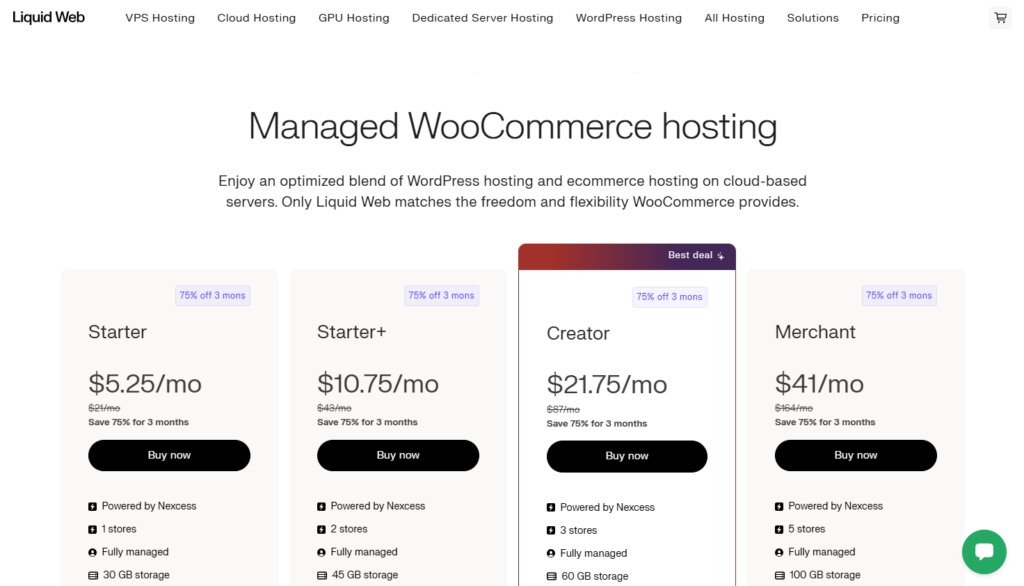
We recommend Nexcess, Bluehost, SiteGround, or WP Engine, in that order, to help you cut through the noise. These web hosts are reputable hosting providers that offer affordable plans starting as low as $2.95/month, in the case of Bluehost.
In addition, they offer 24/7 customer support for when you have site problems. This really matters because websites sometimes have issues. They just do.
Choose a domain name and register it
Next, you’ll need to pick the perfect domain name for your ecommerce site (if you haven’t already).
For example, our website’s domain name is iconicwp.com. Since yours will represent your online business, you want to put good thought into it. It should also be easy to spell and relevant to your brand.
Most web hosts allow you to register your domain name or create a new one.
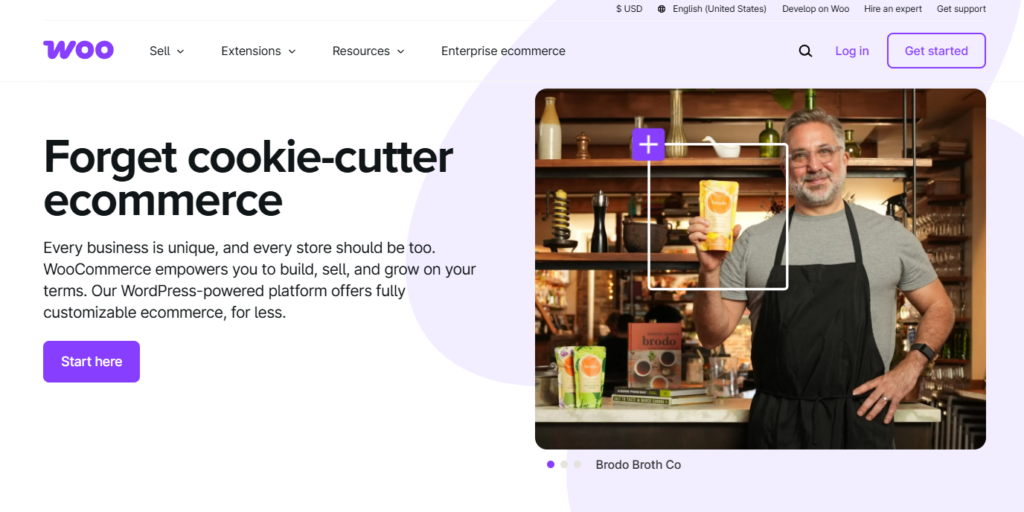
Day 5: Choose your ecommerce platform (like WooCommerce or Shopify) (2-4 hours)
WooCommerce is a great starting point for any ecommerce store. It rivals Shopify in terms of flexibility and ecommerce features, and for your WordPress website, it’s the best ecommerce platform you could pick.
Once you’ve installed WooCommerce, you will be walked through a setup wizard to configure the core settings that make your store functional. These include general settings, like your store name, location, currency, taxes, payment, shipping, etc.

Install essential plugins
You’ll also need to install essential plugins, like Jetpack, Yoast SEO, Google Analytics, etc. These plugins add a suite of tools for security, performance, site management, and search engine optimization.
See our guide on 32 of the best WooCommerce plugins to get your WooCommerce store off to a good start.
Optimize your store and increase conversions with Iconic plugins
Essential plugins aside, you’ll also need additional WooCommerce plugins to improve the customer experience when they browse your product pages and proceed to checkout. These Iconic WooCommerce plugins can help:
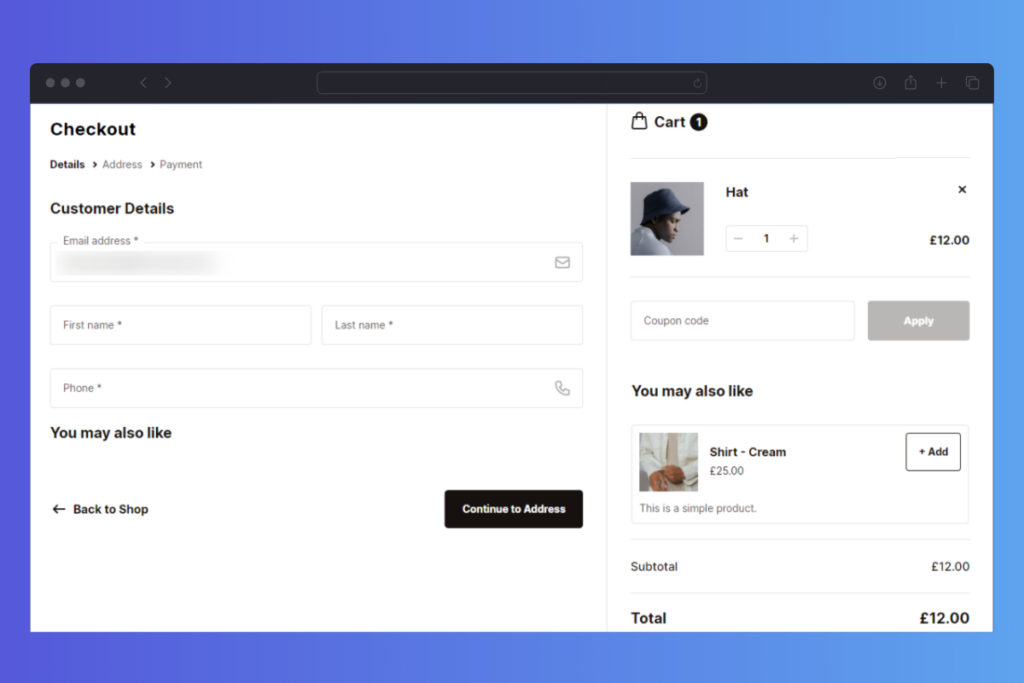
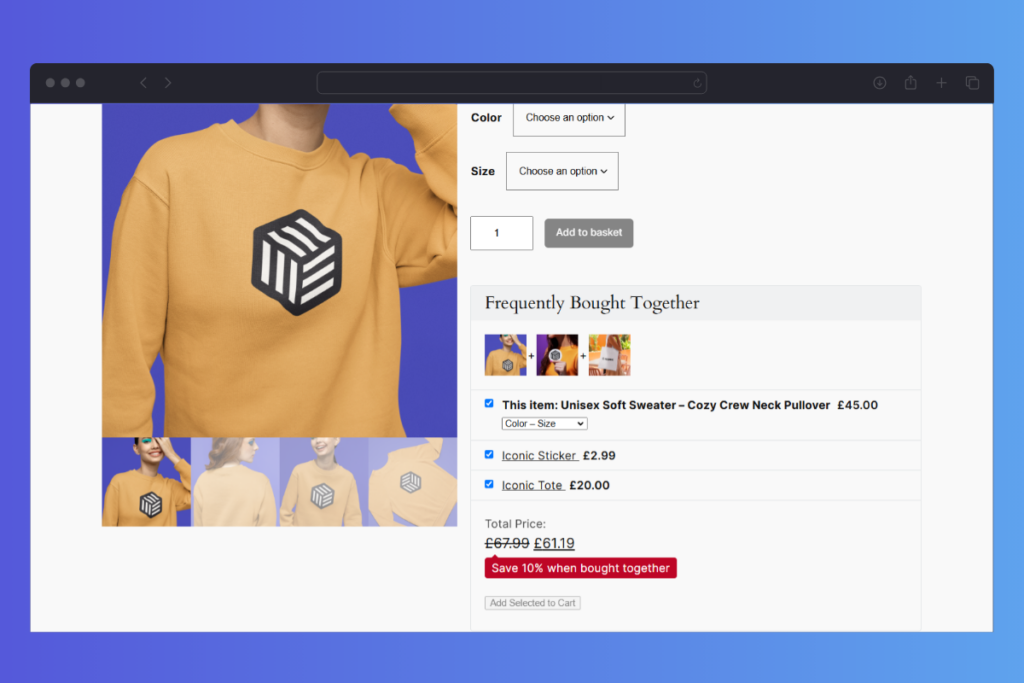
- Flux Checkout for WooCommerce. It transforms the default WooCommerce checkout process with a mobile-friendly design that simplifies the steps needed to complete a purchase. This plugin increases your conversion rates by reducing shopping cart abandonment during checkout.
- WooCommerce Delivery Slots. This plugin allows customers to select their preferred delivery date and time during the checkout process.
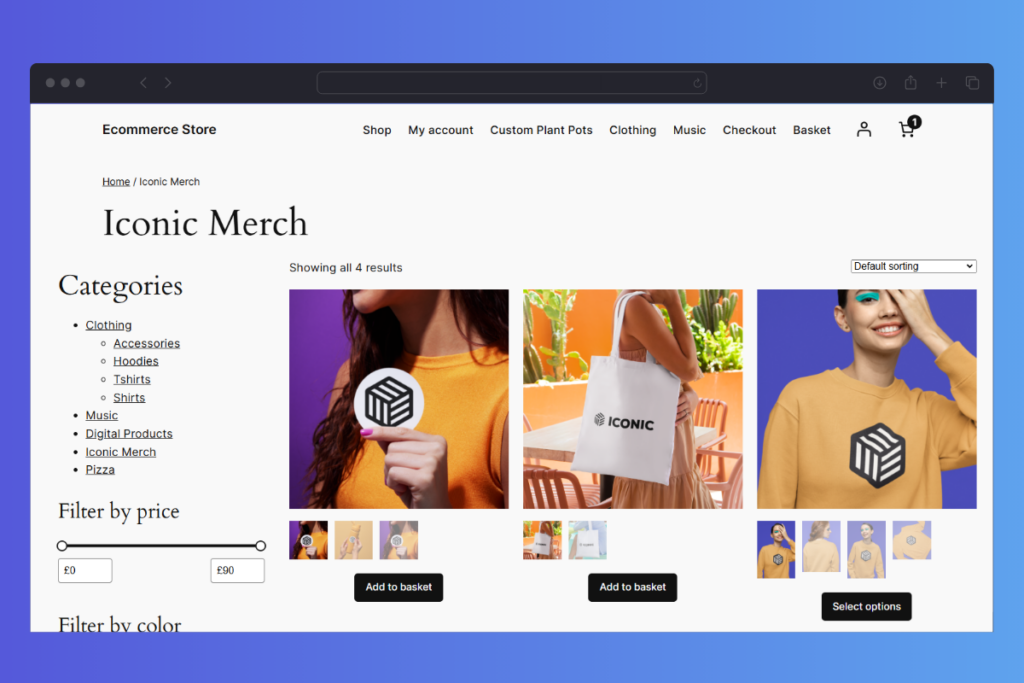
- WooThumbs for WooCommerce upgrades your product image gallery with features like image zoom, sliders, product video, and multiple images for each variation. Customers can examine your products up close from different angles.
- WooCommerce Show Single Variations. It lets you display product variations as single products directly on the shop and category pages.
You can purchase these Iconic plugins one after the other to improve your store. Even better, join the All Access Club to get them and many more plugins at a single, affordable price and optimize your store once and for all.
Day 6-7: Set up essential pages (4-6 hours)
Online stores can be very specific, which is why you also need specific store pages for them to function properly. The WooCommerce wizard lets you create important pages in the first step, including the shop, cart, checkout, and customer account pages.
In addition, there are a few essential pages every ecommerce website needs to look complete and trustworthy. These include:
- Homepage. You can highlight your products on this page, what makes your brand unique, and guide visitors to start online shopping.
- About Us page. This page lets you share your brand story, mission, and values.
- Contact page. Add a simple form, email, phone number, or social links so customers can reach you easily.
- Privacy Policy. Include a clear explanation of how you collect and use customer data (many platforms have templates for this).
Editing these pages makes it easy for people to understand what you sell, who you are, and how to contact you. You can also add your logo, use your brand colors, and write in a tone that reflects your brand clearly.
Week 2: Product Listings and Store Setup
In the second week, we’ll focus on adding products to your store and ensuring everything is ready for customers to browse and buy.

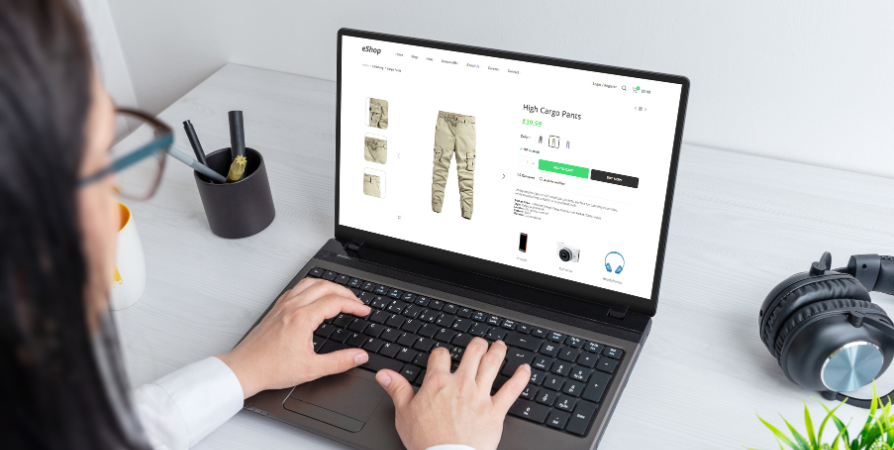
Day 8-10: Photograph your products professionally (6-8 hours)
Anyone who shops online knows how much photos matter. In fact, 75% of online shoppers rely on product photos to make a buying decision.
That’s why this step is worth the effort. The process of taking amazing photos of your product is a three-step process.
The first step is prepping your phone or adjusting the settings on a DSLR camera. There are three main camera settings to adjust on a DSLR: white balance, ISO, and aperture camera settings.

Capturing the photo
The second step is capturing the photo. Natural light should be enough for most of your photo needs. The background depends on your style. Most of the time, you’ll need a plain white for clean product shots.
Generally, lighting and composition are going to dictate the quality of your photos.
Just so you want to know how effective high-quality product photography is: a study found that high-quality product photos have 94% higher conversion rates than low-quality photos.
In addition, take photos from different angles and close-up shots so customers can have an all-around view.
Editing the photo
This is the final step that makes your photo truly amazing. The easiest way to think about editing if you’re a total beginner, is to focus on the big three. Brightness, contrast, and saturation.
One of these editing tools, Adobe Photoshop, Lightroom, GIMP, or Canva can help.
Want to learn more about how to take better product photos? See our ecommerce product photography guide.

Day 11-12: Write engaging product descriptions (4-6 hours)
Product descriptions provide customers with all the information and details of a product on an online store, but in words.
The main goal of writing one is just to explain the item’s purpose, function, and why customers should buy it. One way to write engaging product descriptions is to focus on the benefits instead of listing facts about your product.
- Explain how your product solves a problem or improves the customer’s life
- Break your text into short paragraphs, bullet points, and add headings to keep it simple and scannable.
It’s also best practice to add targeted SEO keywords naturally to your product descriptions. You can boost your rankings on search engine result pages by doing this.
Do you need additional tips on how to improve the quality of your product page content? Check out our guide on creating better product page descriptions, images, and videos.
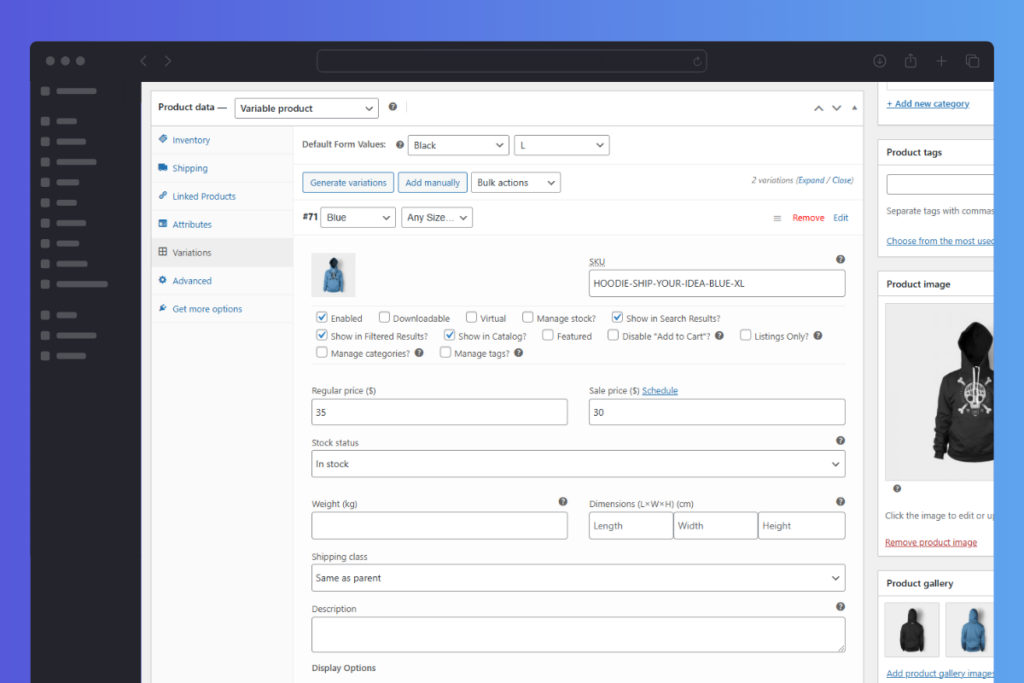
Day 13: Add products to your store and set up categories (3-4 hours)
When your product photos are ready, you can add them to your WooCommerce store.
Just go to your WordPress dashboard and click on WooCommerce > Products > Add New to upload different types of WooCommerce products as photos.
The classic WordPress content editing screen lets you add a product name, product description, product data section, short description, and so on.
Read our WooCommerce digital products guide to get a glimpse of how to add products to your WooCommerce store.
Pro tip: One of the areas that you should pay attention to is the shop and category pages. These pages enable customers to browse your store and discover products they might need. But they can do so much more than that when you improve them with WooCommerce plugins like Show Single Variations or Image Swap for WooCommerce.
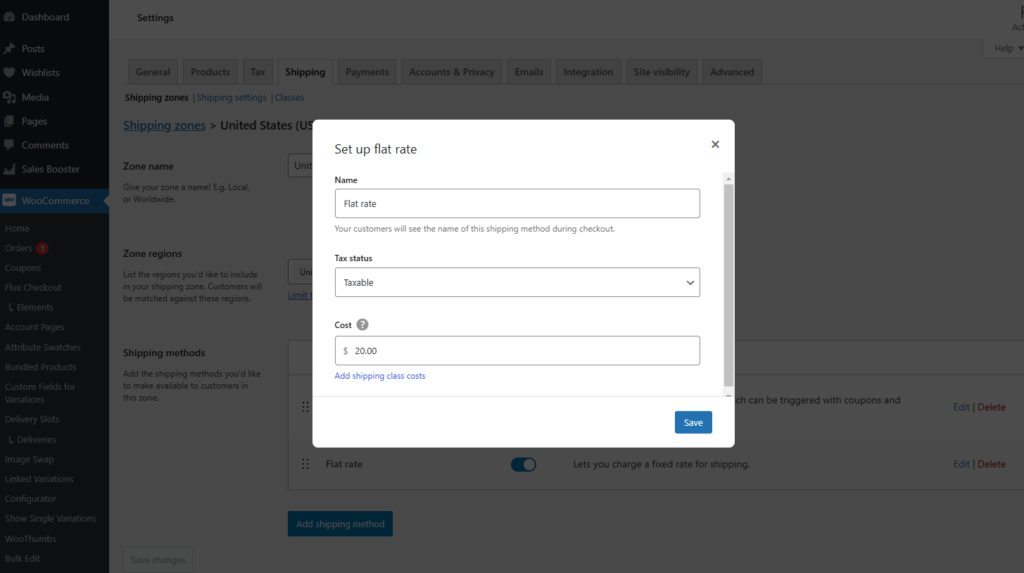
Day 14: Customizing pricing, taxes, and shipping methods (2-4 hours)
Make sure your product prices are also clear. You can factor in all costs like manufacturing, shipping, and platform fees. You may also want to set up sale prices or discounts to encourage purchases.
Depending on your location, you may need to charge sales tax. Use tools like WooCommerce Shipping & Tax to automate tax calculations. These plugins ensure you’re compliant without manual calculations.
What shipping methods will you offer?
By default, WooCommerce lets you add different shipping methods like flat-rate shipping, free shipping, or shipping based on weight or location.
Week 3: Marketing and Promotion
In Week 3, the focus should shift to putting together an ecommerce marketing strategy and promotional items to drive website traffic.
Keep in mind that 89% of businesses use websites as their top marketing channel to acquire new customers. Email is the second most popular channel for customer acquisition, then social media.
Day 15: Create social media profiles and set up email marketing (3-4 hours)
So, if you’re getting started with social media marketing, the first step is to set up your accounts and profiles correctly. You can create profiles on platforms like YouTube, Facebook, Instagram, TikTok, and LinkedIn. They are the most popular social media platforms, with billions of users daily.
Creating a profile on a platform your target customers frequently use is advisable. On average, doing that may increase your customer acquisition rate by 31%.
10 elements of a good social media profile
These are elements that your profile shouldn’t miss:
- Display name and username. Usually, you can’t change your username, so choose it carefully.
- Profile picture, link, bio, and privacy settings.
- Your social media profile interests, background, or cover image.
- Your social media activity and promotions.
To set up email marketing, you can sign up for an email marketing tool like MailerLite, Mailchimp, or ConvertKit. We recommend MailChimp. It allows you to collect email addresses from different sources, including your ecommerce sites and social media channels.
We’ll get into setting up an email list and welcome email later.
Day 16-17: Prepare launch content (4-6 hours)
Launch content is the digital marketing materials you’ll use to promote your store when it goes live. This includes:
- Writing social media posts for different campaigns.
- Creating an email campaign to announce your launch or drive online sales.
- Drafting a blog post as part of your content marketing efforts.
You should also design banners and graphics for your website or ads. The goal at this stage is to ensure all your marketing and promotional materials are ready before the big day.
Day 18: Design promotional banners and graphics (2-4 hours)
Tools like Canva can help you design your own visual content. Normally, it comes with drag-and-drop editing tools and templates that can help you create infographics, blog photos, social media posts, and more.
If Canva isn’t your jam, we recommend PicMonkey. It’s a pretty similar platform but slightly more in-depth. It allows you to erase backgrounds, add fonts, and even edit photos.
We also recommend EWWW Image Optimizer or Optimizilla to optimize your visual content and graphics. These tools help reduce image file sizes without reducing quality. Doing this will improve both your site performance and user experience.
Day 19: Set up an email list and welcome series (2-3 hours)
Again, email marketing tools like Mailchimp let you create sign-up forms and landing pages. You can add these forms to your homepage, product pages, or blog to start building your list.
You’ll also need to create a welcome email sequence for new customers or signups. A welcome email is the first message a subscriber gets after signing up for your email list.
It usually does three things:
- Thanks new subscribers for joining.
- Introduces your brand. who you are, what you offer.
- Guides them on what to expect next, like special offers, helpful content, or new products.
Day 20-21: Test marketing channels and automate (4-6 hours)
Now that your marketing channels are set up, test which ones bring the most visitors or sales. Check if people are clicking your links from social media, email, or blog posts.
Use simple tools like Mailchimp to automate your emails and Buffer or Later to schedule your social posts. This saves you time and keeps your marketing running in the background.
Week 4: Testing, Launch, and Optimization
In the last week, you can test your ecommerce website to identify and fix issues and bugs before going live.
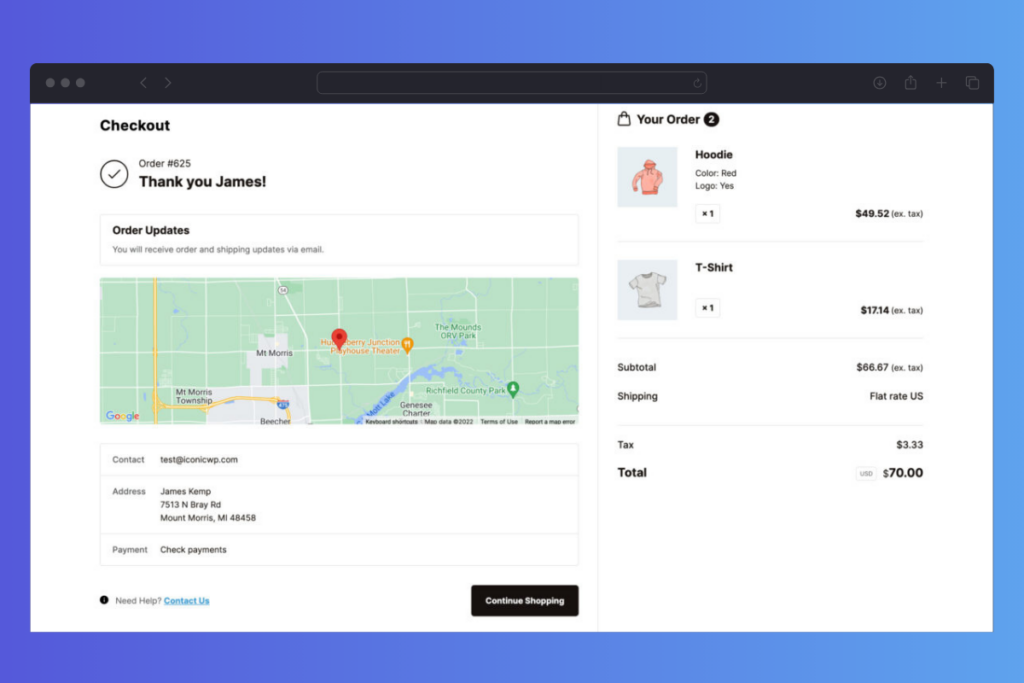
Day 22-23: Test your checkout process and payment integrations (3-4 hours)
During your test, give priority to the checkout process and payment integrations. Here’s why.
The largest drop-off of customers happens in the checkout funnel. Nearly 75.4% of online shoppers abandon their carts before they can complete their purchase. This is 1.26% more than the number of abandoned carts in 2024.
The reason for this cart abandonment is tied to:
- Hidden fees.
- Sign-in barrier.
- Complicated checkout process.
- Not enough payment methods.
So, test all the steps of the checkout process to ensure it is smooth, distraction-free, and fast, even on mobile devices. Make sure all the payment gateways work properly without hiccups.
Pro tip: You can also add trust elements like social proof, testimonials, security indicators, and more to your checkout to build trust with first-time customers.

Day 24: Conduct a soft launch (2-3 hours)
A soft launch allows you to invite a few members of your family or close friends to test your ecommerce website in the real world. You can ask them to browse your store, add products to their cart, and try to complete purchases.
The most important part is to encourage them to give you feedback. You can ask them for feedback using feedback forms, questionnaires, comment cards, and surveys.
In addition, you can also extend your quest list to a small group of loyal customers, colleagues, or even social media influencers to try your site. This helps you get more honest and constructive feedback. It also allows you to kickstart influencer marketing tactics early.
A new customer you acquire by word-of-mouth has a 16-25% higher lifetime value than those you acquire from other sources.
Day 25: Make final adjustments based on feedback (2-3 hours)
After your soft launch, it’s time to make final tweaks. Go through the feedback you’ve received and prioritize fixing the most critical issues. This could include improving the checkout process, fixing any bugs, or adjusting your product descriptions.
Make sure your website is running smoothly and everything is in place before the official launch.
Do you need additional strategies to generate more revenue out of your ecommerce business this year? Check out our guide on increasing ecommerce sales. You’ll find different strategies like upselling, cross-selling, product recommendations, etc.
Day 26-27: Launch your official marketing campaign (4-6 hours)
Now that your site is ready, it’s time to spread the word. Use social media, email, and ads to announce your store. Share posts, send emails, and run ads to reach your audience.
Make sure to include special offers or promotions to grab attention and encourage online sales.
Day 28: Go live and officially announce your store launch (2 hours)
Additionally, you can officially announce that your store is open on social media, via email, and on your website. Inform everyone that your store is officially open and ready for business.

Day 29-30: Monitor traffic and sales, and respond to customer inquiries (4-6 hours)
From this point on, you want to start gathering data and tracking metrics right away.
Usually, the first thing you should do is set clear, measurable goals for your store. These goals are called key performance indicators (KPIs). For example, it could be growing sales, building your email list, increasing website traffic, or improving customer retention. Repeat purchases and retention may come later as your store grows.
Once you’ve set your KPIs, identify the metrics you need to track to measure your progress. For instance:
- Use Google Analytics to track website traffic and where your visitors come from.
- Monitor conversion rates to see how many visitors actually buy.
- Use your store dashboard to track orders, sales, average order value, and abandoned carts.
- Set up Facebook Pixel or other ad tools to monitor campaign performance.
Pro tip: Finally, remain responsive. Answer customer questions promptly as they arise, whether through email, live chat, or social media. Quick replies can help build trust and ensure your first customers are happy and satisfied.
Start building your online store today
With our ecommerce strategy, building an ecommerce store in 30 days is super easy, achievable, and doable.
What we’ve done is break down the whole process into simple steps spread over specific days and hours. We’ve also suggested the best tools and plugins to use so stay organized, make steady progress, and avoid feeling lost or stuck until the 30 days are over.
The roadmap is flexible too, meaning you can adjust it as needed to fit your schedule, pace, or business goals.
Once you’ve done your market research to confirm that your ecommerce business idea is feasible, you can use this plan to build a store with confidence.
Now, the ball is in your court. Start building your online store today and launch your business in just 30 days!
All of our plugins, one simple price
Increase conversions & optimize your store with access to every plugin we make now and in the future.

Gina Lucia is our in-house Content Manager at Orderable. She writes articles, user guides, technical documentation, and creates videos on everything WooCommerce and Orderable.
Gina has been working in the WordPress/WooCommerce space since 2012 when she developed WordPress websites for clients large and small.
For the past 8 years, she’s been writing about everything WordPress and WooCommerce, becoming an expert in what makes a WooCommerce store succeed.
When not writing, Gina loves to tend to her vegetable garden, read, or travel to mainland Europe.