
Displaying different content according to the user role in WordPress is something that’s useful if you run a membership site or a store.
With the WooCommerce Account Pages plugin and a function to get the current user role in WordPress, you can create account pages for your users, and display different pages or content depending on the role of the current user.
In this post, we’ll show you how to fetch the user role in WordPress and how to create account pages using the plugin.
Get User Role in WordPress
The WordPress wp_get_user() WordPress identifies the ID of the current user, which is stored in the database as wp_user. You can use this to identify the user ID and role and show them content based on that.
You could do this by coding the wp_get_user() function into your theme’s functions.php file or template files, but there are WordPress plugins that will do it for you.
The User Role Editor plugin lets you create extra roles for your website. The premium version of the plugin also lets you display content based on user role, using shortcodes.
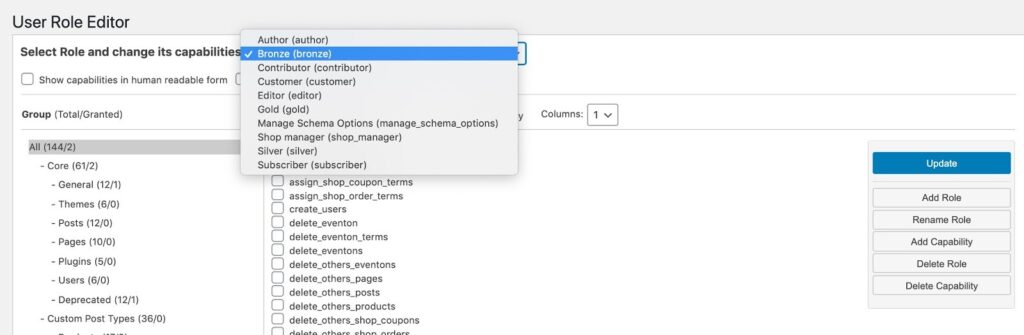
This way, you can add user roles to your WordPress site. You can then use the WooCommerce Account Pages plugin to create pages that you show to specific user roles.
Creating Account Pages using the WooCommerce Account Pages Plugin
Once you have your user roles identified, you’ll need to create content to show to users based on their role name.
The WooCommerce Account Pages plugin lets you create pages that are visible to logged-in users only. They’re displayed in the My Account page created by WooCommerce, but you could use this plugin if you weren’t running a store – all you’d need to do is install WooCommerce and only activate the account page, not the cart or store pages.
Here’s how you create account pages using the plugin.
Installing and Activating the Plugin
When you purchase WooCommerce Account Pages, you’ll be given a download link. Download that file then upload it to WordPress by going to Plugins > Add New and clicking the Upload Plugin button.
WooCommerce Account Pages
Add custom endpoints/tabs to the My Account area in your WooCommerce store with the plugin WooCommerce Account Pages.
After installing and activating the plugin, you’ll be taken to the license key screen.
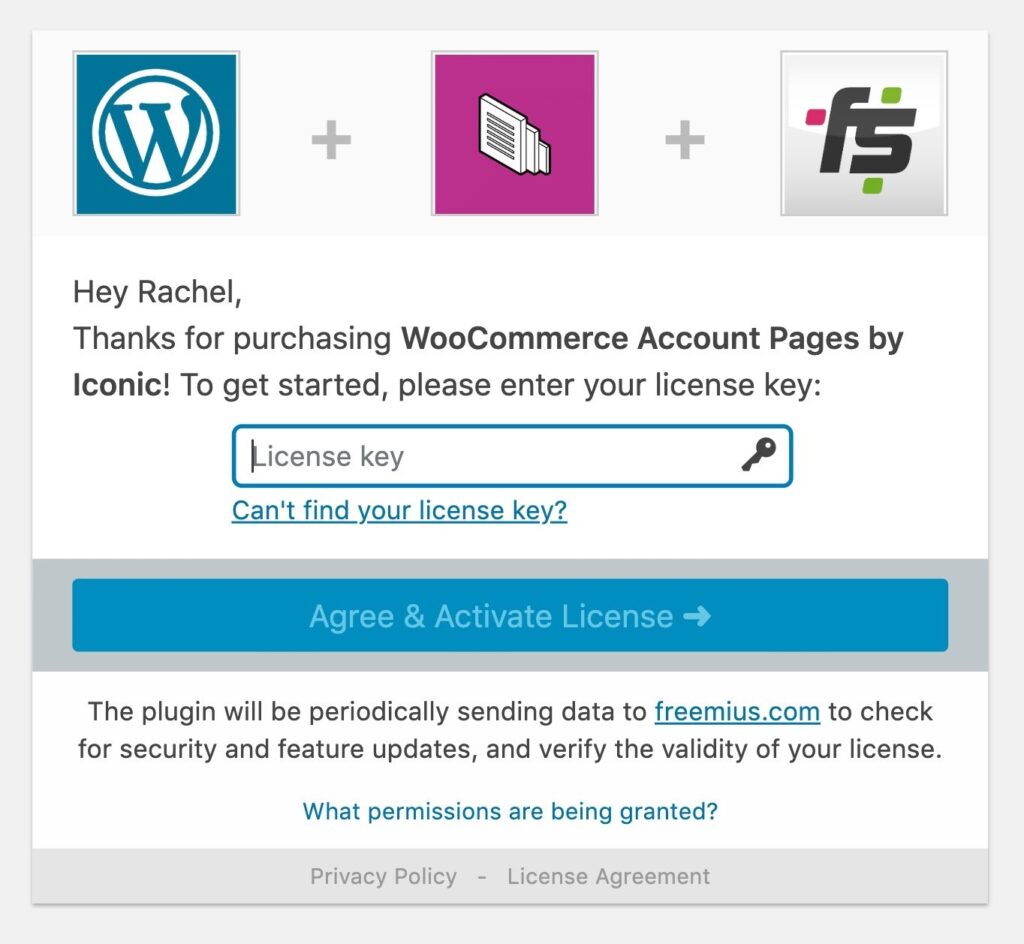
Copy the license key from the email you received with your download link. Paste it into the License key field and click the Agree & Activate License button.
Once you have the plugin installed, you can start using it to customize the display of your user account pages in WordPress and WooCommerce.
Creating Account Pages
Start by creating a page in your WordPress site in the normal way, by going to Pages > Add New. Below I’ve created a dummy knowledge base page for users.
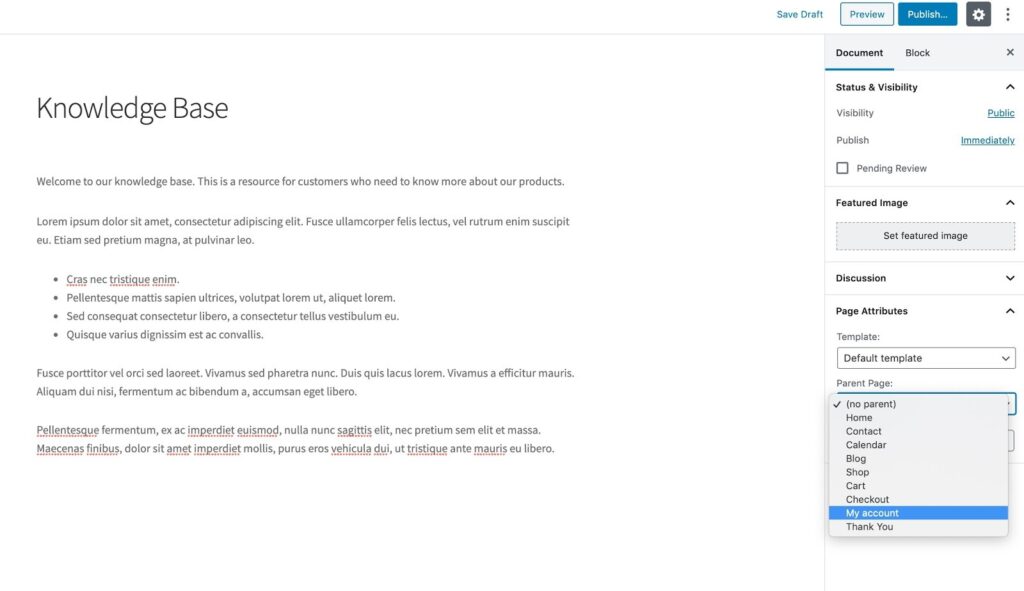
Create the page and populate it, then in the Document pane on the right, go to the Page Attributes section. Click on Parent Page and select My Account. Now publish the page. When a user visits the My Account page, they will see the extra page listed.
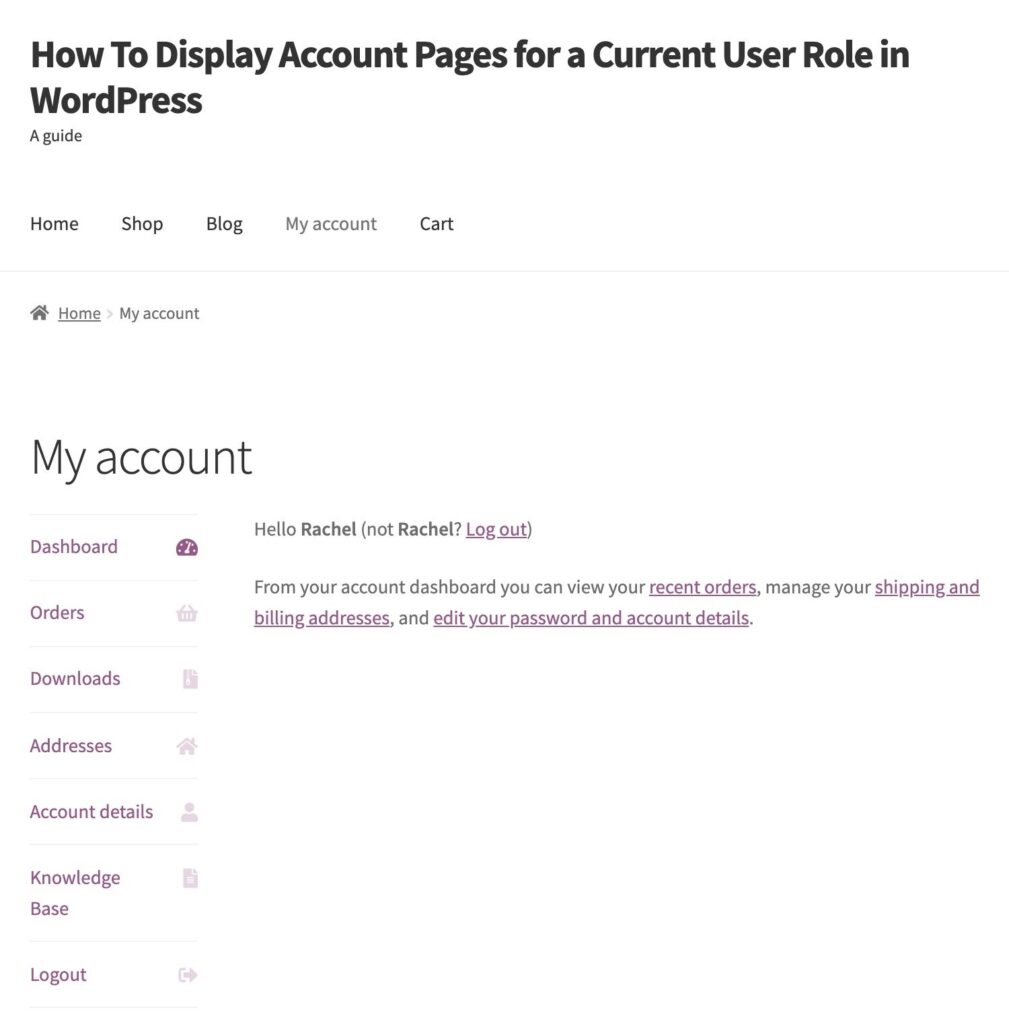
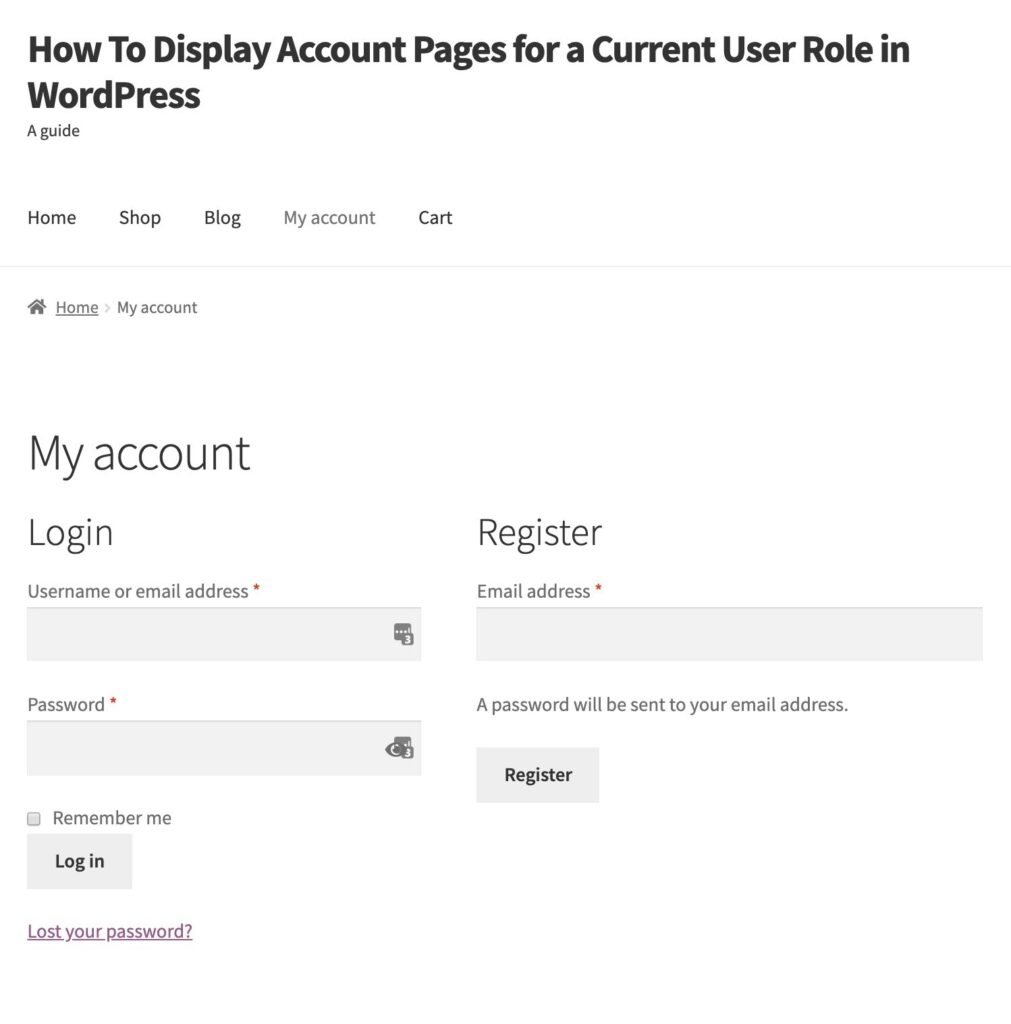
The page will only be available to logged-in users. This is because the plugin uses the WordPress is_user_logged_in() function to identify if the current user is a logged-in user.
If the user logs out, the system will hide this page. Instead, they’ll just see the login and registration forms provided by WooCommerce.
Displaying Account Pages for WordPress User Roles
The final step is to bring the previous two steps together.
Use the shortcodes provided by the premium version of the User Role Editor plugin to add content to your account pages. The Shortcode block in the WordPress page editor lets you do this.

Once you’ve done this, users will see different content on this page according to their role.
Alternatively, you can use the plugin to define specific pages only available to individual roles – see the plugin documentation for more details.
Summary
Being able to display content according to the user role gives you much more flexibility for a membership site or a store. If you follow the steps above you can create account pages with the WooCommerce Account Pages plugin and then display them for the appropriate user roles, by identifying the current user role.
