How To Offer Both Delivery And Collection At The Checkout
Your store might want to offer both delivery and collection at the same time to customers. If this is the case, both can be used within WooCommerce Delivery Slots. This guide will take you through the steps you need to set it up.
The first thing you’ll need to do is set up your shipping zone. This will allow you to select which shipping method/s you’d like to use. In this case, we’re going to set up Local pickup (collection) and Flat rate (delivery).
Note: If your shipping method settings look different from the ones below, you can check the official WooCommerce shipping method documentation here.
To create both of these, take the following steps:
- In your WordPress dashboard, go to WooCommerce > Settings and click on the Shipping tab.
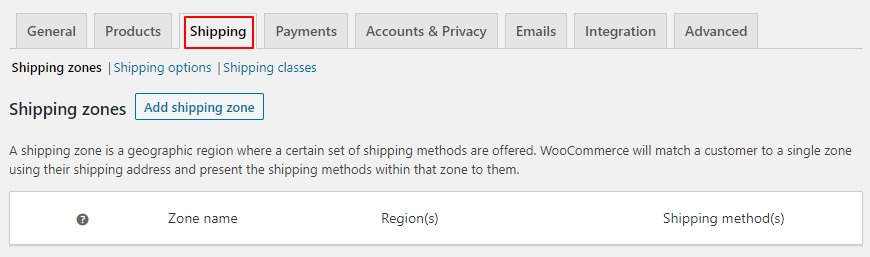
- Click Add shipping zone.
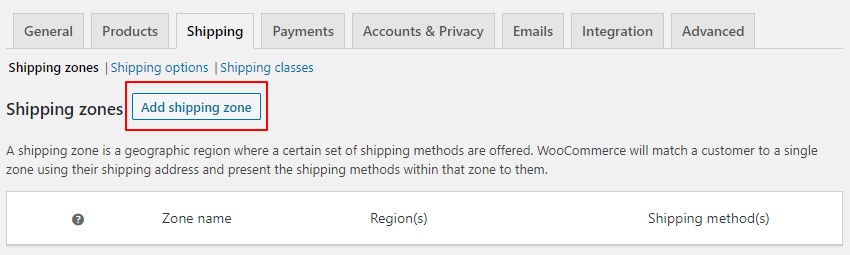
- Once done, a page will appear allowing you to add your shipping zone information.
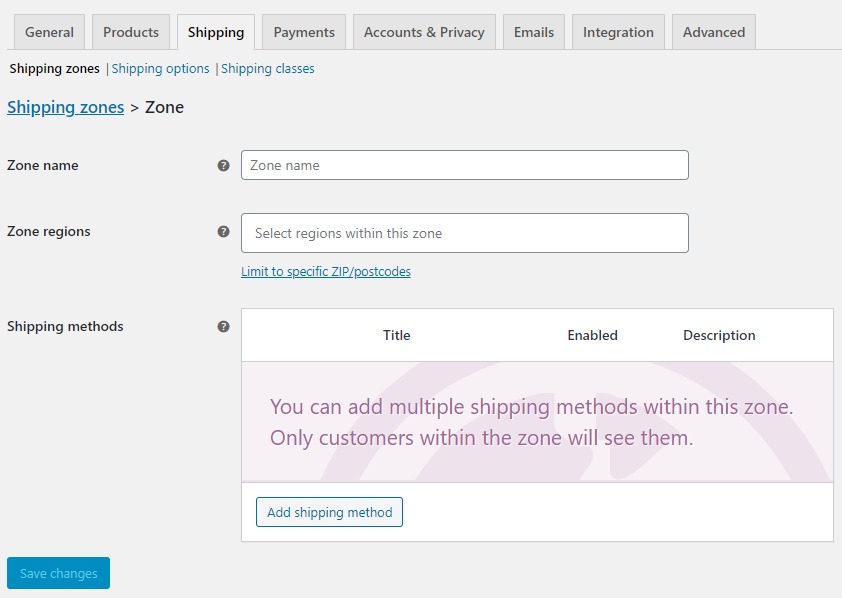
- In this case, we’re going to call this shipping zone Local and set the region to the United Kingdom.
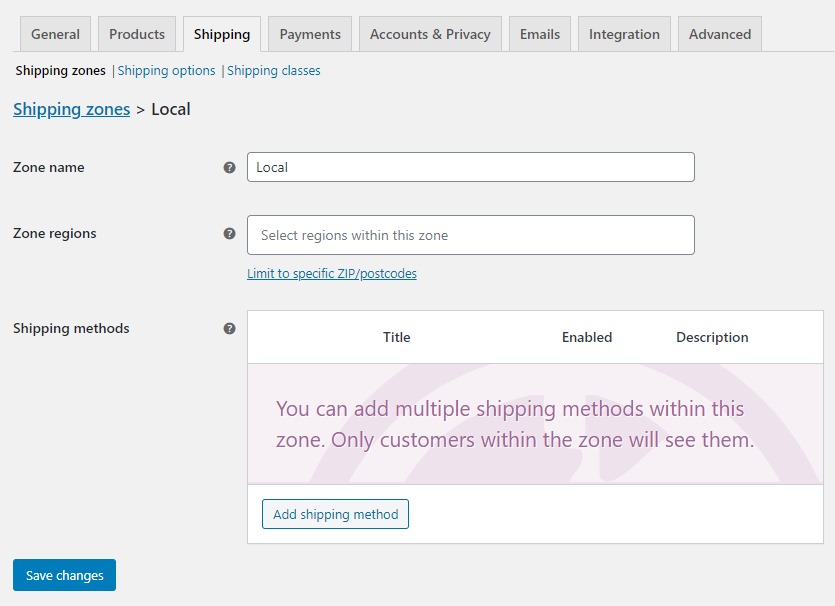
 This will restrict both delivery and collection to the United Kingdom only.
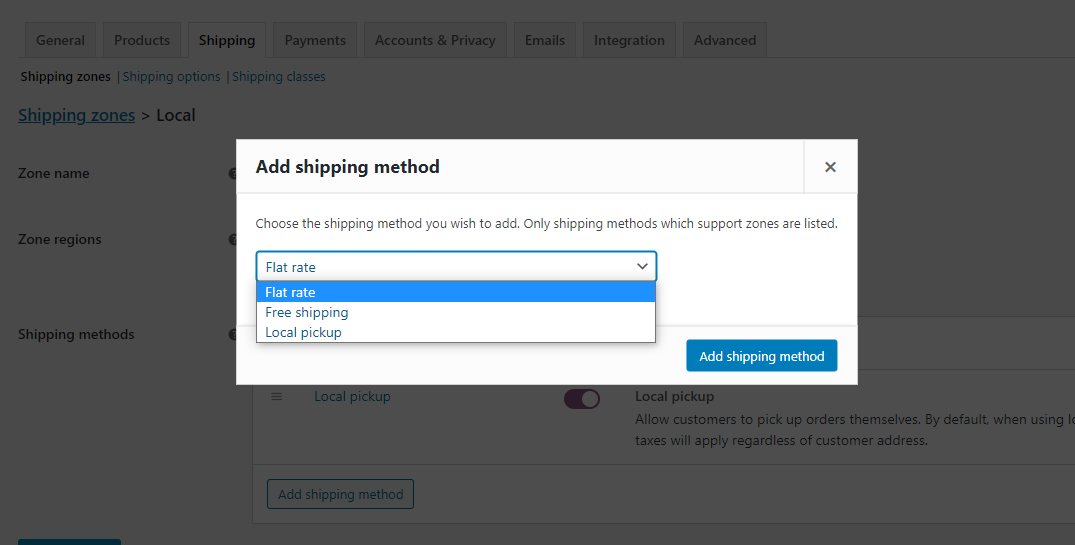
 - Next, we’ll add two shipping methods, Local pickup (collection) and Flat rate (Delivery).
- To do this, click the Add shipping method button in the Shipping methods table and select the shipping method/s you want to add.
- Once added, you’ll then be able to click the blue Edit text under the shipping method name to add a charge and tax if you wish.
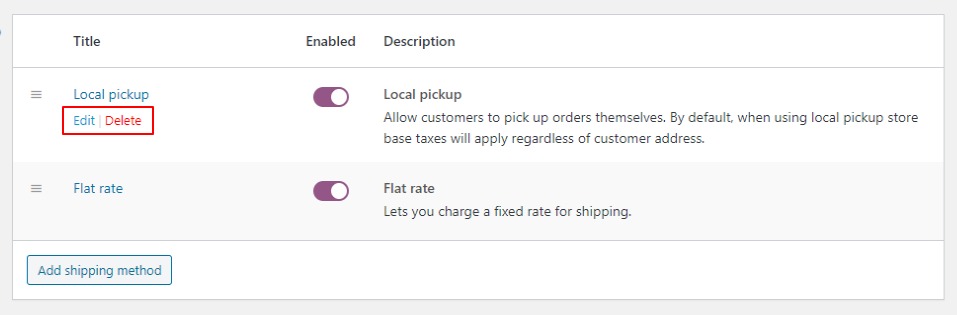
- Once happy, click the blue Save Changes button at the bottom of the page.
Change your delivery/collection checkout labels
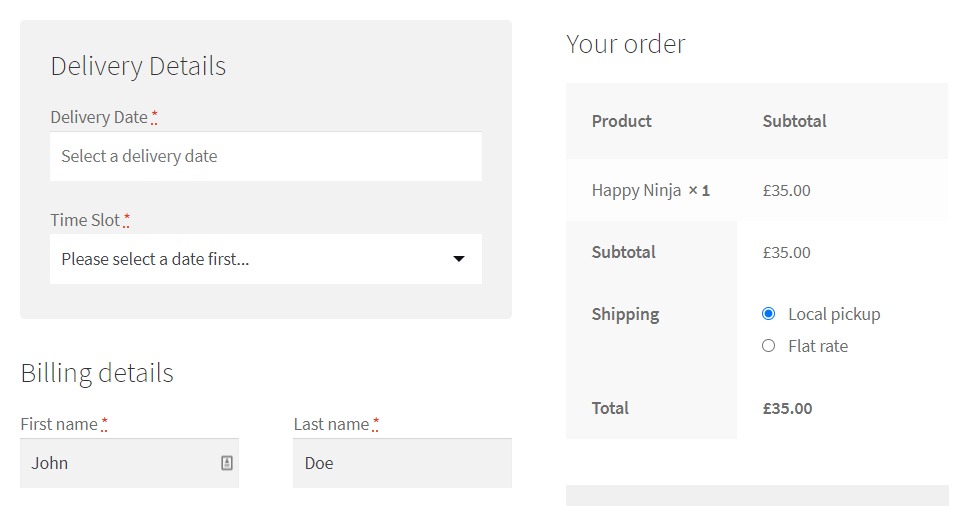
Now that we have both Flat rate and Local pickup created, we need to make sure the labels at the checkout show ‘Delivery’ or ‘Collection’, depending on which is selected.
To do this, take the following steps:
- In your WordPress dashboard, go to WooCommerce > Delivery Slots and click on the General Settings tab.
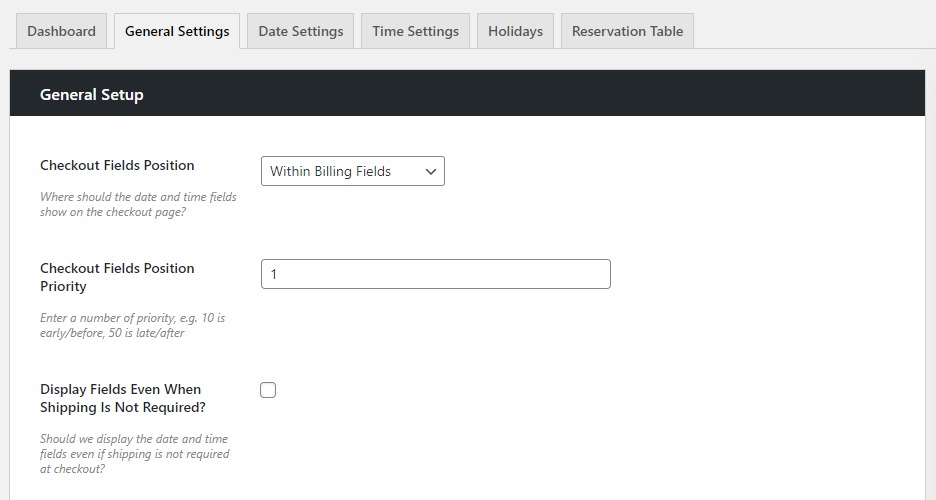
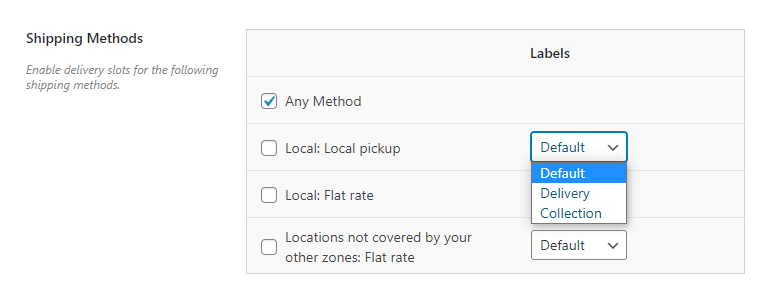
- Scroll down within the General Setup section until you reach Shipping Methods.
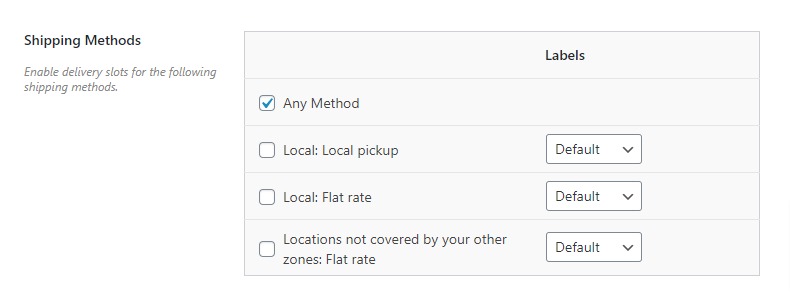
- Here you’ll be able to change the label for each shipping method. So if you select Collection, the words ‘Collection’ will replace ‘Delivery’ at checkout when that shipping method is selected.
- To do this, select the dropdown in the Labels column, and once happy, scroll down to the bottom of the page and click the blue Save Changes button.
Add delivery/collection to your time/date slots
Now we have our shipping methods and labels set up, let’s add them to specific time/date slots.
To do this, take the following steps:
- In your WordPress dashboard, go to WooCommerce > Delivery Slots and click on the Time Settings tab.
- Once here, scroll down to the Time Slot Configuration section and view your Time Slots. If you’ve not set these up yet, see our documentation for more details.
- Within your Time slots, you’ll see the Shipping Methods section. Here you’ll be able to select which shipping method you’d like to apply to each timeslot by clicking the checkbox next to it.
- Once happy, click the blue Save Changes button at the bottom of the page and your time slots will be updated.
You’ll be able to customize this fully by either offering both local pickup and flat rate on each time slot, or by creating time slots specifically to cater to these shipping methods.
WooCommerce Delivery Slots
Let customers choose their preferred WooCommerce delivery date and time right from your WooCommerce checkout page. With WooCommerce Delivery Slots, you can set a flexible delivery schedule to suit you and your customers.
Was this helpful?
Please let us know if this article was useful. It is the best way to ensure our documentation is as helpful as possible.