How to Install WooCommerce Quickview
Congratulations on purchasing WooCommerce Quickview. You’re just a few steps away from getting it installed and activated on your WooCommerce site.
Look out for our emails
After purchasing WooCommerce Quickview through the Iconic website, you’ll be sent 2 emails.
- The first will provide you with a link to download WooCommerce Quickview, along with your license key. We recommend keeping your license key safe, you’ll need it later.
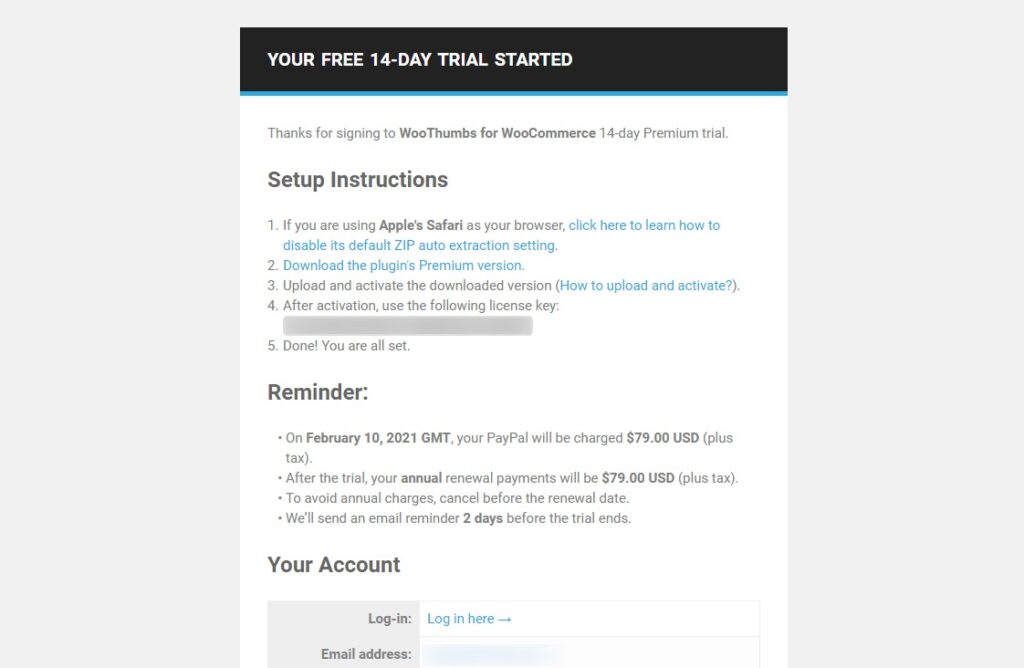
- The second will contain the invoice for your purchase. You can also download it as a PDF invoice for your records right from the email by clicking Your PDF Invoice.
Click the link to download WooCommerce Quickview in the first email and we’ll move on to the next step.
Upload WooCommerce Quickview
Now that you’ve downloaded the WooCommerce Quickview zip file, you’re ready to upload it to your website.
- Login to your WordPress site.
- In the WordPress sidebar click Plugins > Add New.
- Then click Upload Plugin.
- Next, click Choose File and select the WooCommerce Quickview zip file you downloaded from the first email.
- Click Install Now.
- Once installed, click Activate.
Verify your purchase
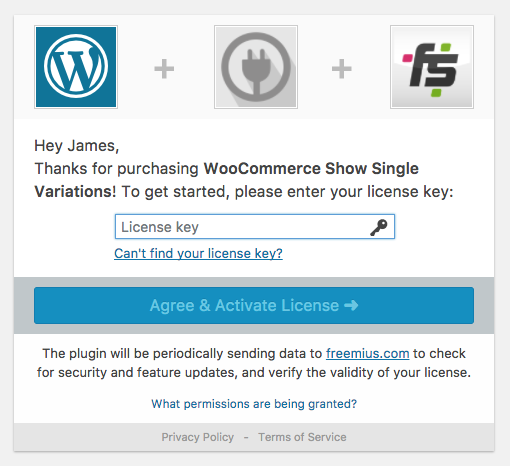
After activating WooCommerce Quickview, you’ll be redirected to a license activation screen. This will verify your purchase and make sure you get the latest updates from us.
- Enter the license key from your first email in the License Key box.
- Then click Agree & Activate License.
WooCommerce Quickview is now activated, so let’s get it set up.
WooCommerce Quickview
Add a WooCommerce quickview product lightbox to your category and shop pages. Allow customers to preview product information and add products to the cart without leaving the page.
Was this helpful?
Please let us know if this article was useful. It is the best way to ensure our documentation is as helpful as possible.