How to Customize the Contents of the Quickview Window
If you’re looking to customize the contents of the Quickview window itself, you can do so by following these steps:
- From your WordPress dashboard, go to WooCommerce > Quickview and click the Popup Settings tab/link at the top of the page.
- There are three sections on this page, we’ll go through each below.
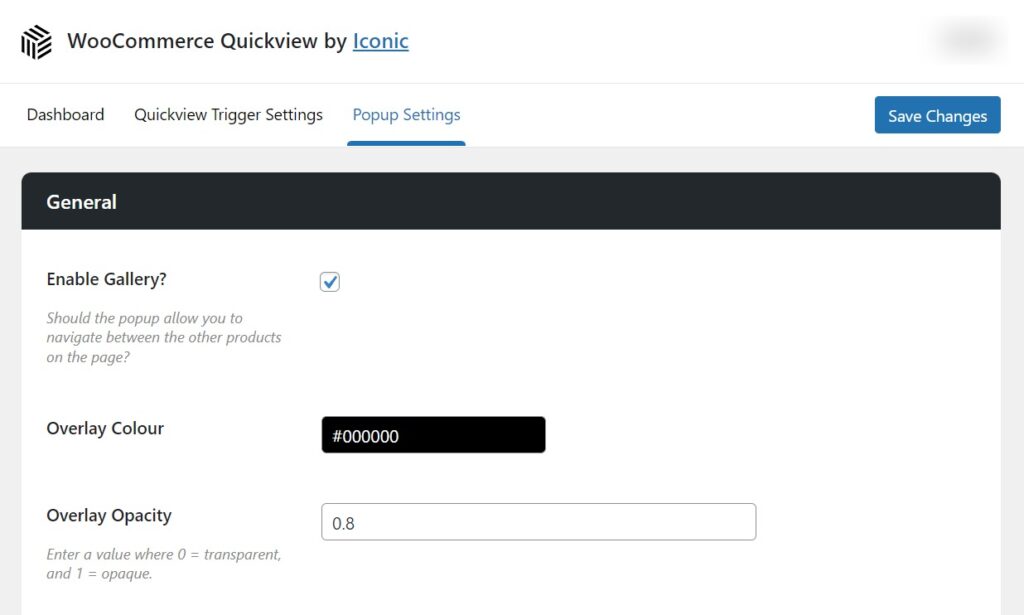
- General –
- If you’d like for customers to be able to move between products using arrows while in the quickview popup, click the checkbox next to Enable Gallery?
- The next two settings (Overlay Color and Overlay Opacity) allow you to change what your site will look like when the quickview popup is open. The default settings work well here, but you can adjust if you wish.
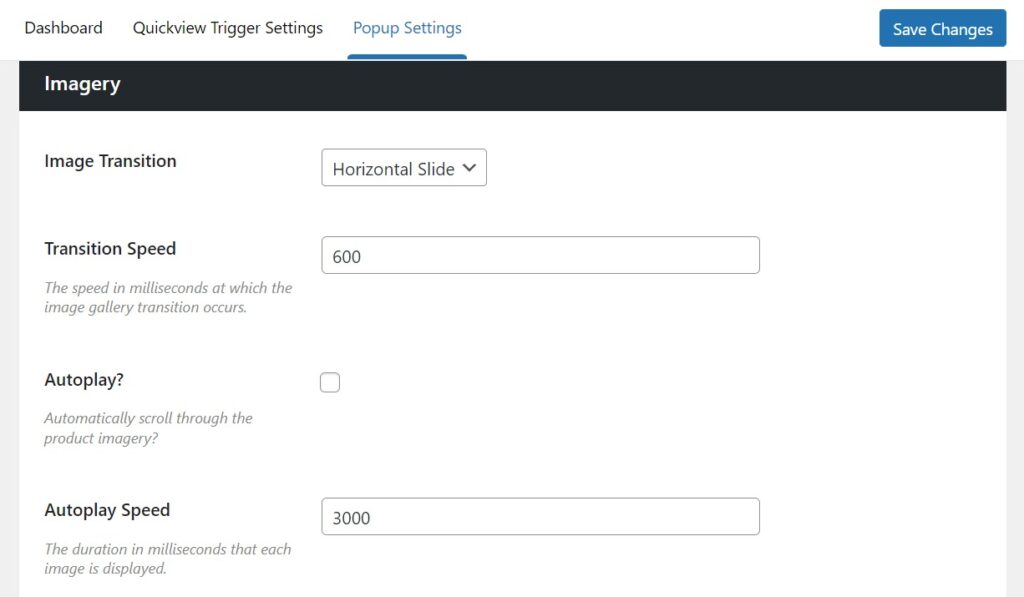
- Imagery –
- This section will allow you to customize how the product image gallery works within the quickview popup. Here you’ll be able to change the image transitions, speed, thumbnail type and more.
- Content –
- The content section of this page allows you to select which product page ‘elements’ you’d like to be included in your quickview popup (anything from the title, rating, price, add to cart buttons and more). To enable or disable these elements, check or uncheck the tickbox next to each one.
- In this section you’ll also be able to customize the color of your quickview popup buttons. Either enter the hex code if you already know it, or click on the field and a color wheel will pop up.

- Once you’re happy with all your changes on this page, scroll down or up the page and click the blue Save Changes button.
WooCommerce Quickview
Add a WooCommerce quickview product lightbox to your category and shop pages. Allow customers to preview product information and add products to the cart without leaving the page.
Was this helpful?
Please let us know if this article was useful. It is the best way to ensure our documentation is as helpful as possible.