How to Create Your First Configurable Product
In this guide, we’ll walk you through the steps you need to create your first configurable product using WooCommerce Product Configurator.
Before we start creating a configurable product, please make a note of these important items:
- Your images must be in the format PNG or WebP.
- Layers run from top (highest layer) to bottom (lowest layer) in the configurator tab. This order is defined in the product’s Attributes tab.
- You should set a featured image for the product, which will appear in product listings and as a fallback.
- The configurator tab will only show once a variable product with attributes is saved.
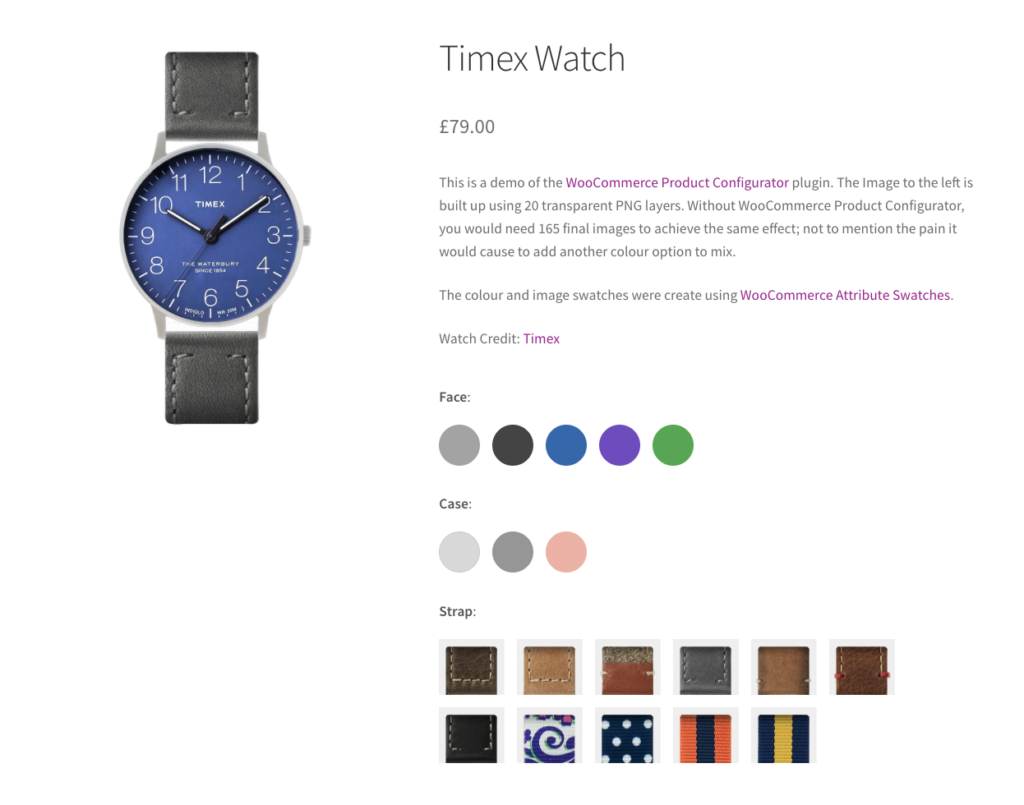
Once the plugin is installed, you can begin setting up your configurable product. In this example, we’ll show you how to create a configurable watch as per the demo.

Step 1: Create a variable product
WooCommerce Product Configurator only works with variable products. Each image layer is assigned to an attribute value; when the user selects a product option, the layer is loaded in.
We’ll start by creating a variable product. Our product will use 3 attributes:
- Face.
- Case.
- Strap.
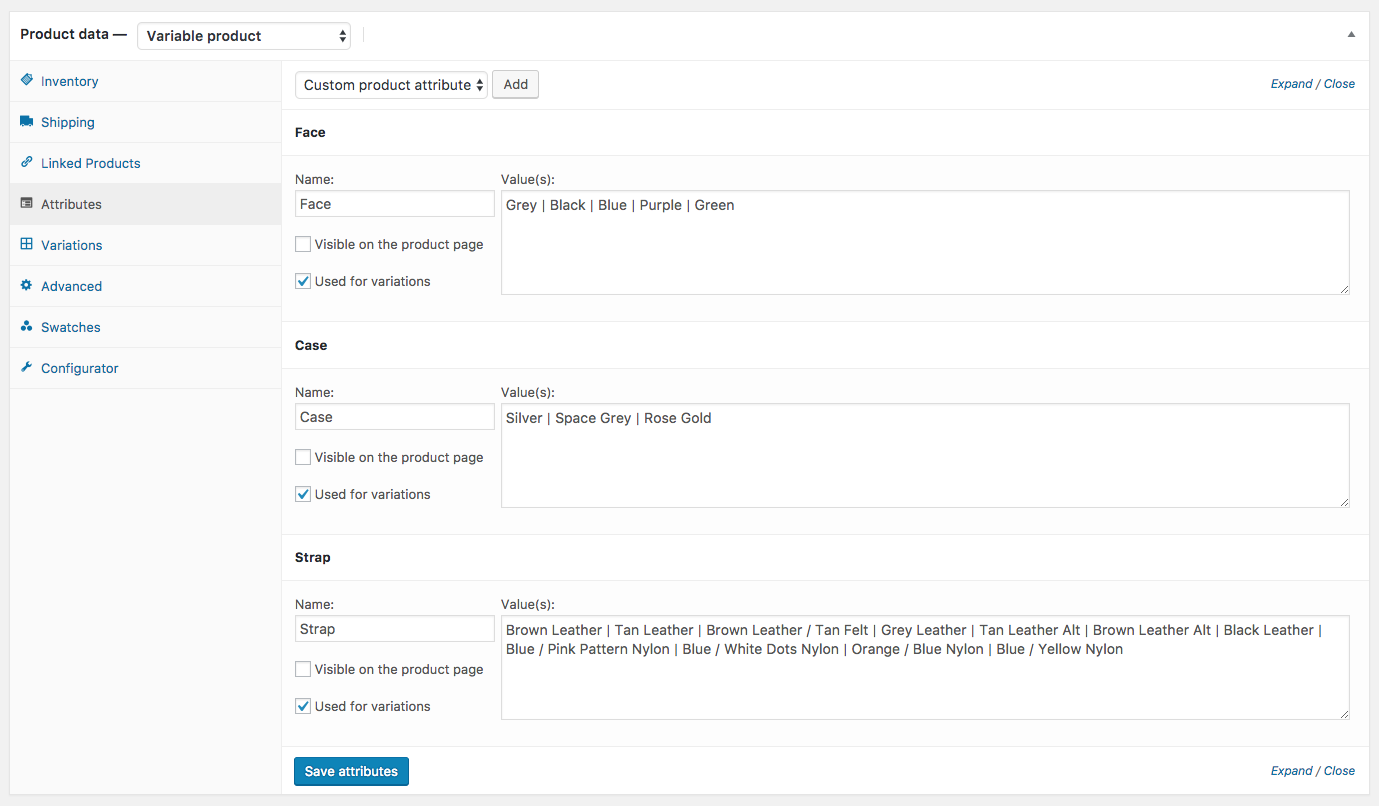
Each attribute will then contain a number of different options for changing the appearance of the watch. The Face contains 5 options, the Case contains 3 options, and the Strap contains 11 options.
Usually, we’d need to manually create 165 final images to cater to every combination of these options, but using the Product Configurator plugin we will only need 20 images.
Here you can see the attributes we’ve created for the watch:
You can now create the variations. For the purpose of this demo, we only have one variation available:
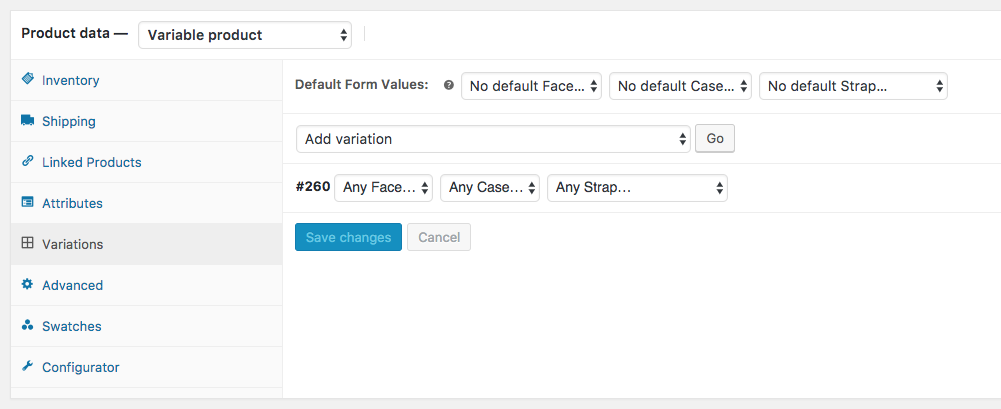
Make sure your variations are in stock and have a price set. Without this, they won’t be available to the user on the product page.
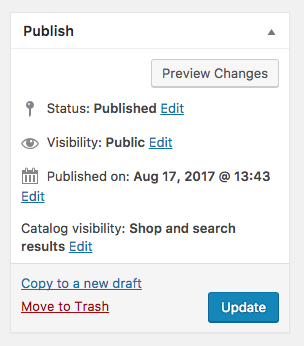
Save the product using the publish settings.
Step 2:Enable the configurator
We’ve added our product attributes and variables, and we’re ready to start putting our configurable product together.
While editing your product, find the Product Data section and click Configurator. Enable Configurator by clicking the toggle switch, found next to the Update button.
Step 3: Prepare the configurable product image layers
Preparation of the images is probably the most important step when using the Product Configurator plugin. You will need to use an image editing program like Adobe Photoshop or Affinity Photo.
- Firstly, create an artboard at your preferred size. For example, 1000px by 1000px.
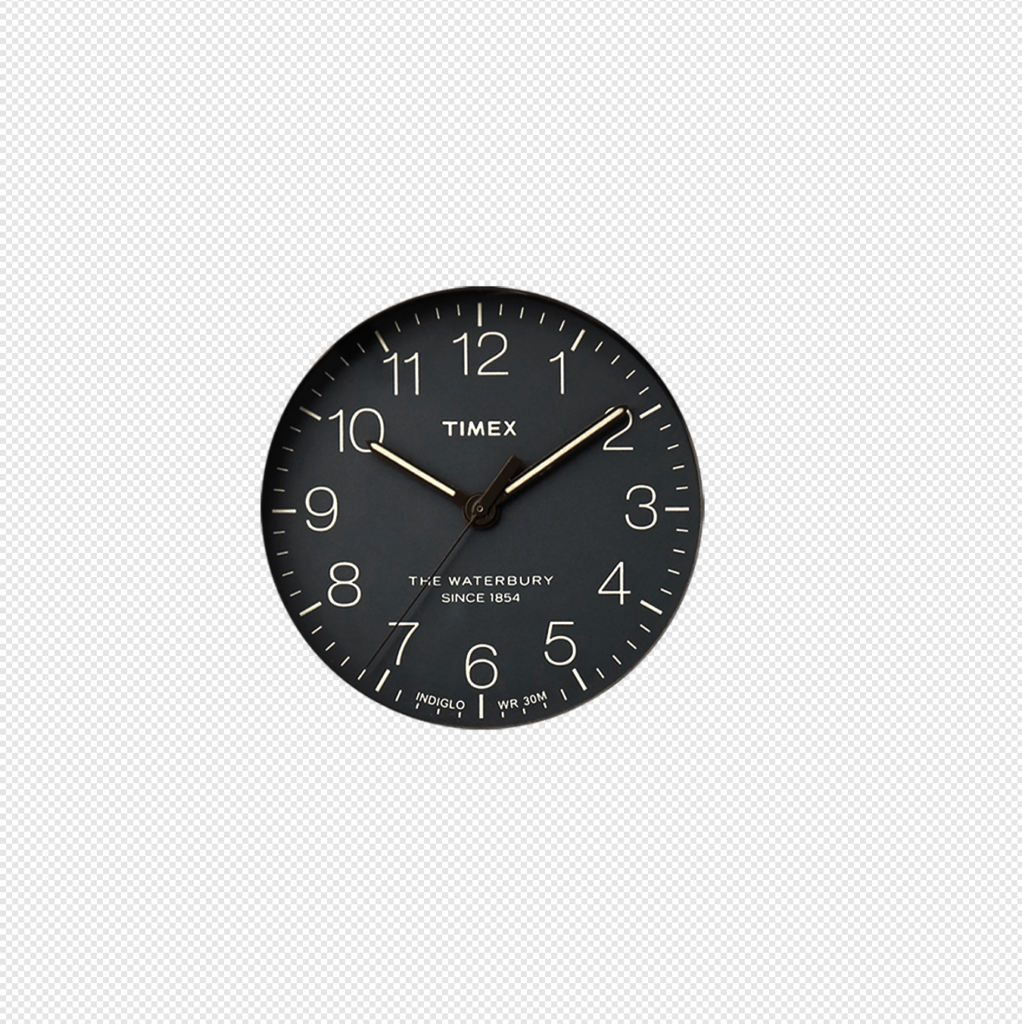
- Create your image layers, ensuring everything lines up to the layer below.
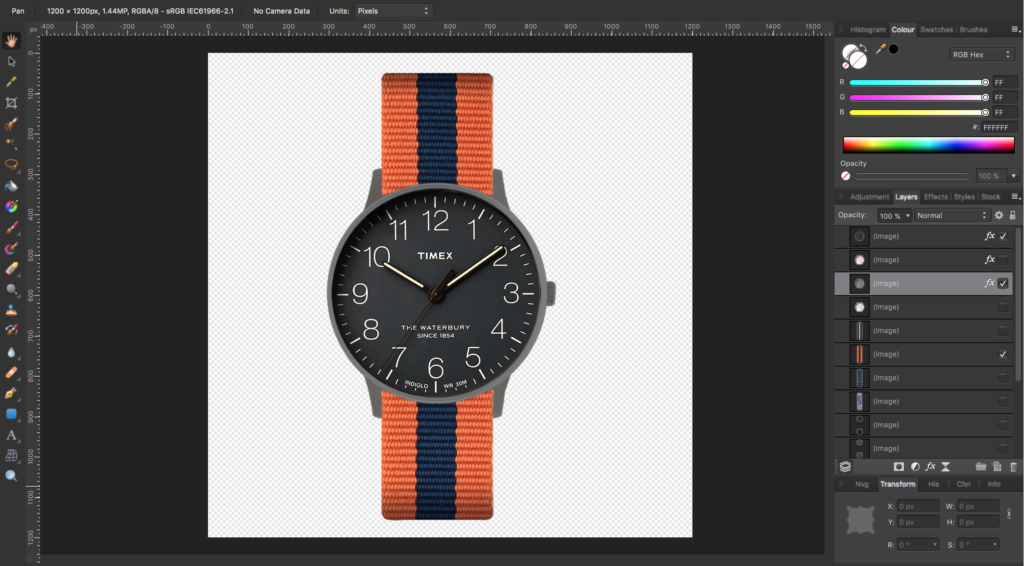
- Save each layer at the size of the artboard (1000px x 1000px) with the background remaining transparent.
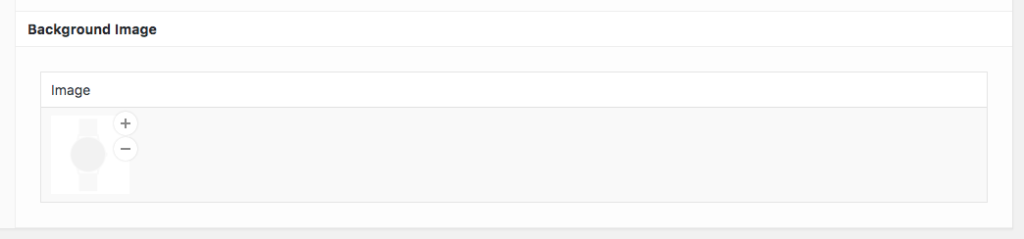
- You’ll can optionally create a background layer. This can be a solid colour, if you like, but it must still be saved as a PNG or WebP image.

Step 4: Add the image layers to your configurable product
Below the checkbox to enable Configurator, you’ll see a list of your attributes and the values available for each. This is where you add your image layers.
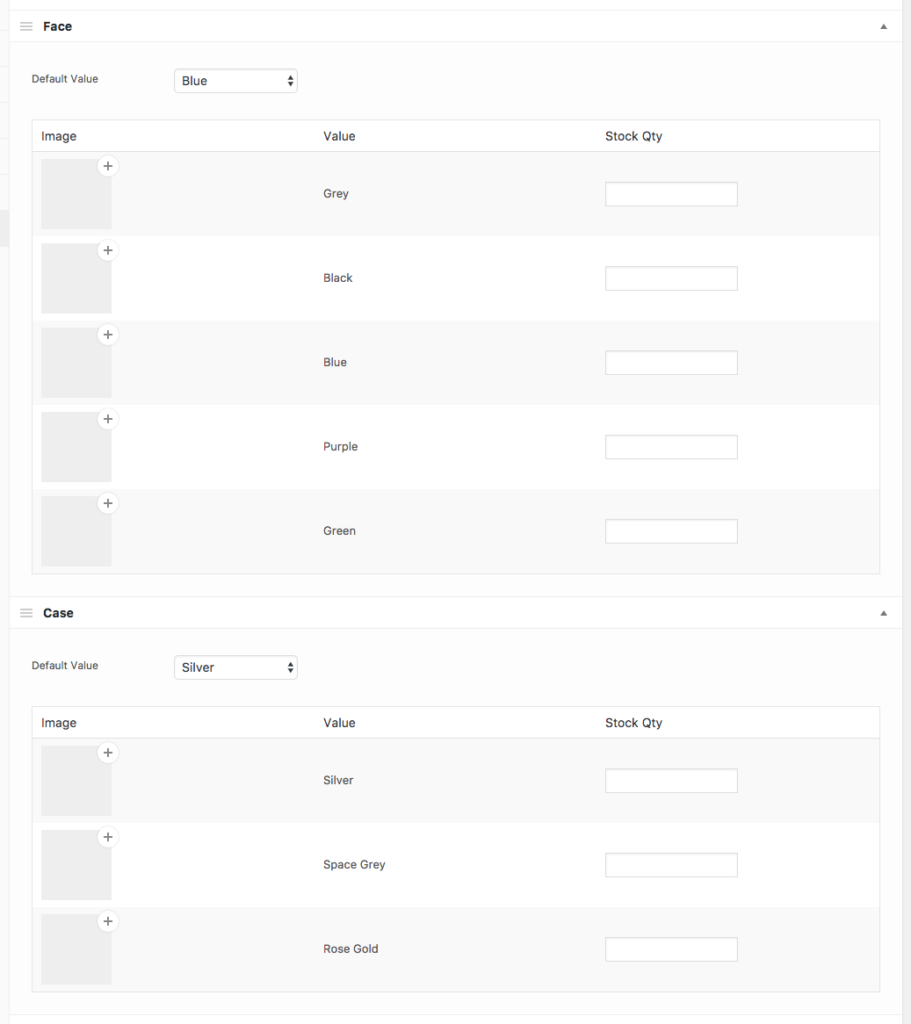
You can see that for each attribute value, we are given an image selector. To add an image, click the plus (+) icon and upload or select your image from the media library. Once selected click Set image.

You can remove the image by clicking the minus (-) icon.
Repeat these steps for all attribute values.
Step 5: Reorder the layers
If you need to reorder the layers, you can click the 3 lines icon to drag and drop them.
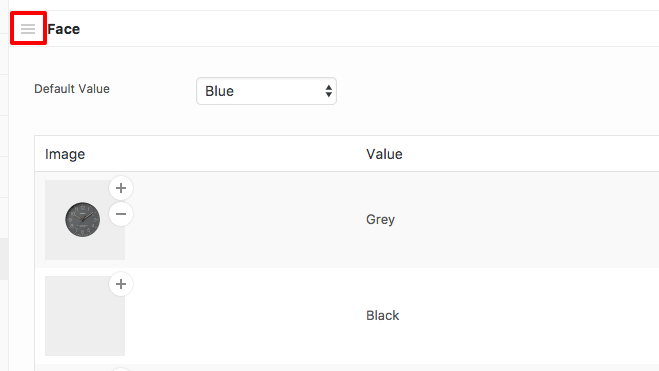
To make it easier, click the arrow icon to collapse the layer.
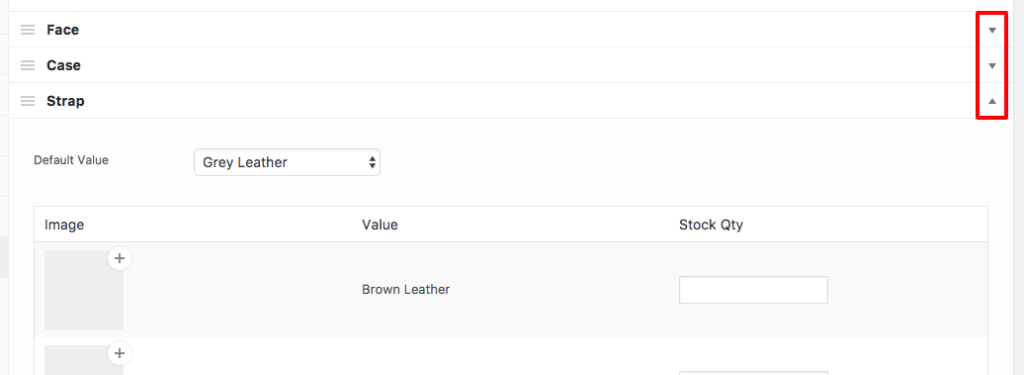
As we mentioned earlier, attributes at the top will display on the front end of your website above the ones below it. For example, we always want the watch face to be displayed on top of the watch strap.
WooCommerce Product Configurator
WooCommerce Product Configurator adds a visual product configurator to your WooCommerce store and allows visitors to customize your products with ease.
Was this helpful?
Please let us know if this article was useful. It is the best way to ensure our documentation is as helpful as possible.