How to Integrate Google Calendar with Iconic Delivery Slots
WooCommerce Delivery Slots allows you to sync your store with Google Calendar, so reserved slots will be automatically updated to your Google calendar. This guide will show you how to set this up.
Step 1: Install the Google Calendar Addon plugin
For the first step, we’ll need to download the Google Calendar addon for WooCommerce Delivery Slots.
Once we have the plugin, we’ll need to add it to your website. To do this, take the following steps:
- From your WordPress dashboard, go to Plugins > Add New > then click the Upload Plugin button at the top of the page.
- Click Choose file and select the Google Calendar plugin (ZIP file) you just downloaded to your computer.
- Click Install Now.
- Once installed, click Activate Plugin.
Step 2: Create the Google API APP and get Client ID and Secret
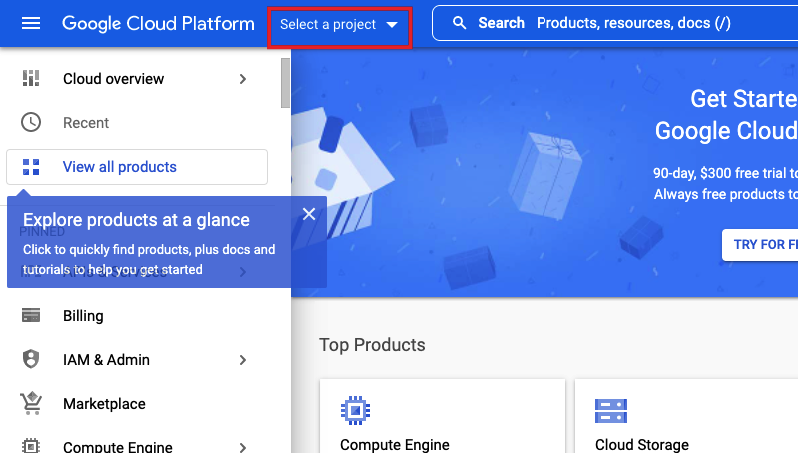
- Register and login to console.cloud.google.co
- Click on the Select a Project button.
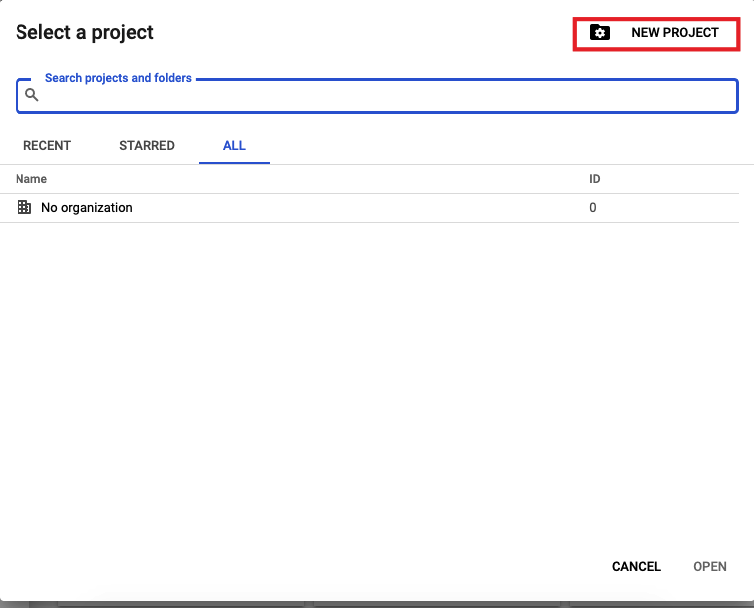
3. From the popup, click on the New Project button.
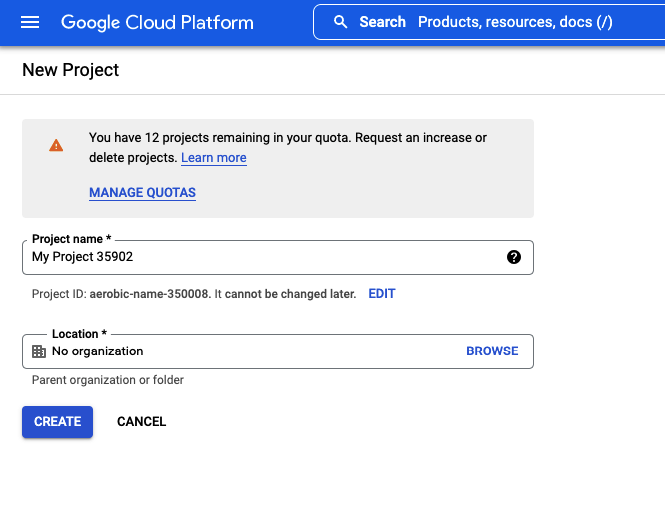
4. Give the project a name or keep the default one. Click on the Create button.
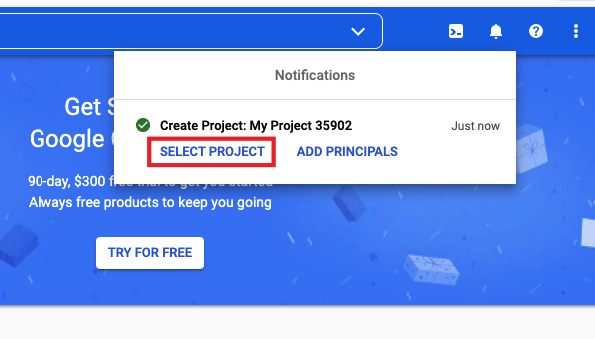
5. If not automatically selected, click on Select Project button
6. From the left sidebar, hover on APIs & Services and then click on Library.
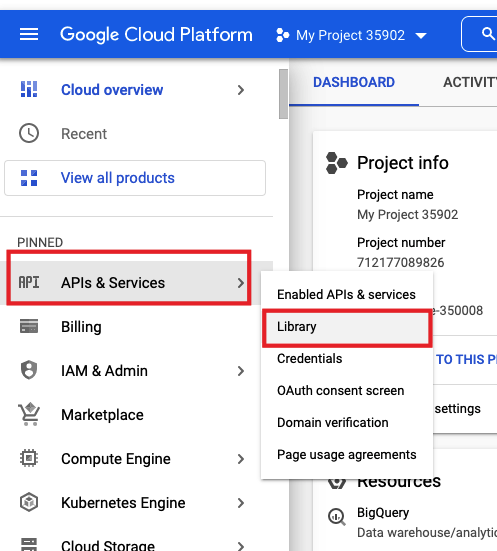
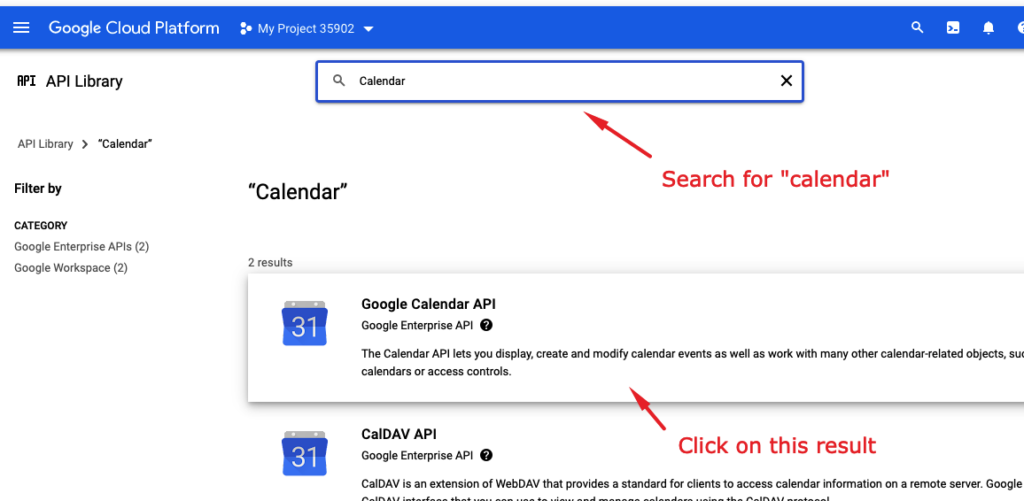
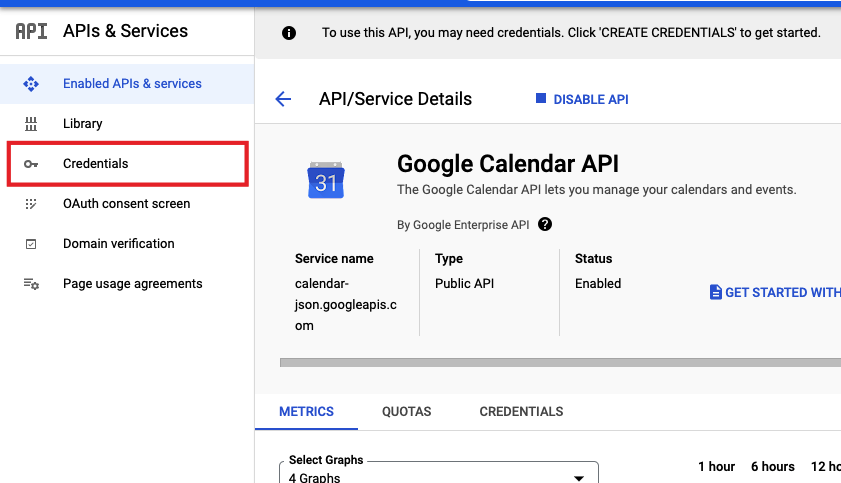
7. In the search box, type Calendar and hit enter. From the results, select the first one, which says Google Calendar API.
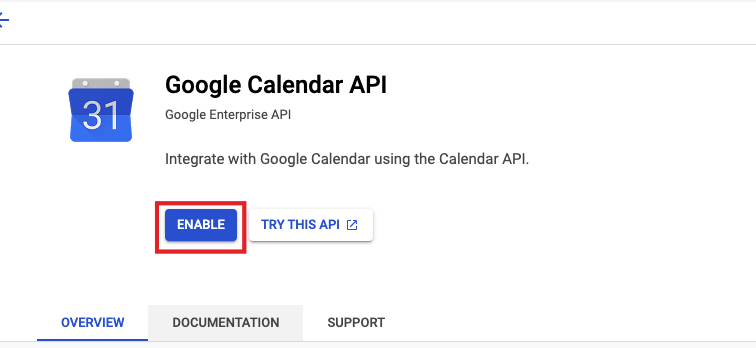
8. Click on the Enable button.
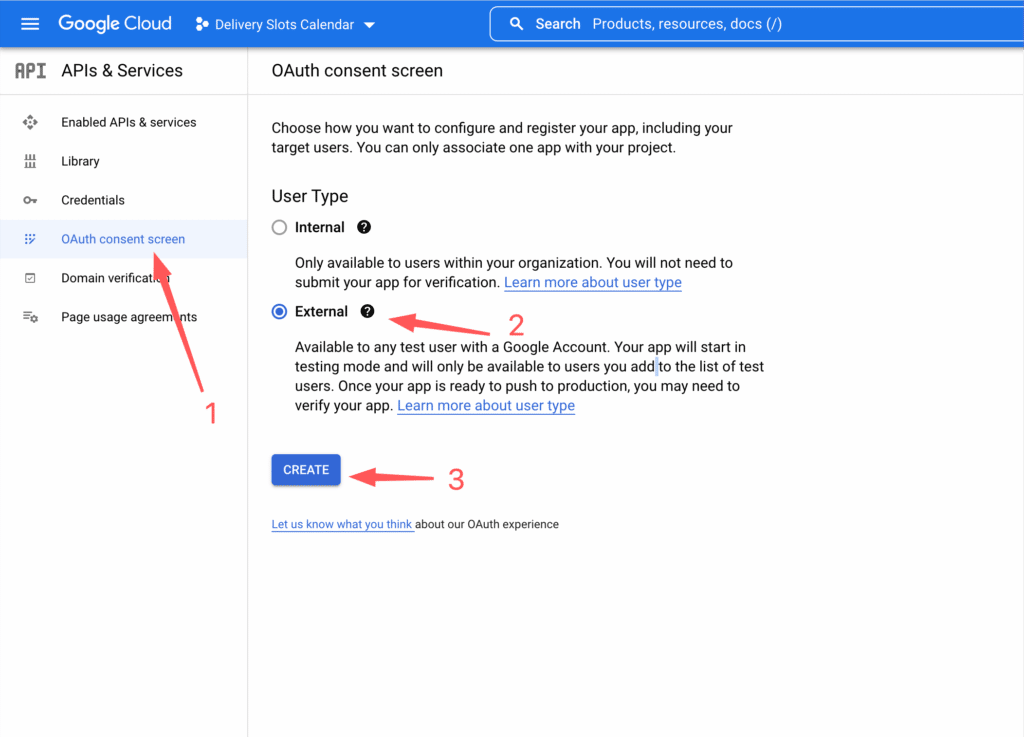
9. From the sidebar, click on OAuth consent screen, select External, then click on the Create button.
10. Give your App a name, email, home page URL, Privacy Policy, and Terms of conditions link.
11. In the Authorized domains, add the domain of your website. It has to match the site where you want to use delivery slots. You can add multiple domains if you want.

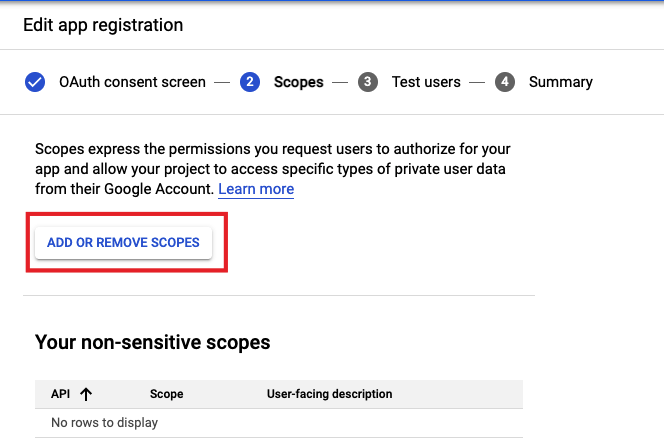
12. In the second step, click on Add or Remove Scopes button.
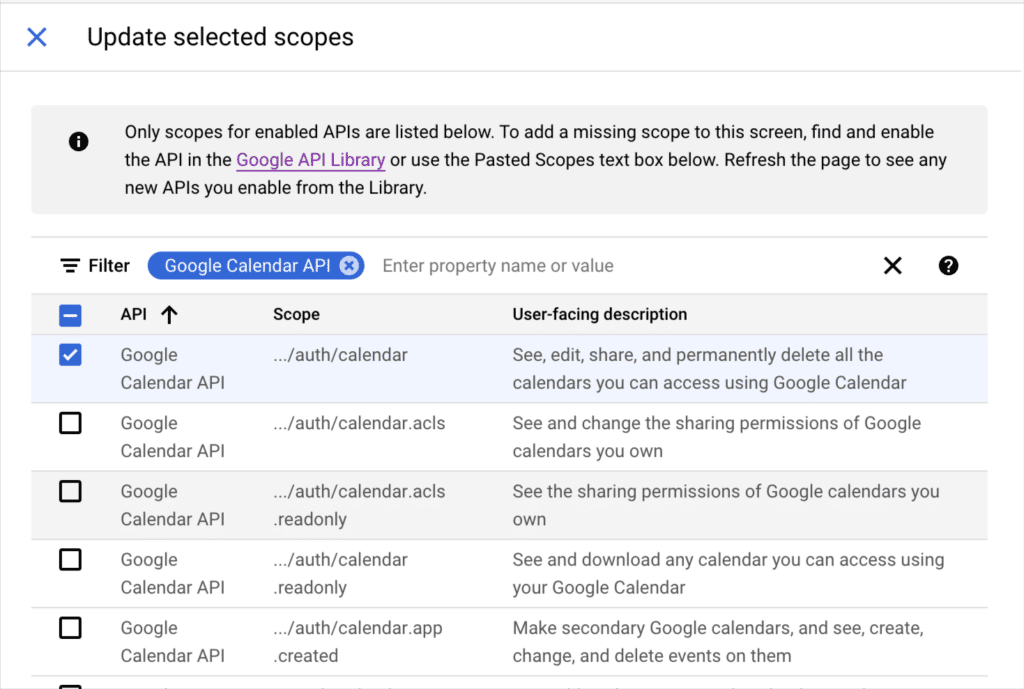
13. In the popup, search for calendar and then select the scope with this URL: https://www.googleapis.com/auth/calendar. Click on the Update button.
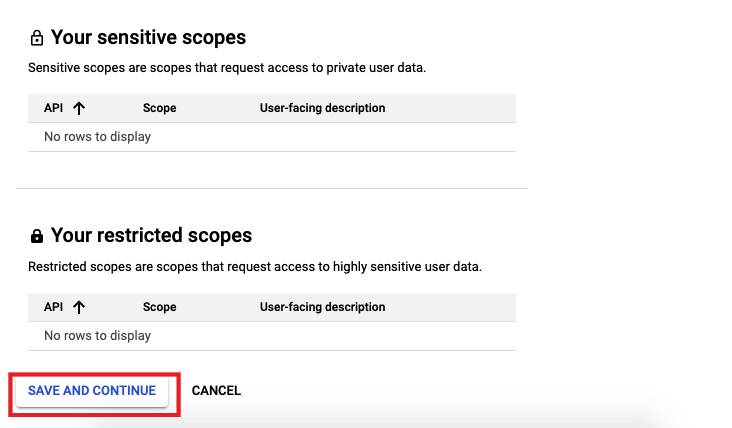
14. Scroll down and click on Save and Continue button.
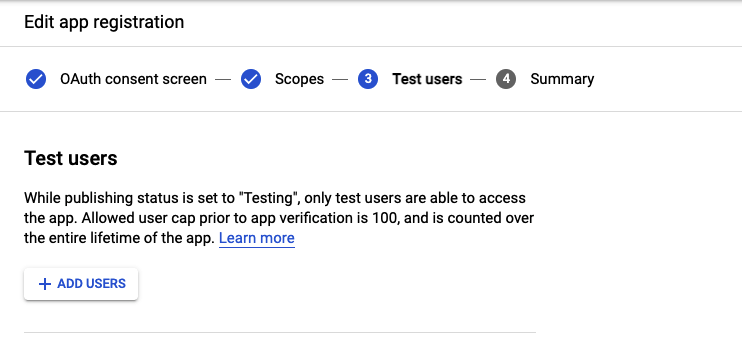
15. In the wizard’s third step, click on the Add Users button to add test user(s). Ideally, you need to add only one email, which will be of the user whose calendar you want to integrate with WooCommerce Delivery Slots.
16. Click Save and Continue to proceed to finish the OAuth Consent Screen Wizard.
15. Click on Create Credentials button and then click on OAuth Client ID.
17. From the sidebar, click on the Credentials menu. Click on Create Credentials button and select OAuth client ID.
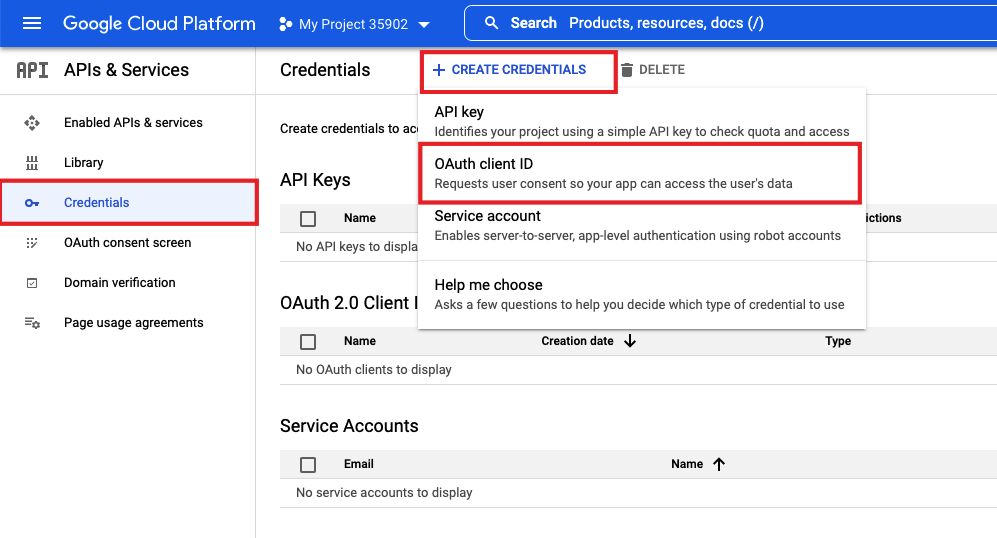
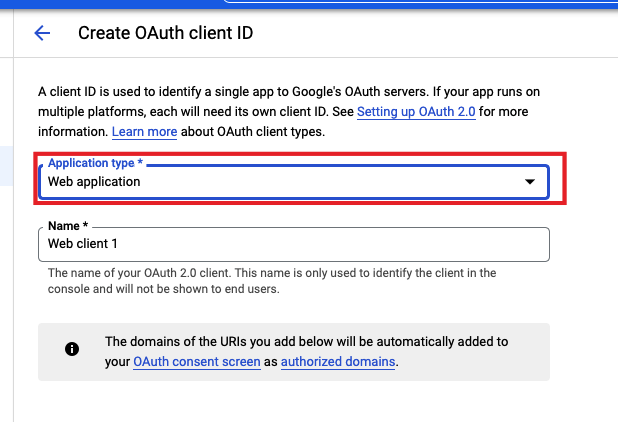
18. Select Web Application as the application type. Give it any name.
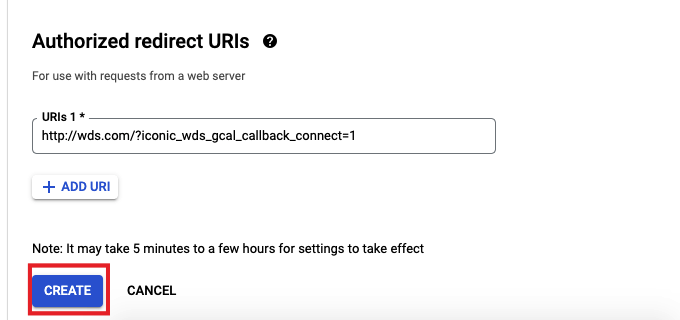
19. Scroll down to find the Authorized redirect URIs section. Click on ADD URL button.
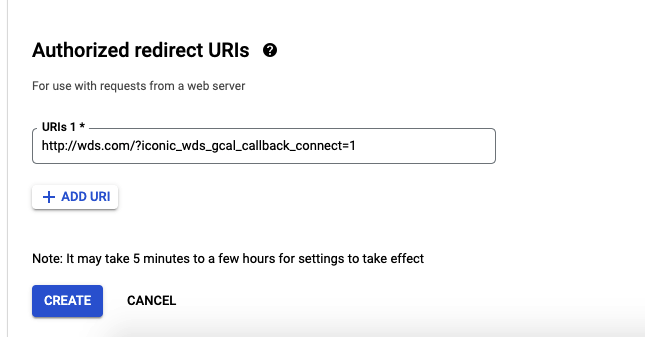
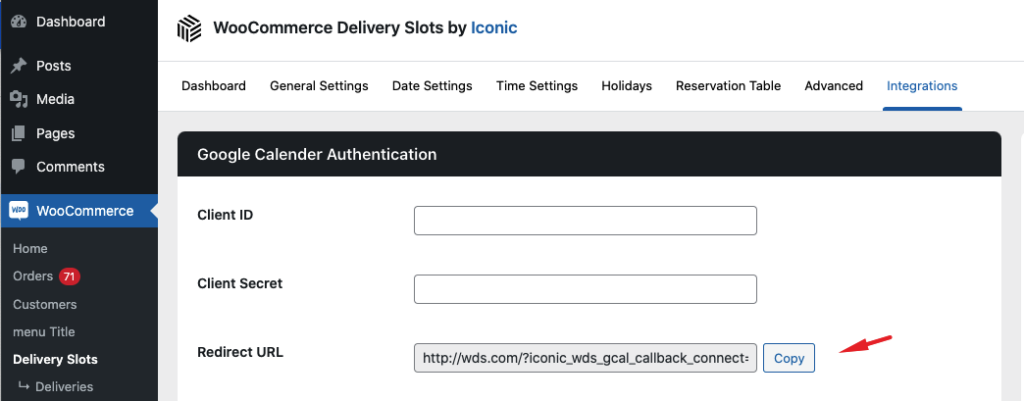
You can find the redirect URL from your WordPress dashboard > WooCommerce > Delivery Slots > Integration > Redirect URL. If you do not find the Redirect URL, please ensure that you have installed the Google Calendar Addon for WooCommerce Delivery slots.
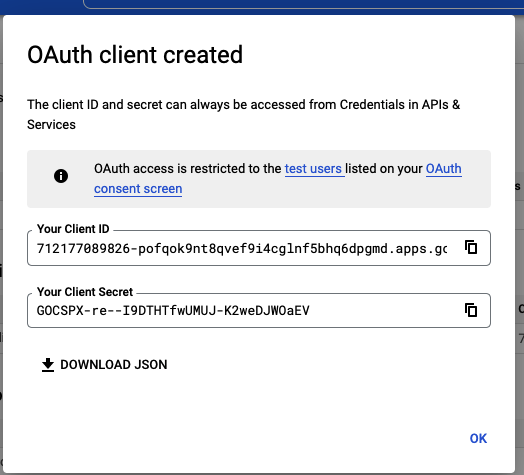
20. Click on the Create button.
21. A new popup will appear containing your Client ID and Secret.
Step 3: Authenticate the App
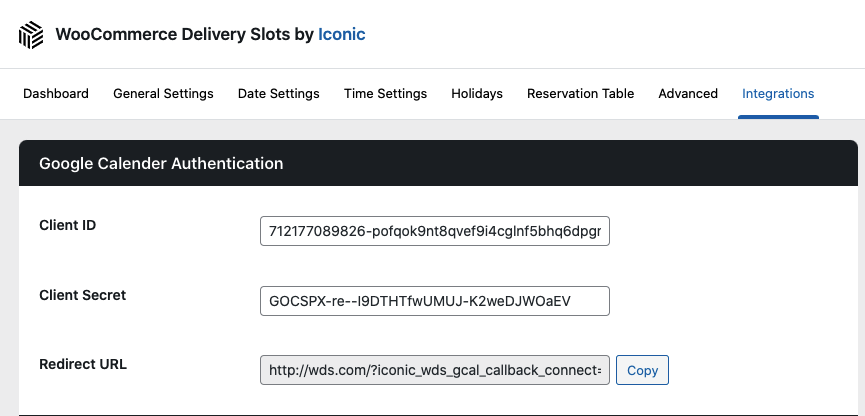
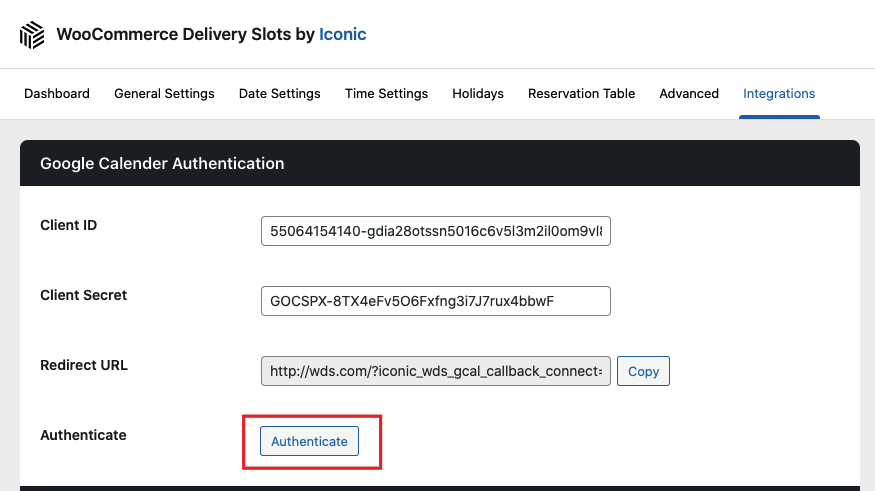
- To authenticate, we’ll need to paste the Client ID and Secret into the Delivery Slots settings. To do this, from your WordPress dashboard, go to WooCommerce > Delivery Slots > Integrations.
- Paste the Client ID and Client Secret in the correct fields.
3. An Authenticate button will appear. Click on it and then authenticate the OAuth consent screen using the google account we added as a test user in previous steps.
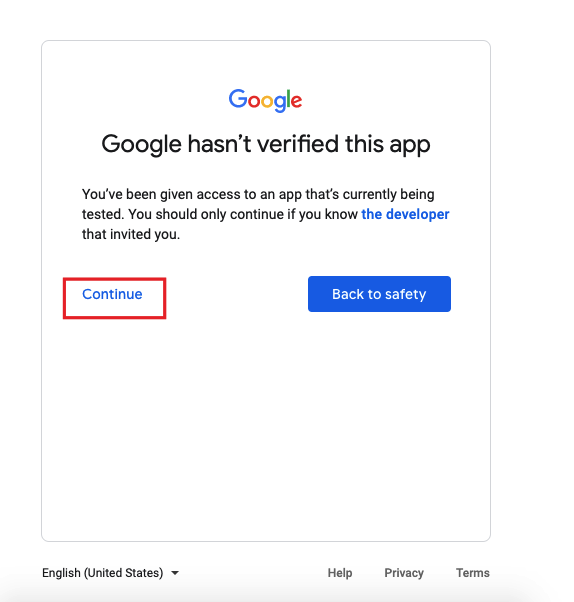
4. You will get a warning about the app not being verified by Google. You can click on the Continue button.
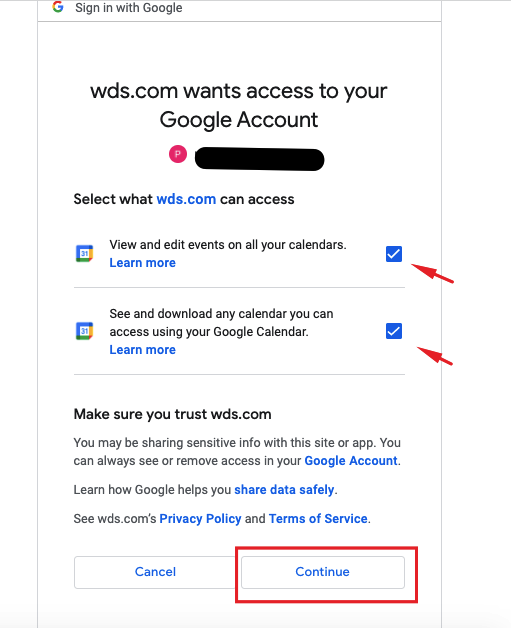
4. Grant the permissions and then click on Continue.
5. You will find the Disconnect button instead of the Authenticate button now. This indicates a successful integration. If you have multiple calendars on your Google calendar account, please select the one you want to be used by Delivery Slots and save the settings.
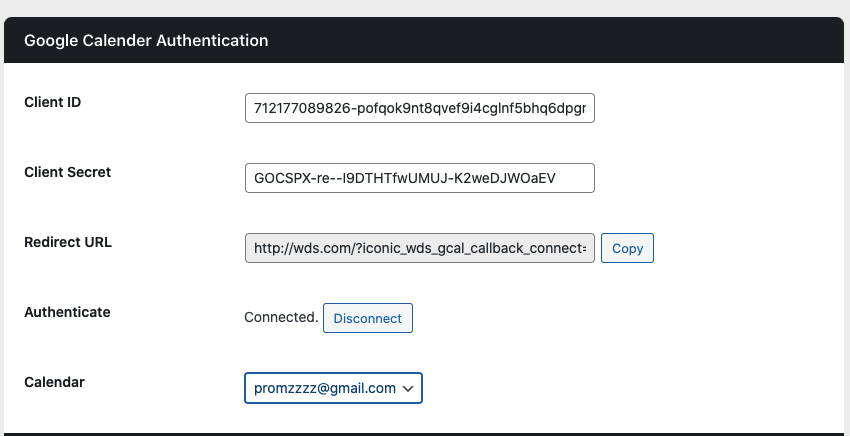
Now the integration should be successfully established.
WooCommerce Delivery Slots
Let customers choose their preferred WooCommerce delivery date and time right from your WooCommerce checkout page. With WooCommerce Delivery Slots, you can set a flexible delivery schedule to suit you and your customers.
Was this helpful?
Please let us know if this article was useful. It is the best way to ensure our documentation is as helpful as possible.