How to Create Your First Bundled Product
If you’re looking to set up your first bundled product with WooCommerce Bundled Products, this guide will walk you through the steps.
Step 1: Create a new product
The first thing you’ll need to do when creating a bundled product is create a new product like you would normally in your WooCommerce store.
- From your WordPress dashboard, go to Products > Add new product.
- Give your product a title and a description as you would normally, and set any product images you want to appear in the main product gallery.
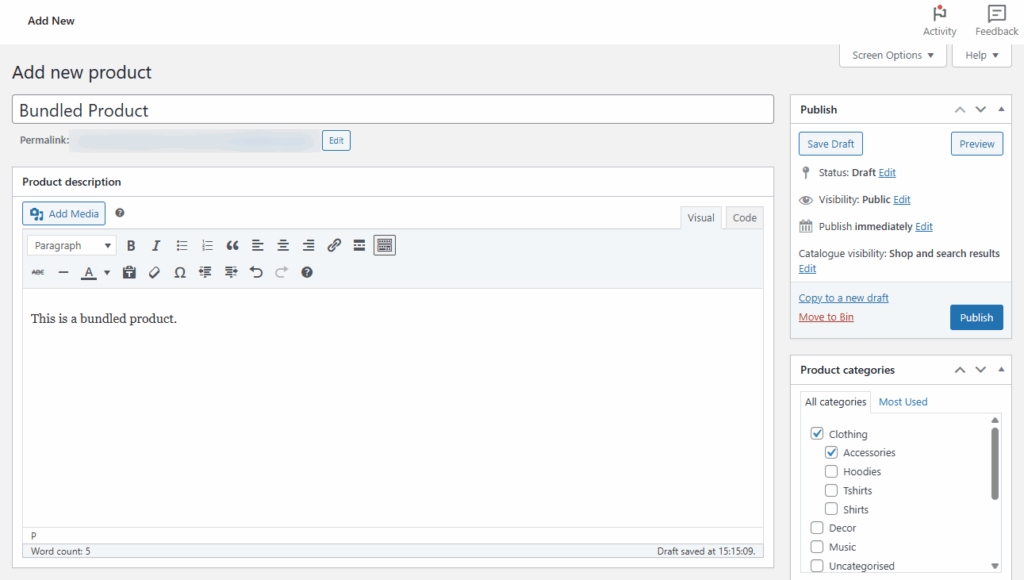
- Next, scroll down to the Product Data section of this page, and next to where it says Product Data, you should see a dropdown. This allows you to pick what product type you want this product to be. Click on it and select Bundled Product.

Once done, some of the tabs on the left will change, and you’ll see a new one called Bundled Products. We’ll walk you through that next.
Step 2: Add your bundle products
The next step is to decide which products you want to include in your bundle.
- Click on the Bundled Products tab on the left if you haven’t already.

- At the top, you’ll see the word Products and a field next to it. Click in that field and start searching for the products you want to add to your bundle. For a product name to start appearing, you’ll need to enter at least three letters.

- Once you’ve found a product you want to add, click on it and it will appear in the list. You can remove any you added by accident by clicking the X button.
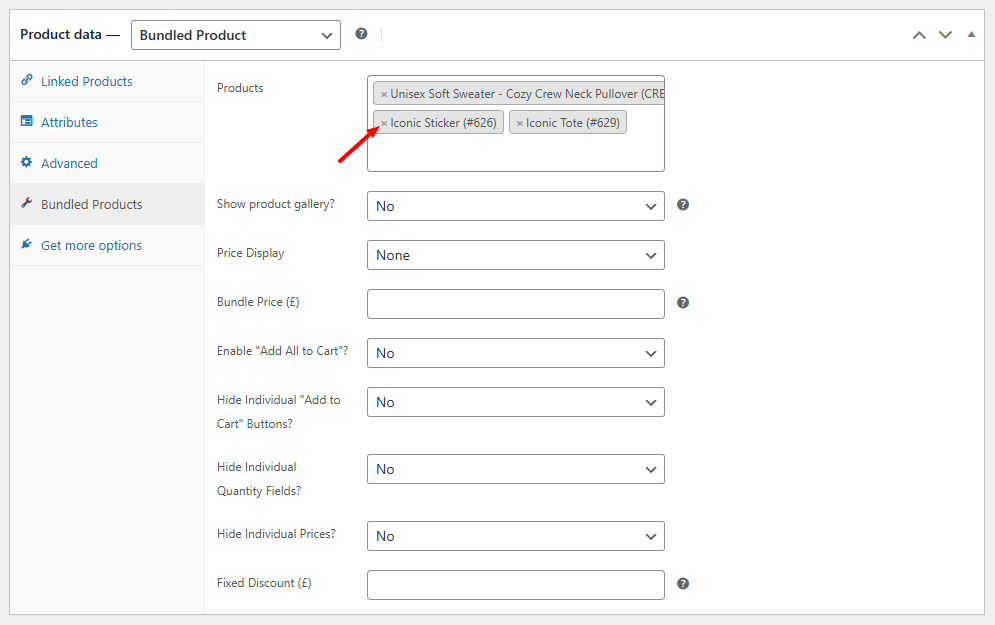
Note: Products will be displayed on the product page in the order you add them here.
Now we have our products added, next we’ll look at customizing the rest of your bundle settings.
Step 3: Customize your product bundle
Once you’ve added your products, there are a few more settings you can adjust to get your bundle working just how you like it. We’ll walk you through each of these.
- Show Product Gallery
Choose Yes from the dropdown to show the product gallery underneath the name of each product in your bundle. When a customer configures a variable product in the bundle, the gallery will change to show images from the selected variation(s). - Price Display
You can choose to display your bundled product price as:- None
When None is selected, no price will be displayed on the product page or in the catalog. - Combined
When Combined is selected, all prices will be added together to create a total price for all items. If a variable product is included in your bundle, then it will be displayed as a min/max combined range. - Range
When Range is selected, the price will be displayed as the lowest priced product to the highest priced product in the bundle. - Custom
When Custom is selected, the price will show whatever you set as the Bundle Price setting (underneath Price Display).
- None

- Enable “Add All to Cart”?
When enabled, a button is added after the product list enabling you to add all products to cart at once. If using variable products in your bundle, all options need to be selected before the button is enabled. - Hide Individual “Add to Cart” Buttons?
When enabled, individual Add to Cart buttons on each of the products in the bundle will be hidden. - Hide Individual Quantity Fields?
When enabled, individual quantity field buttons on each of the products in the bundle will be hidden. - Hide Individual Prices?
When enabled, individual prices on each of the products in the bundle will be hidden. - Fixed Discount ($)
When all products are added to the cart, the number you enter here will be discounted from the total. You can leave this blank, and no additional discount will appear.

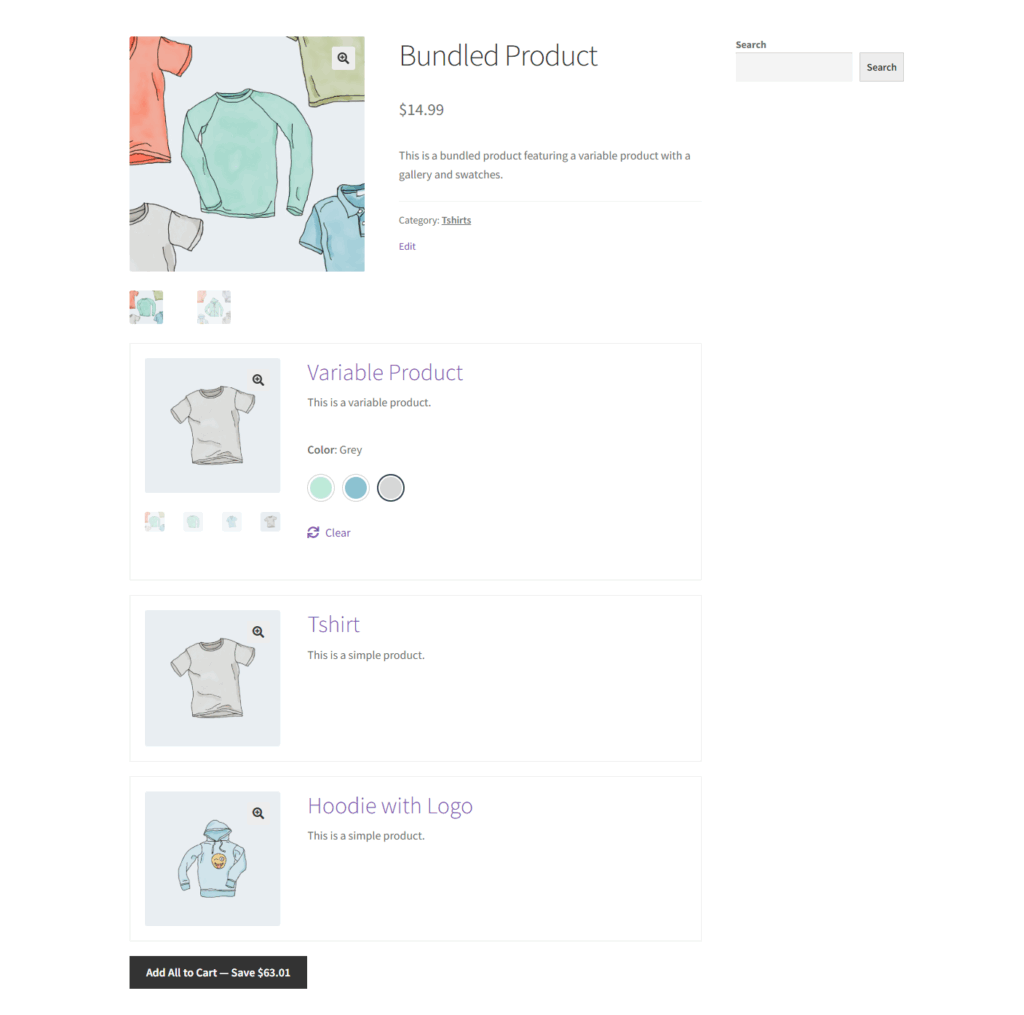
Once you have all these settings to your liking, the product is set up with images, categories, tags, and whatever else you want to customize, you can now Update or Publish your product.
WooCommerce Bundled Products
Add WooCommerce bundles to your online store with WooCommerce Bundled Products. Create custom product bundles with a discount.
Was this helpful?
Please let us know if this article was useful. It is the best way to ensure our documentation is as helpful as possible.