How to Customize Account Creation, Login, and Guest Checkout
If you’re looking to customize how customers create an account or checkout as a guest, this article will walk you through each step.
WooCommerce, by default, provides several settings that allow you, the store owner, to set up account creation on the checkout page.
Flux Checkout for WooCommerce fully supports these options. We’ve woven them into the design of Flux Checkout. So in this guide, we’ll walk through each of the default settings and what they look like using Flux Checkout.
Account registration/login using WooCommerce and Flux Checkout
The following settings we’ll walk through are perfect if you want customers to be able to register for an account with you, or login to an existing account.
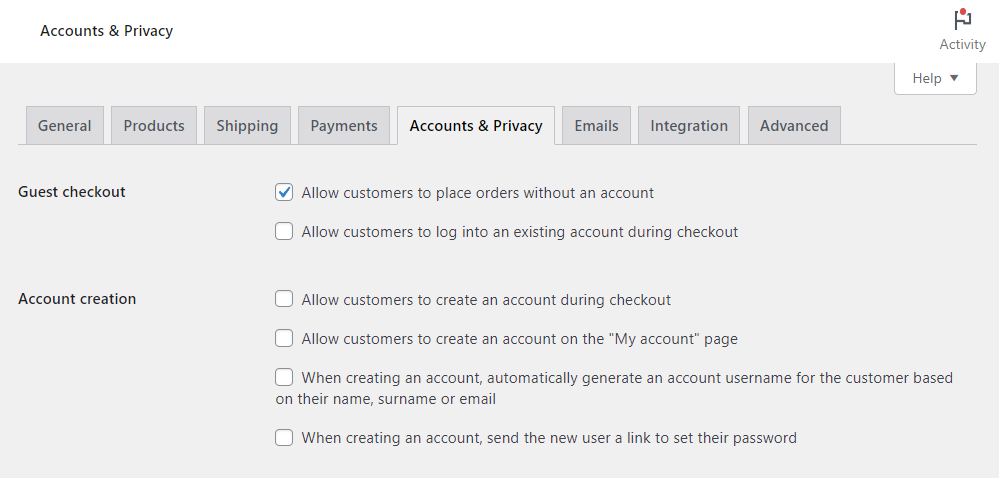
You can find them by going to WooCommerce > Settings > and clicking on the Accounts & Privacy tab.
Allow customers to log into an existing account during checkout
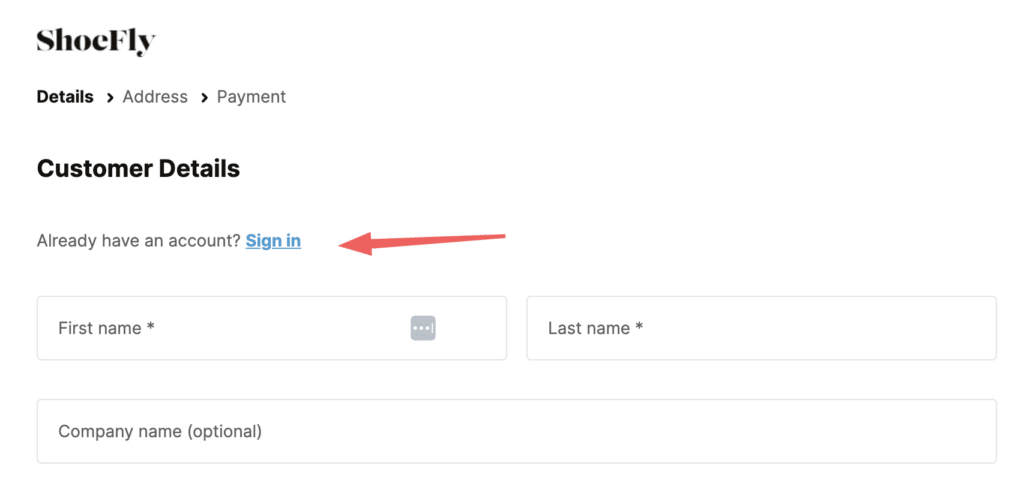
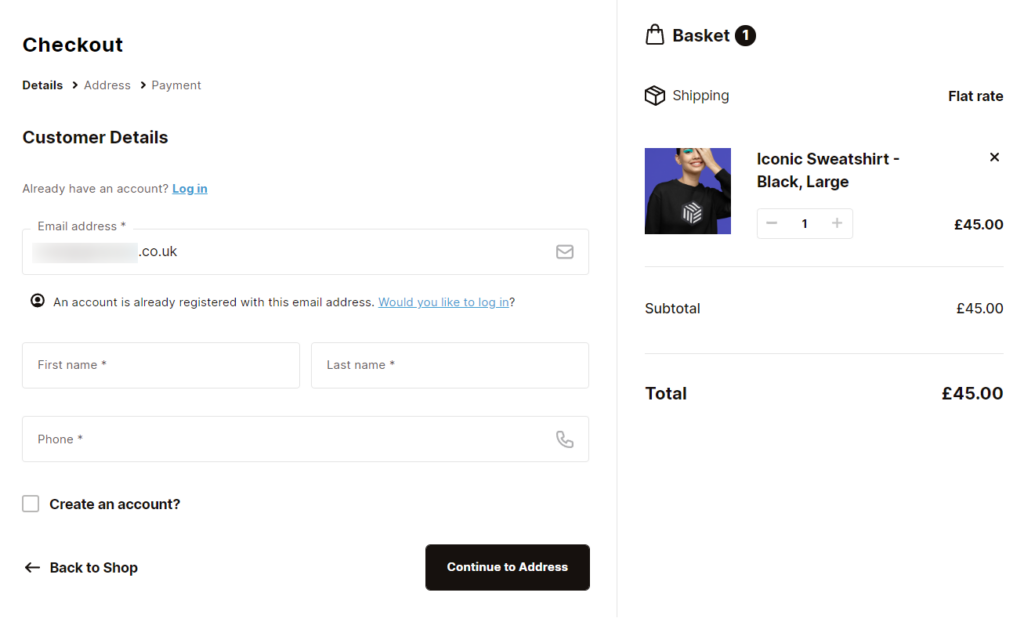
Enabling this option displays a message and a clickable link. This allows existing customers to sign into their account while at the checkout.
With Flux Checkout, it looks like this:
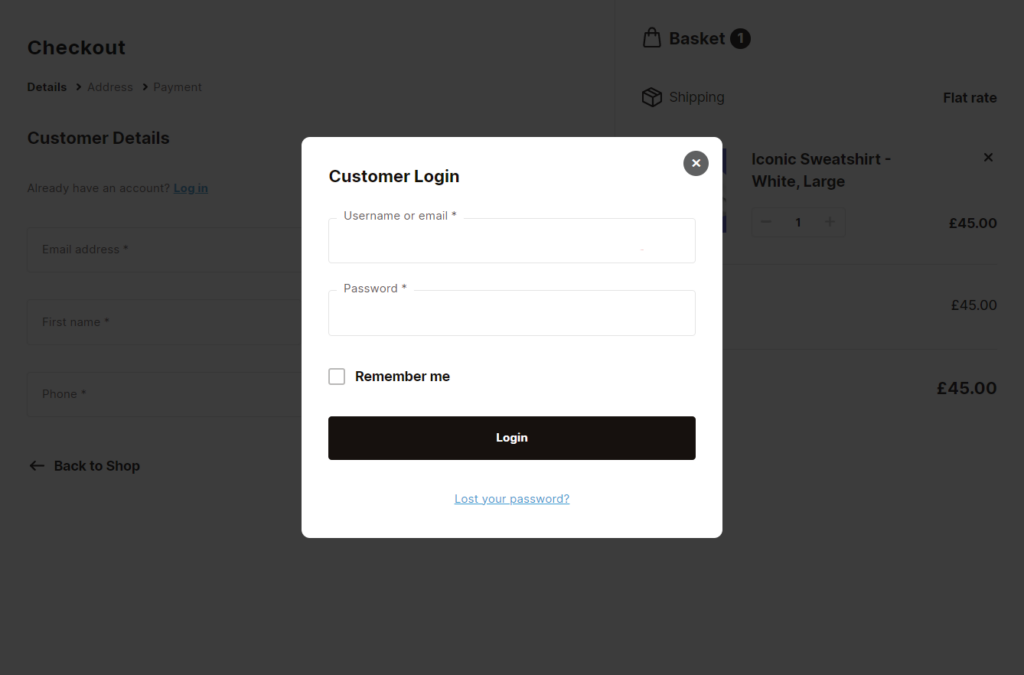
Once clicked, the customer will be prompted to login with a popup.
Allow customers to create an account during checkout
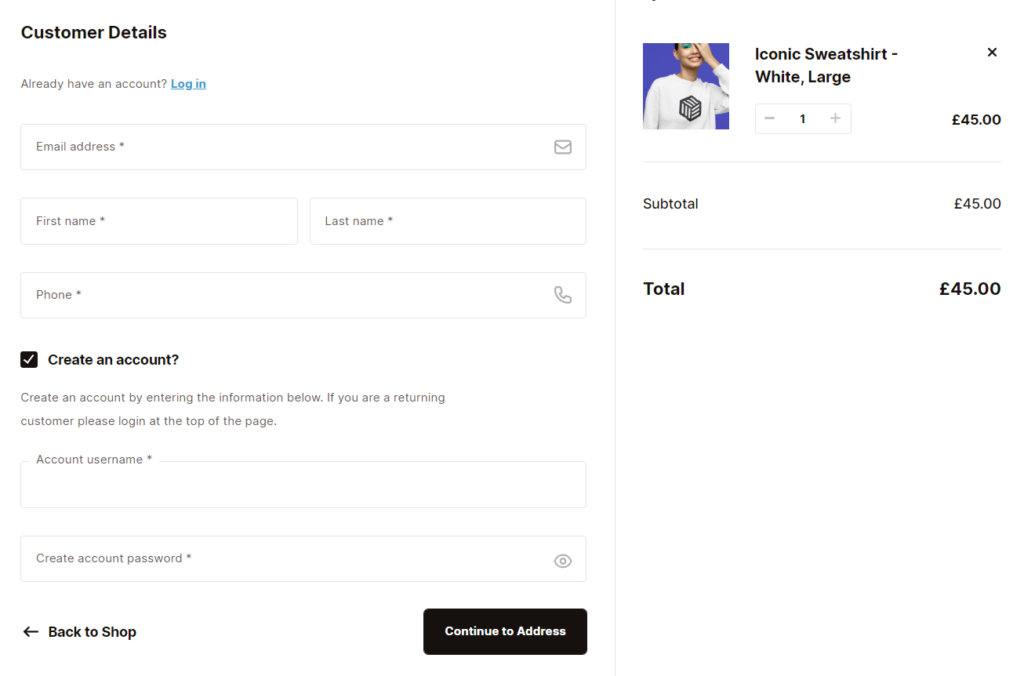
When this setting is enabled, the customer is allowed to create an account at the checkout. The guest users will be offered to select a username and or password based on the settings we describe below.
Without changing the next setting, this is how account creation looks with Flux Checkout. The account username and password fields are hidden until the customer clicks the checkbox next to Create an account?
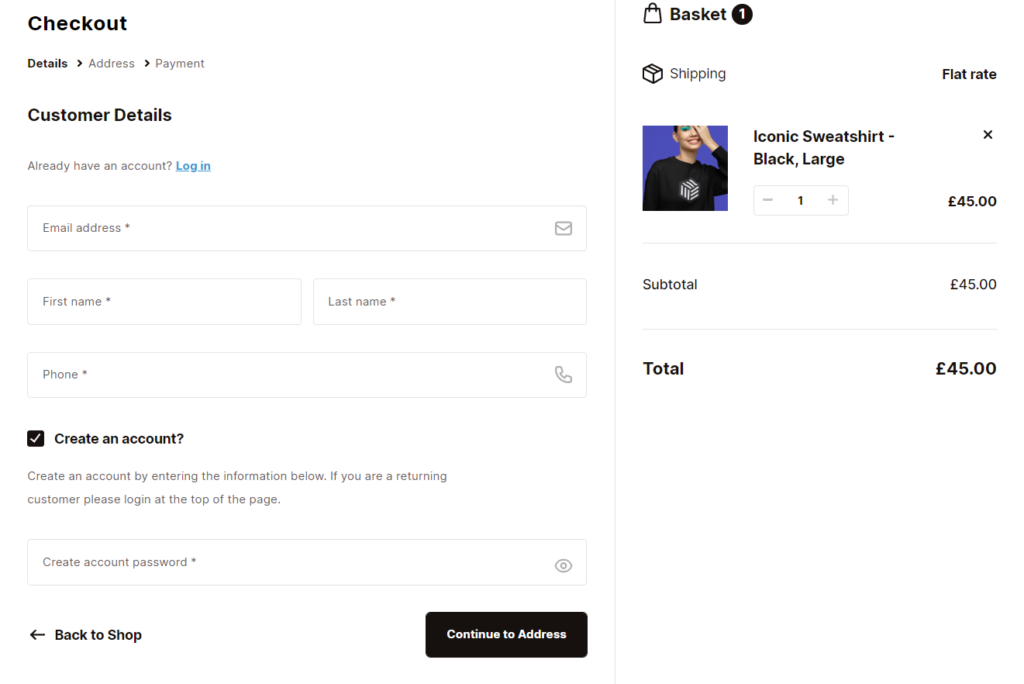
When creating an account, automatically generate an account username for the customer based on their name, surname or email
When this setting is enabled, WooCommerce will automatically generate a username for the customer based on their name, last name, or email.
However, when this setting is disabled, the user is prompted to enter a username of their choice (as seen above).
With Flux Checkout, this looks like this:
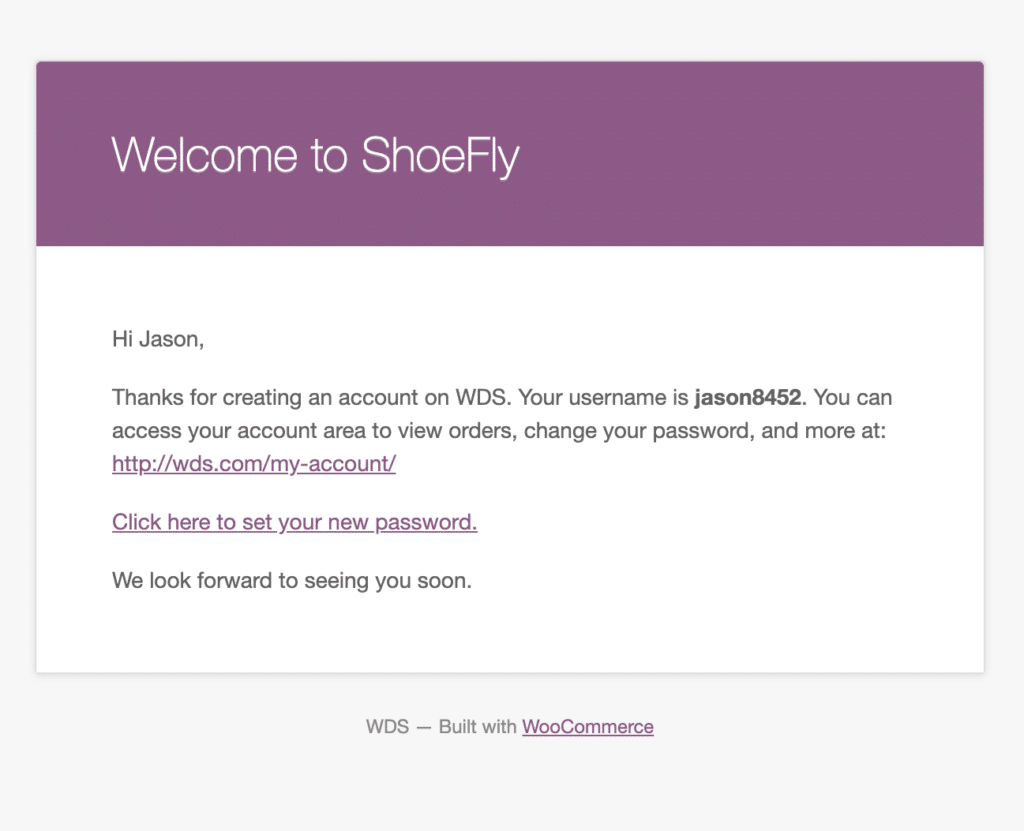
When creating an account, send the new user a link to set their password
This setting, when checked, sends the user a link to create a password via email rather than prompting the user to set a password during the account creation process. This allows the customer to create a password at a later date.
This is how that looks with Flux Checkout (the customer selects the checkbox, and that’s it):

Here’s an example of what the email looks like. You can edit this and other account emails by going to WooCommerce > Settings, and clicking the Emails tab at the top of the page.
Guest checkout using WooCommerce and Flux Checkout
If you want to allow customers to checkout as a guest, there’s only one setting you need to change.
By going to WooCommerce > Settings > and clicking on the Accounts & Privacy tab, you’ll find the following setting.
Allow customers to place orders without an account
When checked, this setting allows customers to checkout without creating an account. If you have some of the above settings checked, too, they’ll have the option to checkout with an account if they want to.
Flux Checkout’s additional user account settings
We’ve also included some additional settings within Flux Checkout that allow you to customize account creation even further.
- Go to WooCommerce > Flux Checkout and click the Checkout Page tab/link at the top of the page.
- Scroll down the page until you reach the User Settings section. There are a few options here that we’ll walk you through.
Assign Guest Orders
When clicked, the toggle button next to Assign Guest Orders allows you to link guest orders to existing customer accounts automatically.
This works if the email address provided by the customer matches an existing account. So if a customer is in a rush and doesn’t have time to login, their order will be assigned to their account anyway.
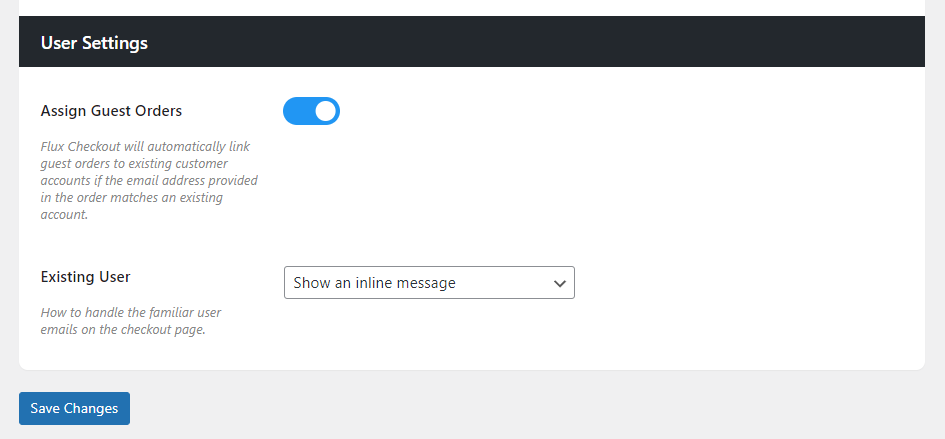
Existing User
If you turn on Assign Guest Orders, you can also optionally have a message appear that prompts customers to login if they input an email address associated with an existing account.
This can either be an inline message, a popup and an inline message, or no message at all (if you just want to assign orders and not prompt login).
Flux Checkout for WooCommerce
Flux Checkout transforms the default WooCommerce checkout into one that’s lightning-fast, distraction-free, and reduces checkout abandonment.
Was this helpful?
Please let us know if this article was useful. It is the best way to ensure our documentation is as helpful as possible.