How to Use Your Divi/Elementor Header With Flux Checkout
If you’ve designed your header or footer using page builders like Divi or Elementor, you may have noticed that they don’t appear on the Flux Checkout page by default.
This intentional omission is to provide a distraction-free checkout experience for your customers. However, we understand that every website has unique requirements.
So, if you want to display the header or footer added by Divi on the Flux Checkout page, you can follow these simple instructions:
Step 1: Design your header and footer
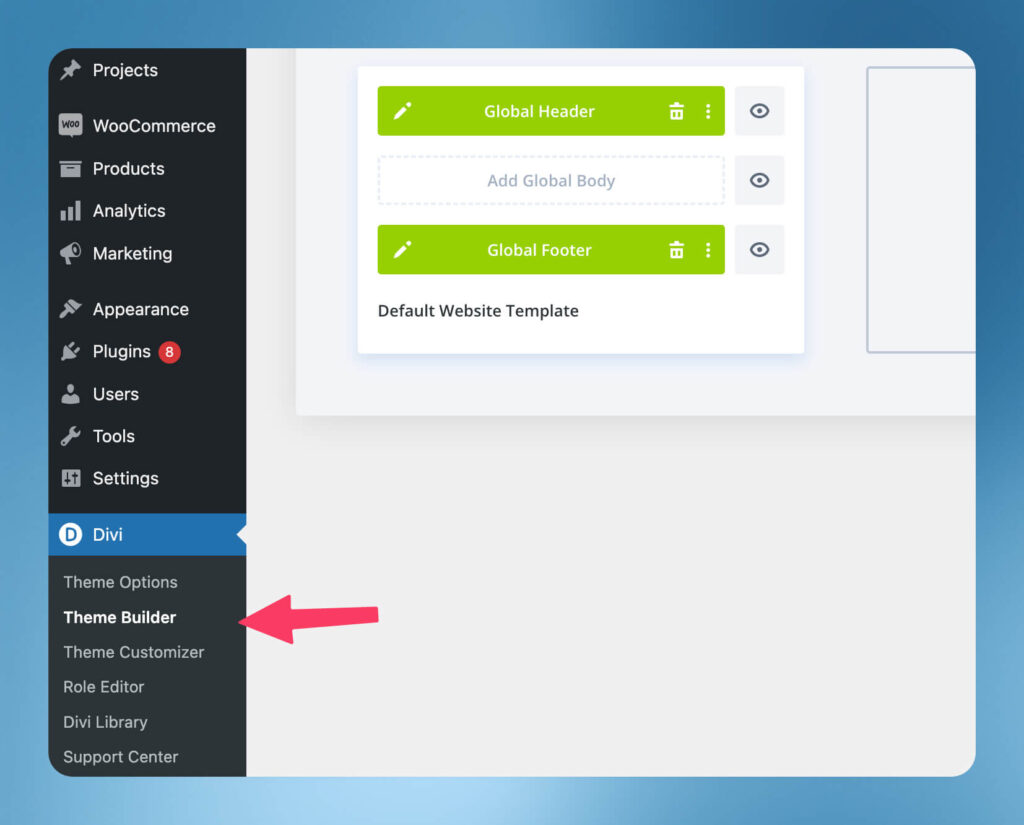
If you’re using Divi, you can easily build your header from the Divi > Theme Builder section.
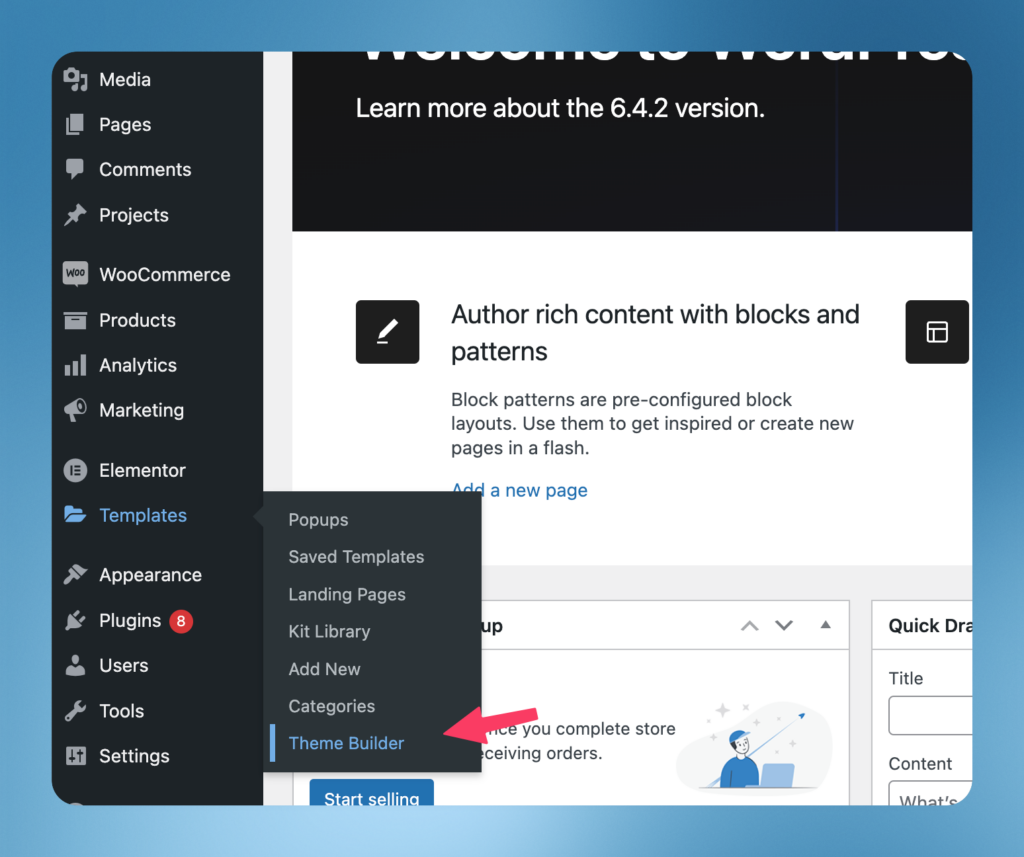
For Elementor, you can design the header/footer from Templates > Theme Builder.
Step 2: Enable header and footer from the Flux settings
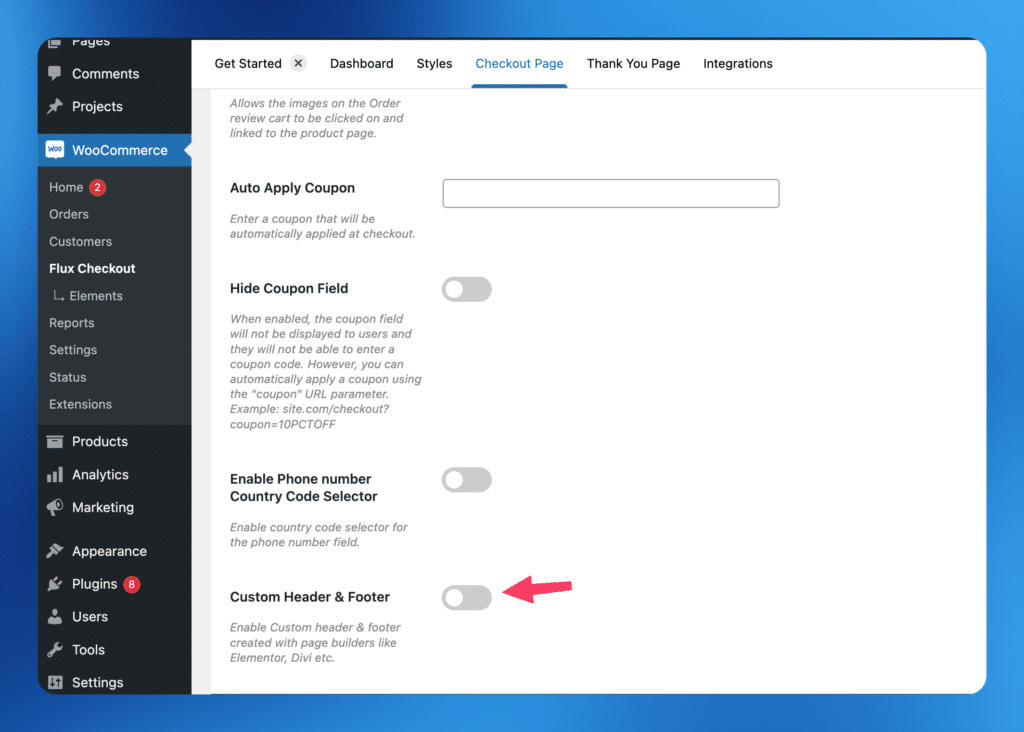
- From your WordPress dashboard, go to WooCommerce > Flux Checkout > and click on the Checkout Page tab at the top of the page.
- Scroll down until you see Custom Header & Footer. This setting is only visible if the Divi Theme or Elementor Pro plugin is active.
- Check the toggle button next to this setting, and once happy, click the Save Changes button at the bottom of the page.
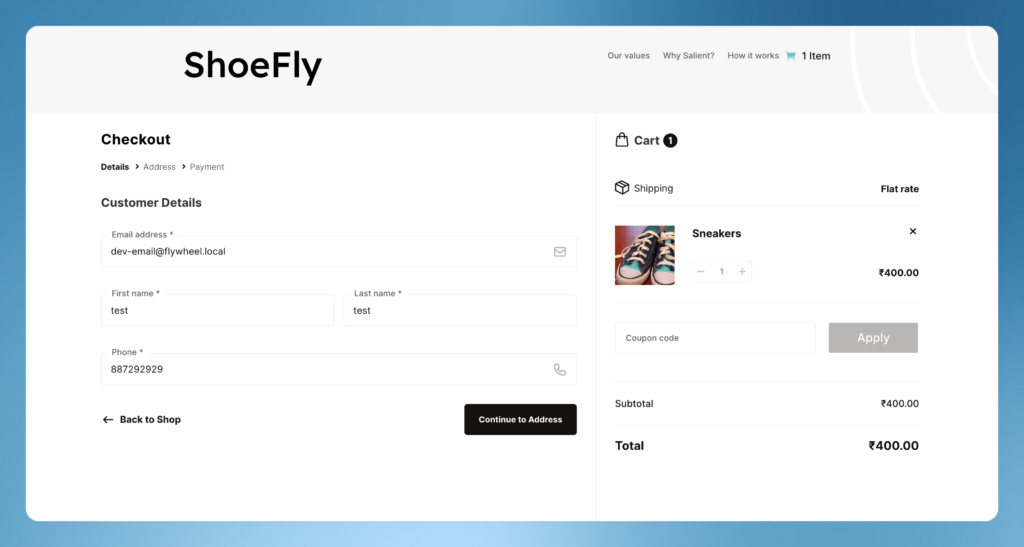
Visit the checkout page and you should see the header and footer you built using Divi or Elementor.
Troubleshooting
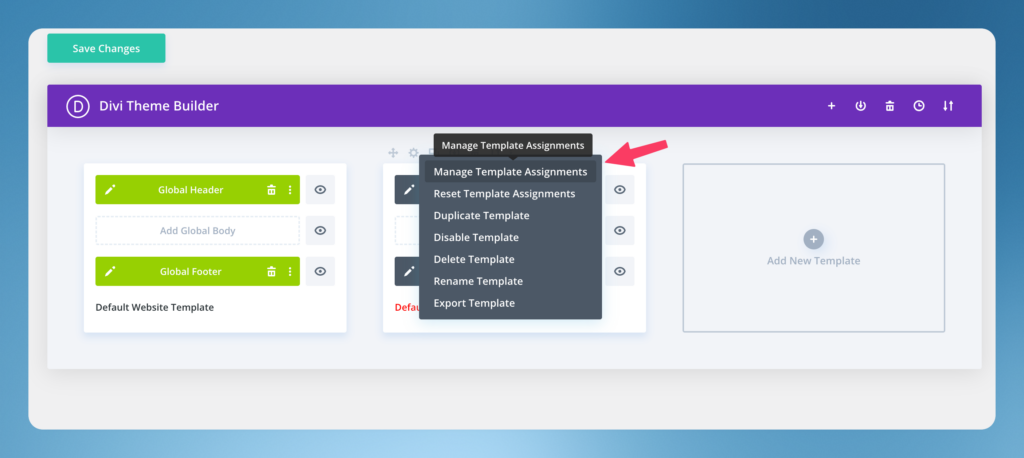
If you encounter any issues where the header or footer doesn’t appear with Divi, please make sure your templates are assigned to the checkout page correctly.
In Divi, you can manage template assignments through the Manage Template Assignment option.
Flux Checkout for WooCommerce
Flux Checkout transforms the default WooCommerce checkout into one that’s lightning-fast, distraction-free, and reduces checkout abandonment.
Was this helpful?
Please let us know if this article was useful. It is the best way to ensure our documentation is as helpful as possible.