How to Move Custom Fields to the Details Step
In this guide, we’ll show you how to add some custom fields to the Details step of Flux Checkout.
There are two ways to add a custom field to the checkout form:
- With a code snippet – using
woocommerce_checkout_fieldsfilter - By using a Field editor plugin
If you’d like to add checkout fields by adding your own custom code, you can do so using the code snippet below:
/**
 * Flux checkout - add custom fields.
 *
 * @param array $fields Checkout Fields.
 *
 * @return array.
 */
function flux_add_custom_field( $fields ) {
	$fields['billing']['billing_whatsapp_number'] = array(
		'label'    => 'WhatsApp Number',
		'type'     => 'text',
		'required' => false,
	);

	return $fields;
}
add_filter( 'woocommerce_checkout_fields', 'flux_add_custom_field', 101, 1 );
Of course, you would need to update the field’s label, type, and validation status. This is explained in greater detail in this document by WooCommerce.
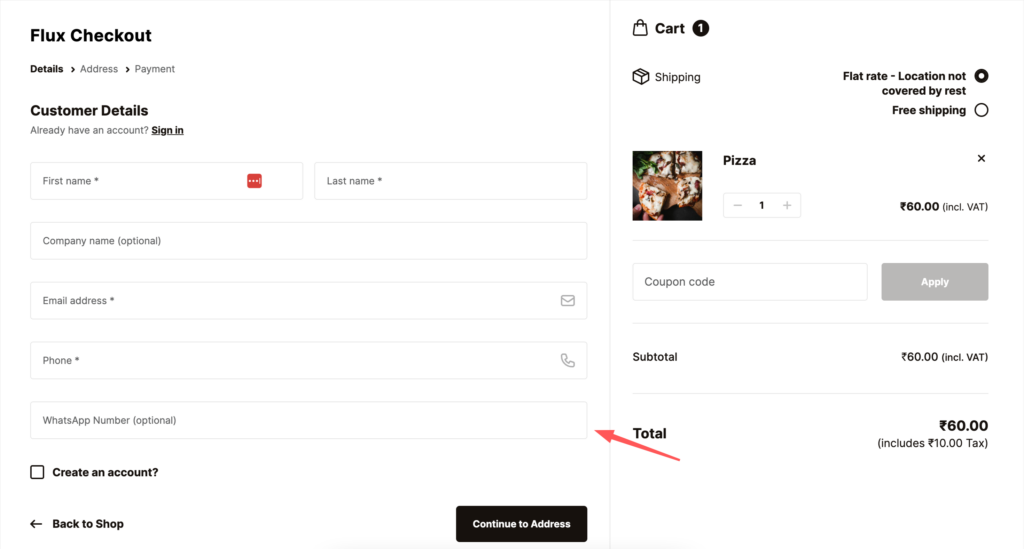
Using Flux checkout, the newly created field is, by default, added to the Address step (step 2), which you might not always want.
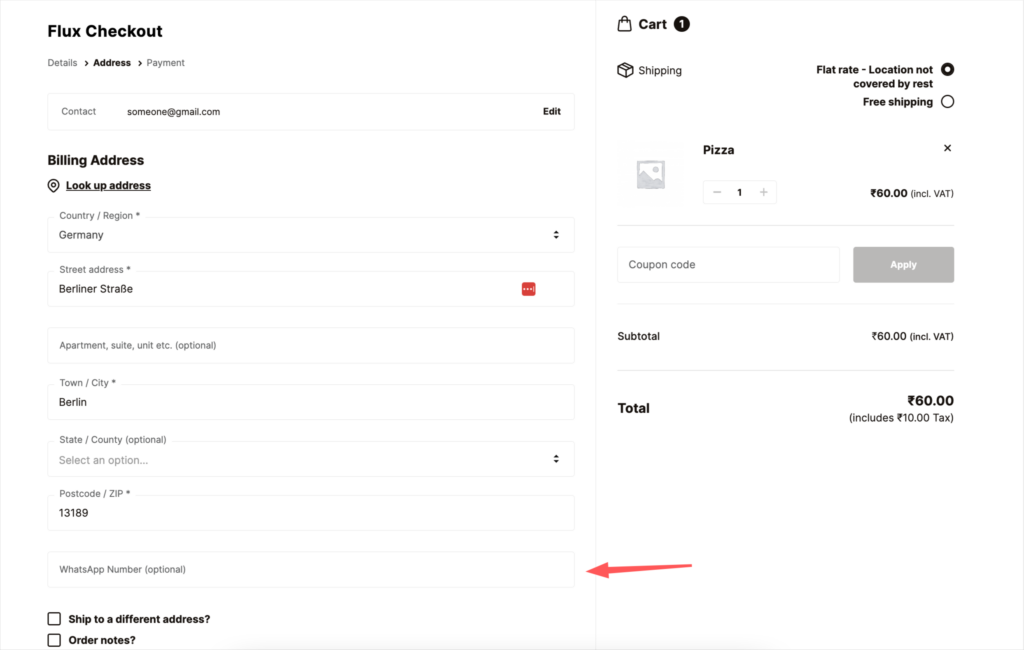
This happens because Flux checkout has its own logic to divide the fields into multiple steps. This works well with the known fields, but new fields are added to the address step as a fallback.
The good news is that you can change this at the field level with a code snippet. Here’s a code snippet that you use to move any field to the Details step (step 1):
<?php
/**
 * Flux checkout - move fields to step 1 (customer details step).
 */
function flux_move_fields_to_details_step( $customer_details_fields ) {
	$customer_details_fields[] = 'billing_whatsapp_number';

	return $customer_details_fields;
}

add_filter( 'flux_checkout_details_fields', 'flux_move_fields_to_details_step' );
In this case, we are adding the id of WhatsApp field, i.e., `billing_whatsapp_number` to the $customer_details_fields array.
Note: the fields must be prefixed with billing_ or shipping_ in order for the field data to be saved to the order.
You can also use the same code snippet for the fields added through the Field editor plugins.
Flux Checkout for WooCommerce
Flux Checkout transforms the default WooCommerce checkout into one that’s lightning-fast, distraction-free, and reduces checkout abandonment.
Was this helpful?
Please let us know if this article was useful. It is the best way to ensure our documentation is as helpful as possible.