How to Add a Product Gallery to a Page or Post Using the Gutenberg Block
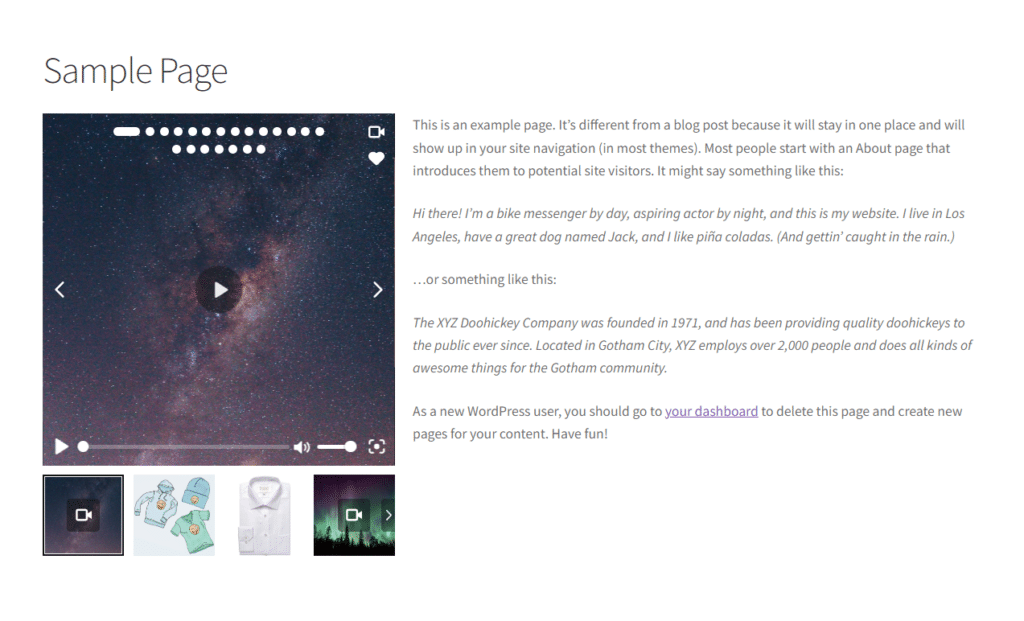
If you want to showcase one of your products on a page or post on your WordPress site, you can use WooThumbs for WooCommerce’s Gutenberg block.
Note: You must use the Gutenberg editor rather than the classic one for this to work.
This guide will walk you through how to add and customize it. So to add your product gallery to a page or post, take the following steps:
- From your WordPress dashboard, go to Pages > All Pages. Here you’ll be able to edit an existing page or create a new one by clicking Add New. This also applies to posts.
- In the content section of your page, click where you want the product gallery to appear, and a cross in a box should appear.
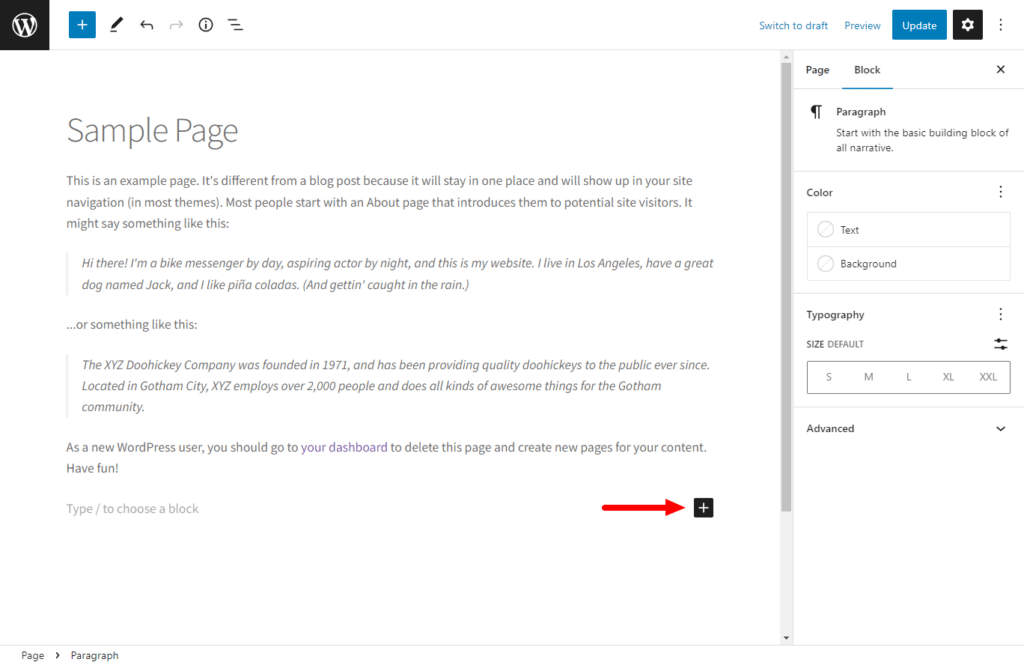
- Click this, and a small popup should appear with a search bar at the top. Type ‘WooThumbs’ into the search bar.
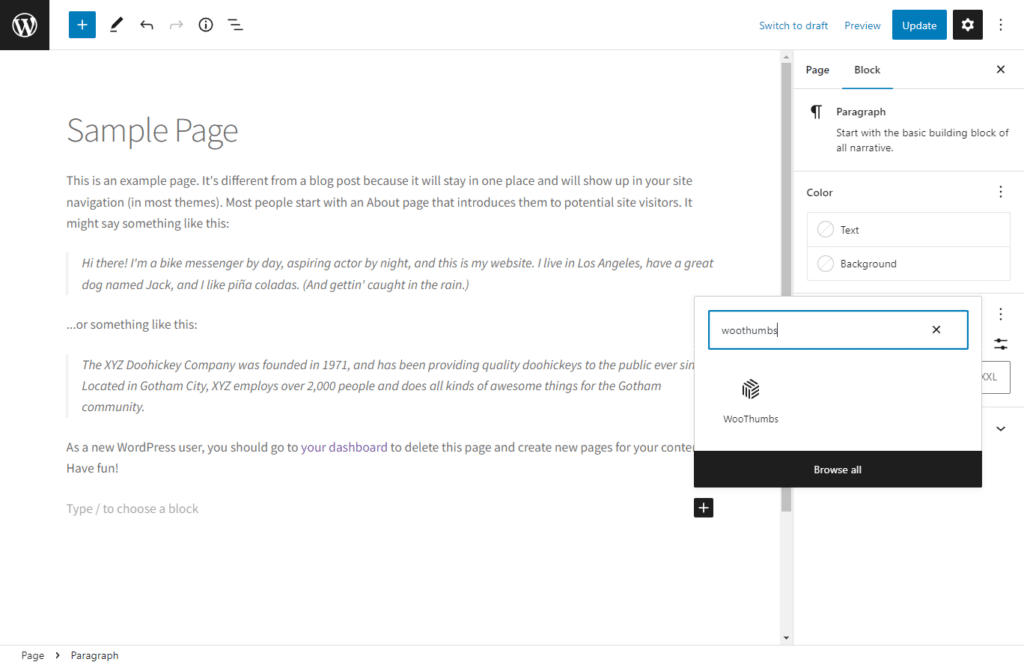
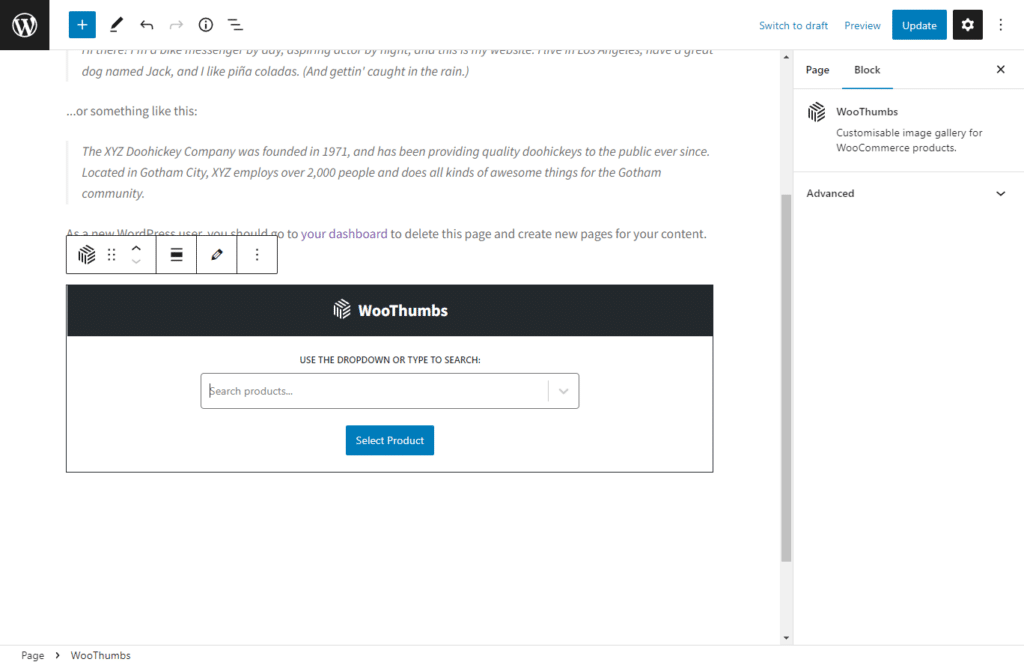
- Next, click on the block that appears, and it will be added to your page.
- Use the text field in the newly-created block to select the product gallery you want to show.
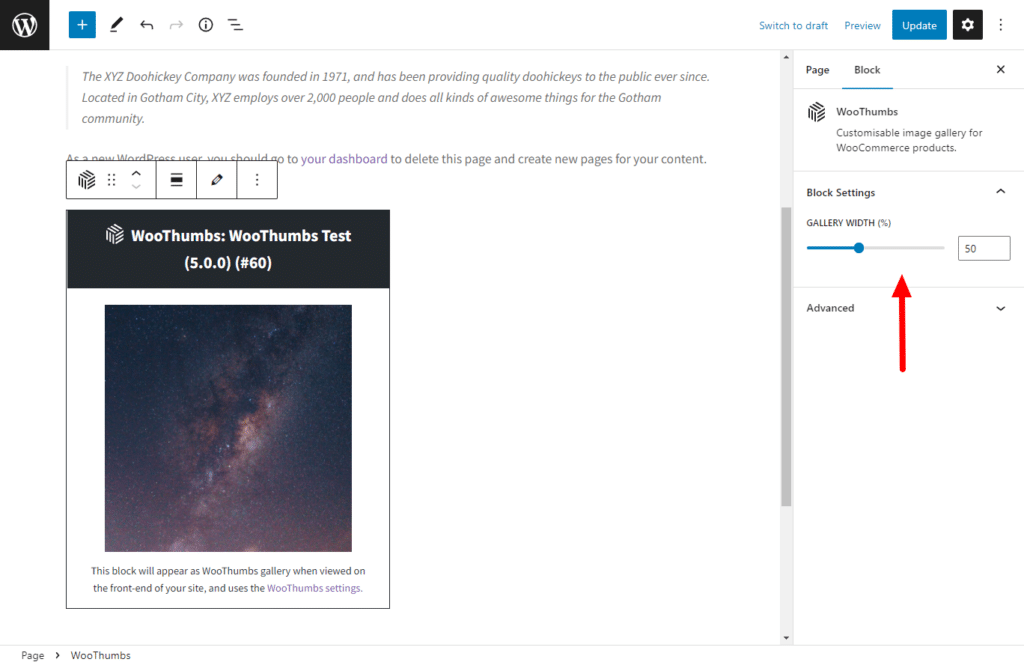
- On the right-hand side, you’ll see a couple of customization options for the gallery. You’ll be able to set its width to any size you like or add a custom CSS class in the advanced section.
- Once you’re happy with your product gallery, Publish or Update the post and view it on the front end of your WordPress site.
WooThumbs for WooCommerce
Enable zoom, sliders, video, fullscreen, multiple images per variation, and customisable layout options for your product imagery.
Was this helpful?
Please let us know if this article was useful. It is the best way to ensure our documentation is as helpful as possible.